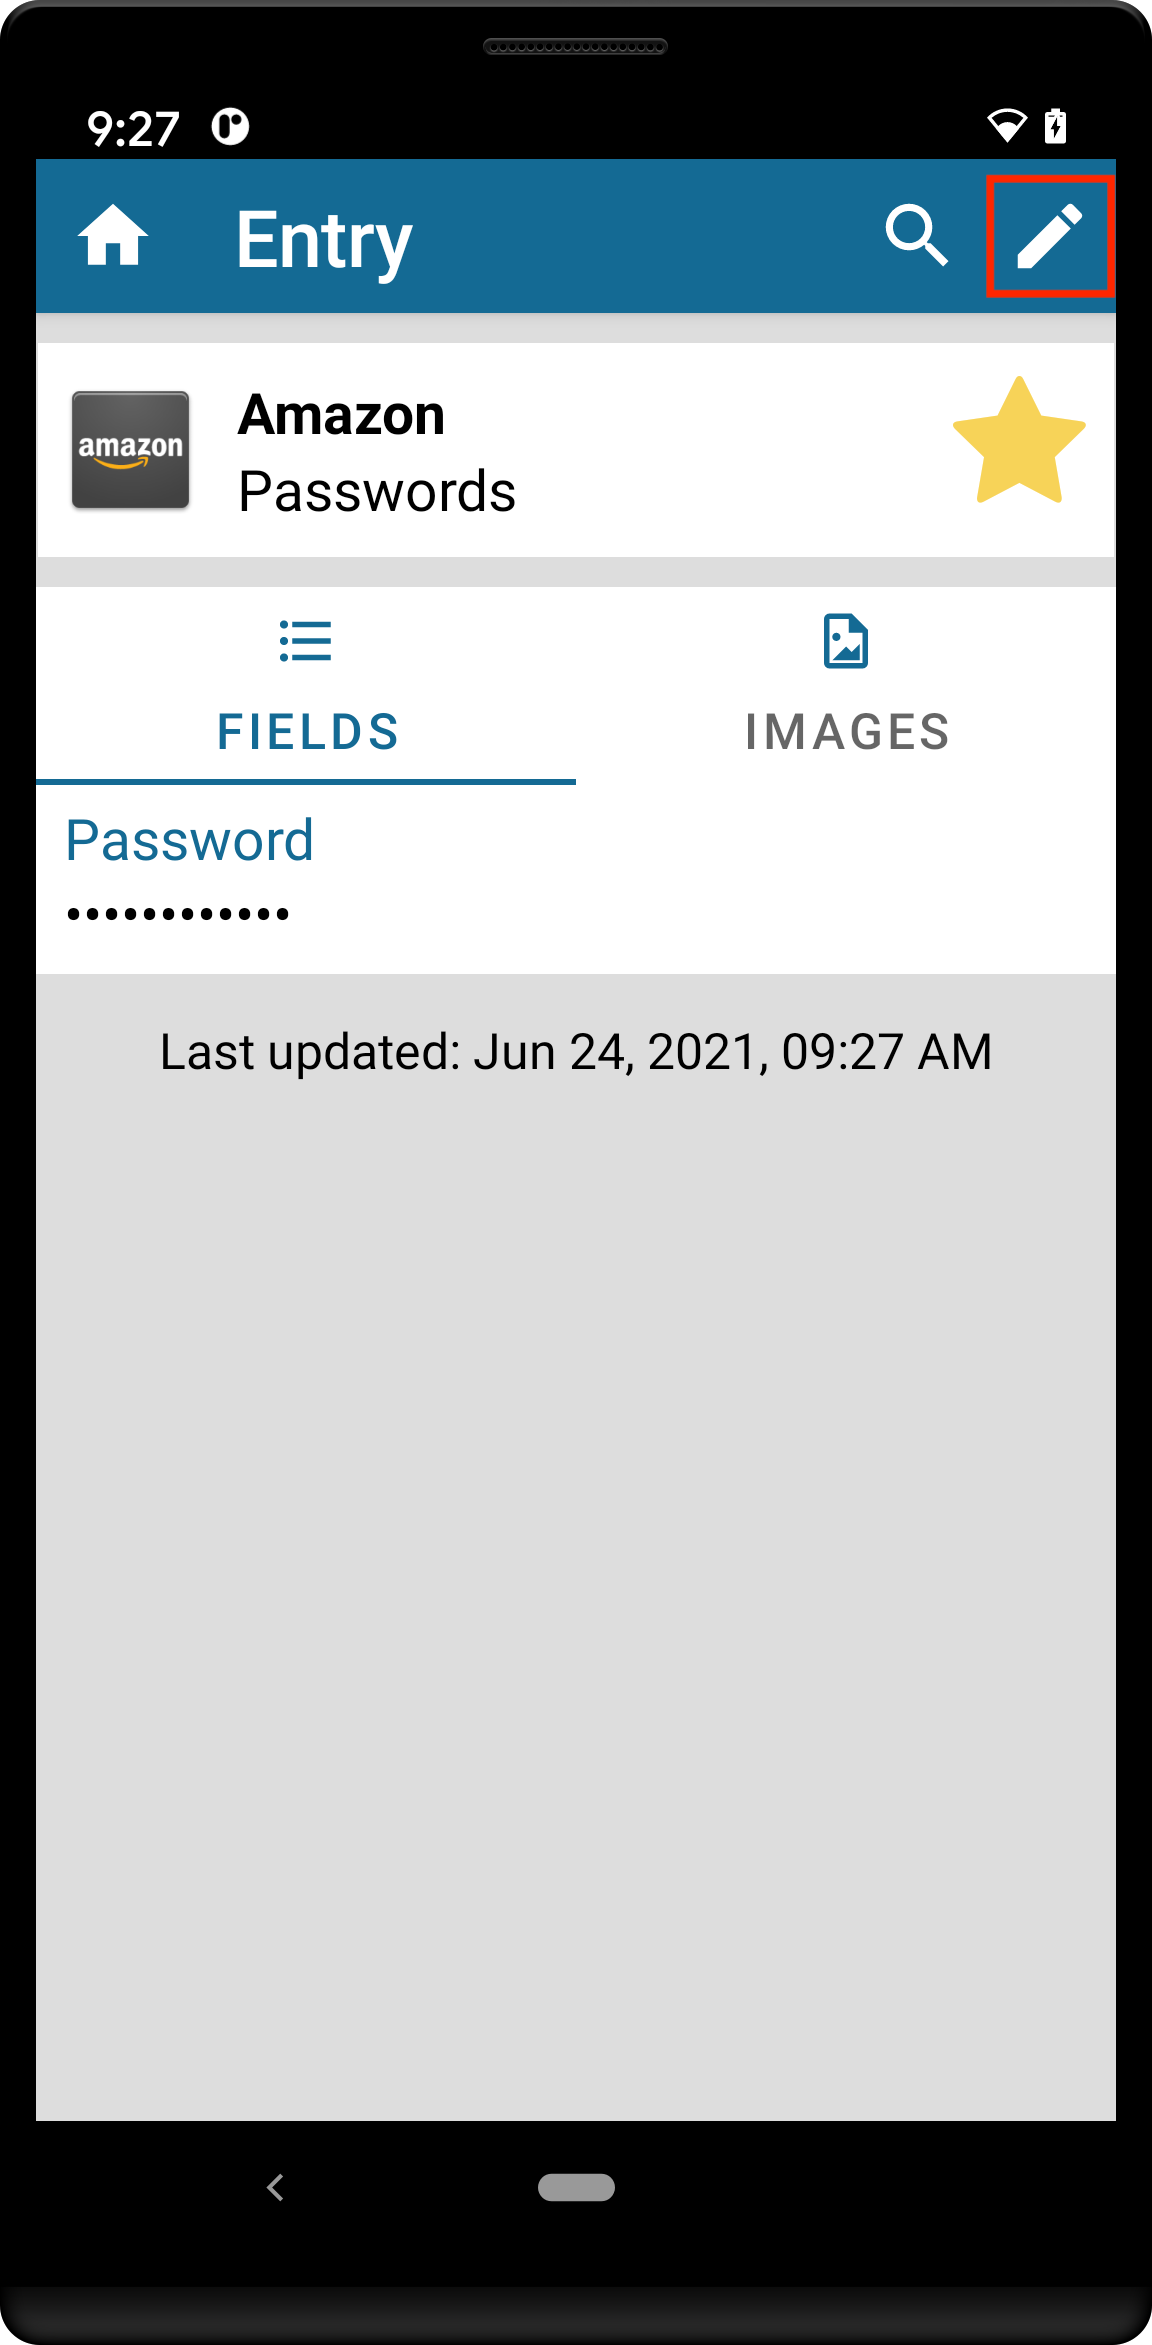
In the previous article we created a new, random password and stored it in an Entry record. Next we will add some more details about the account for this password to the Entry in order to make it more useful to us later (for instance, when we want to log in to the account).
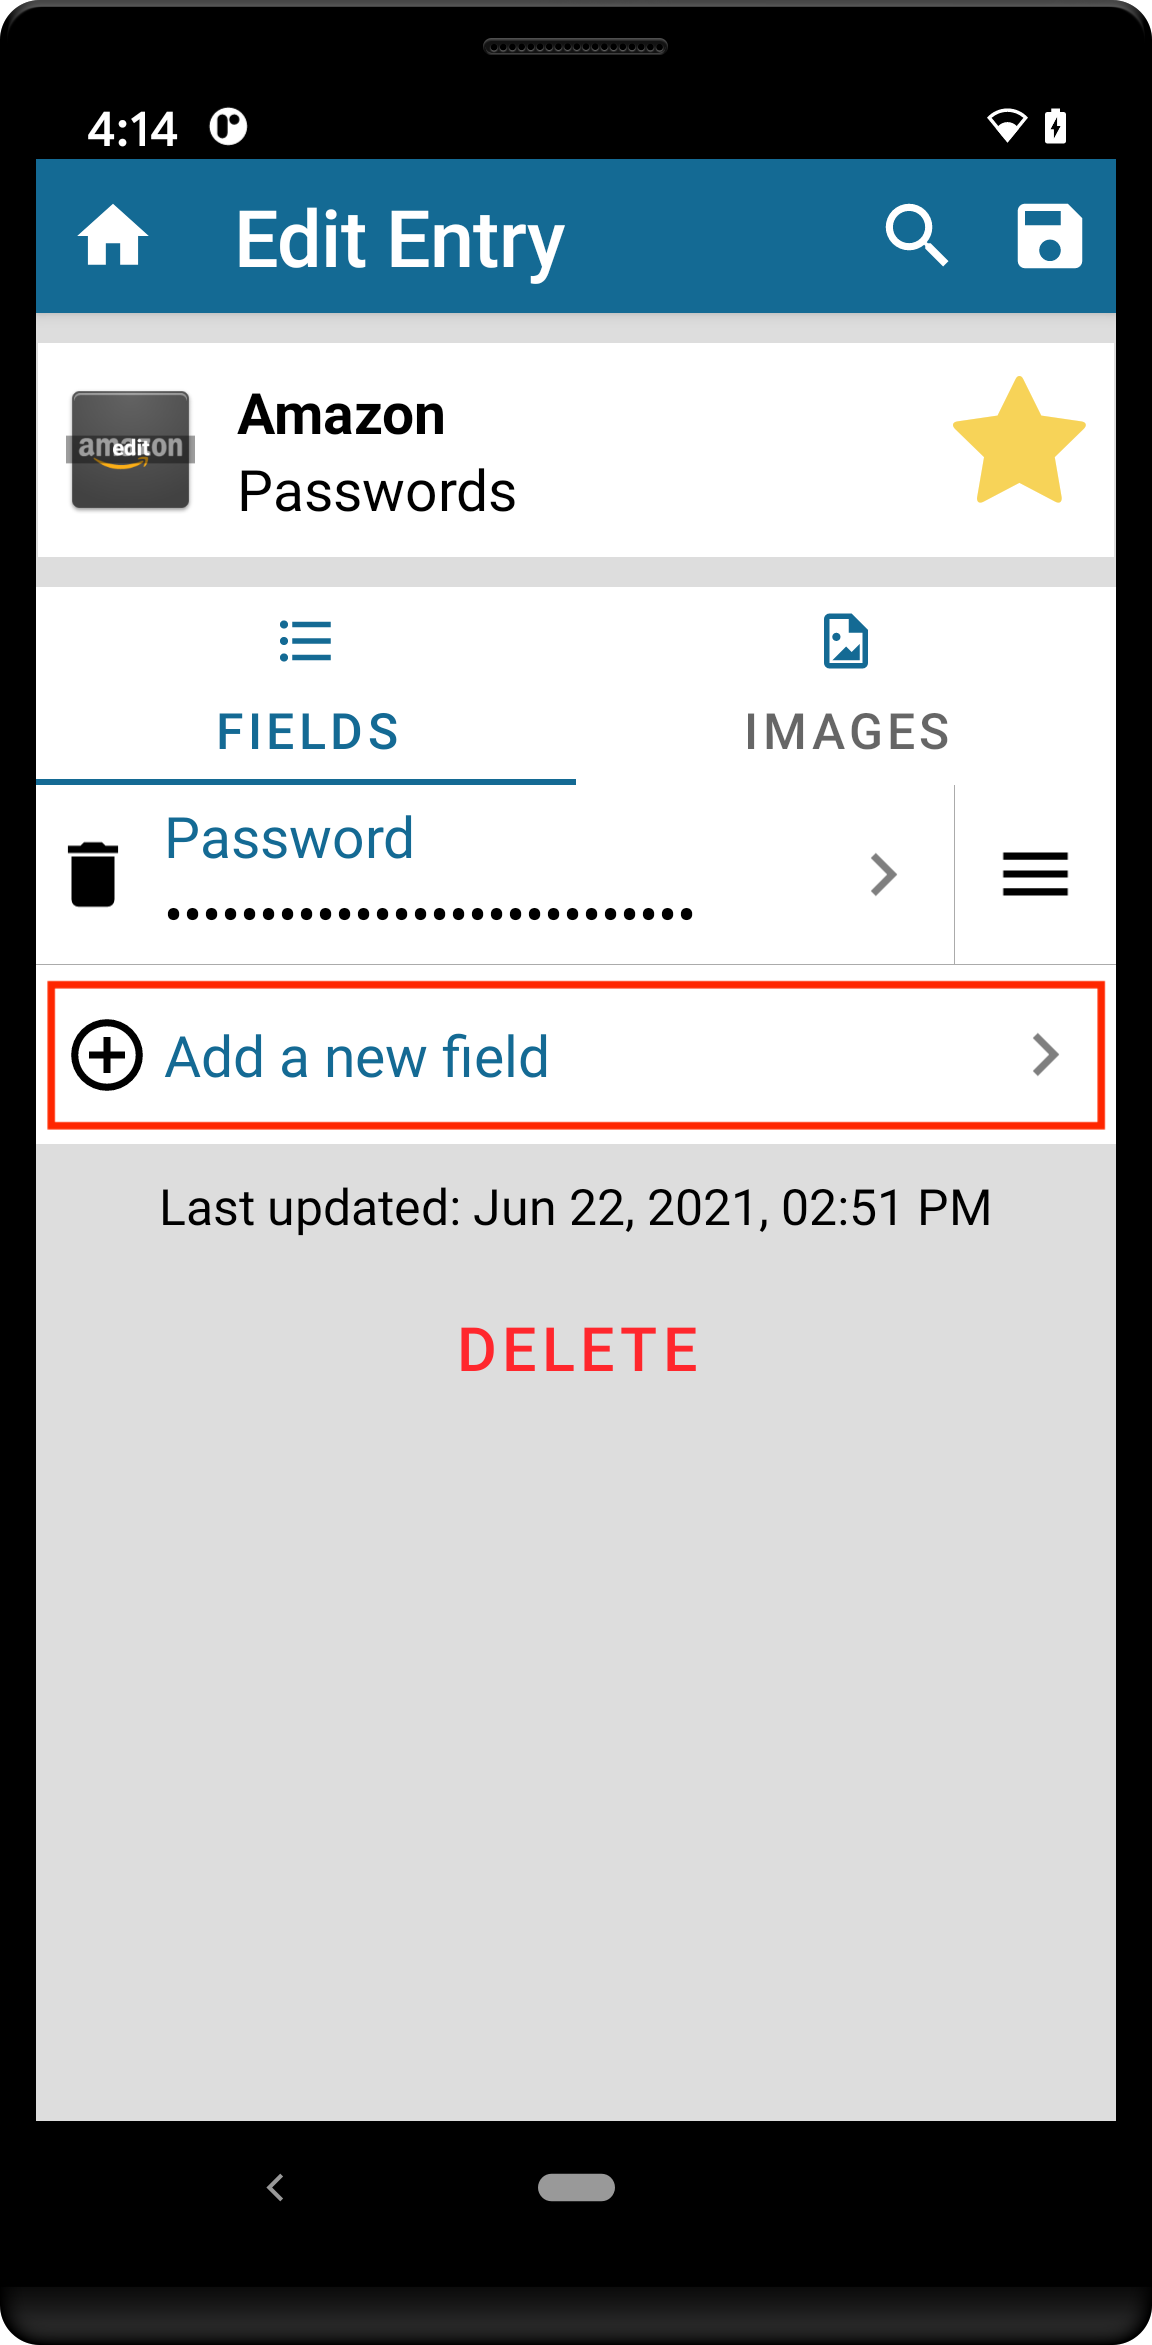
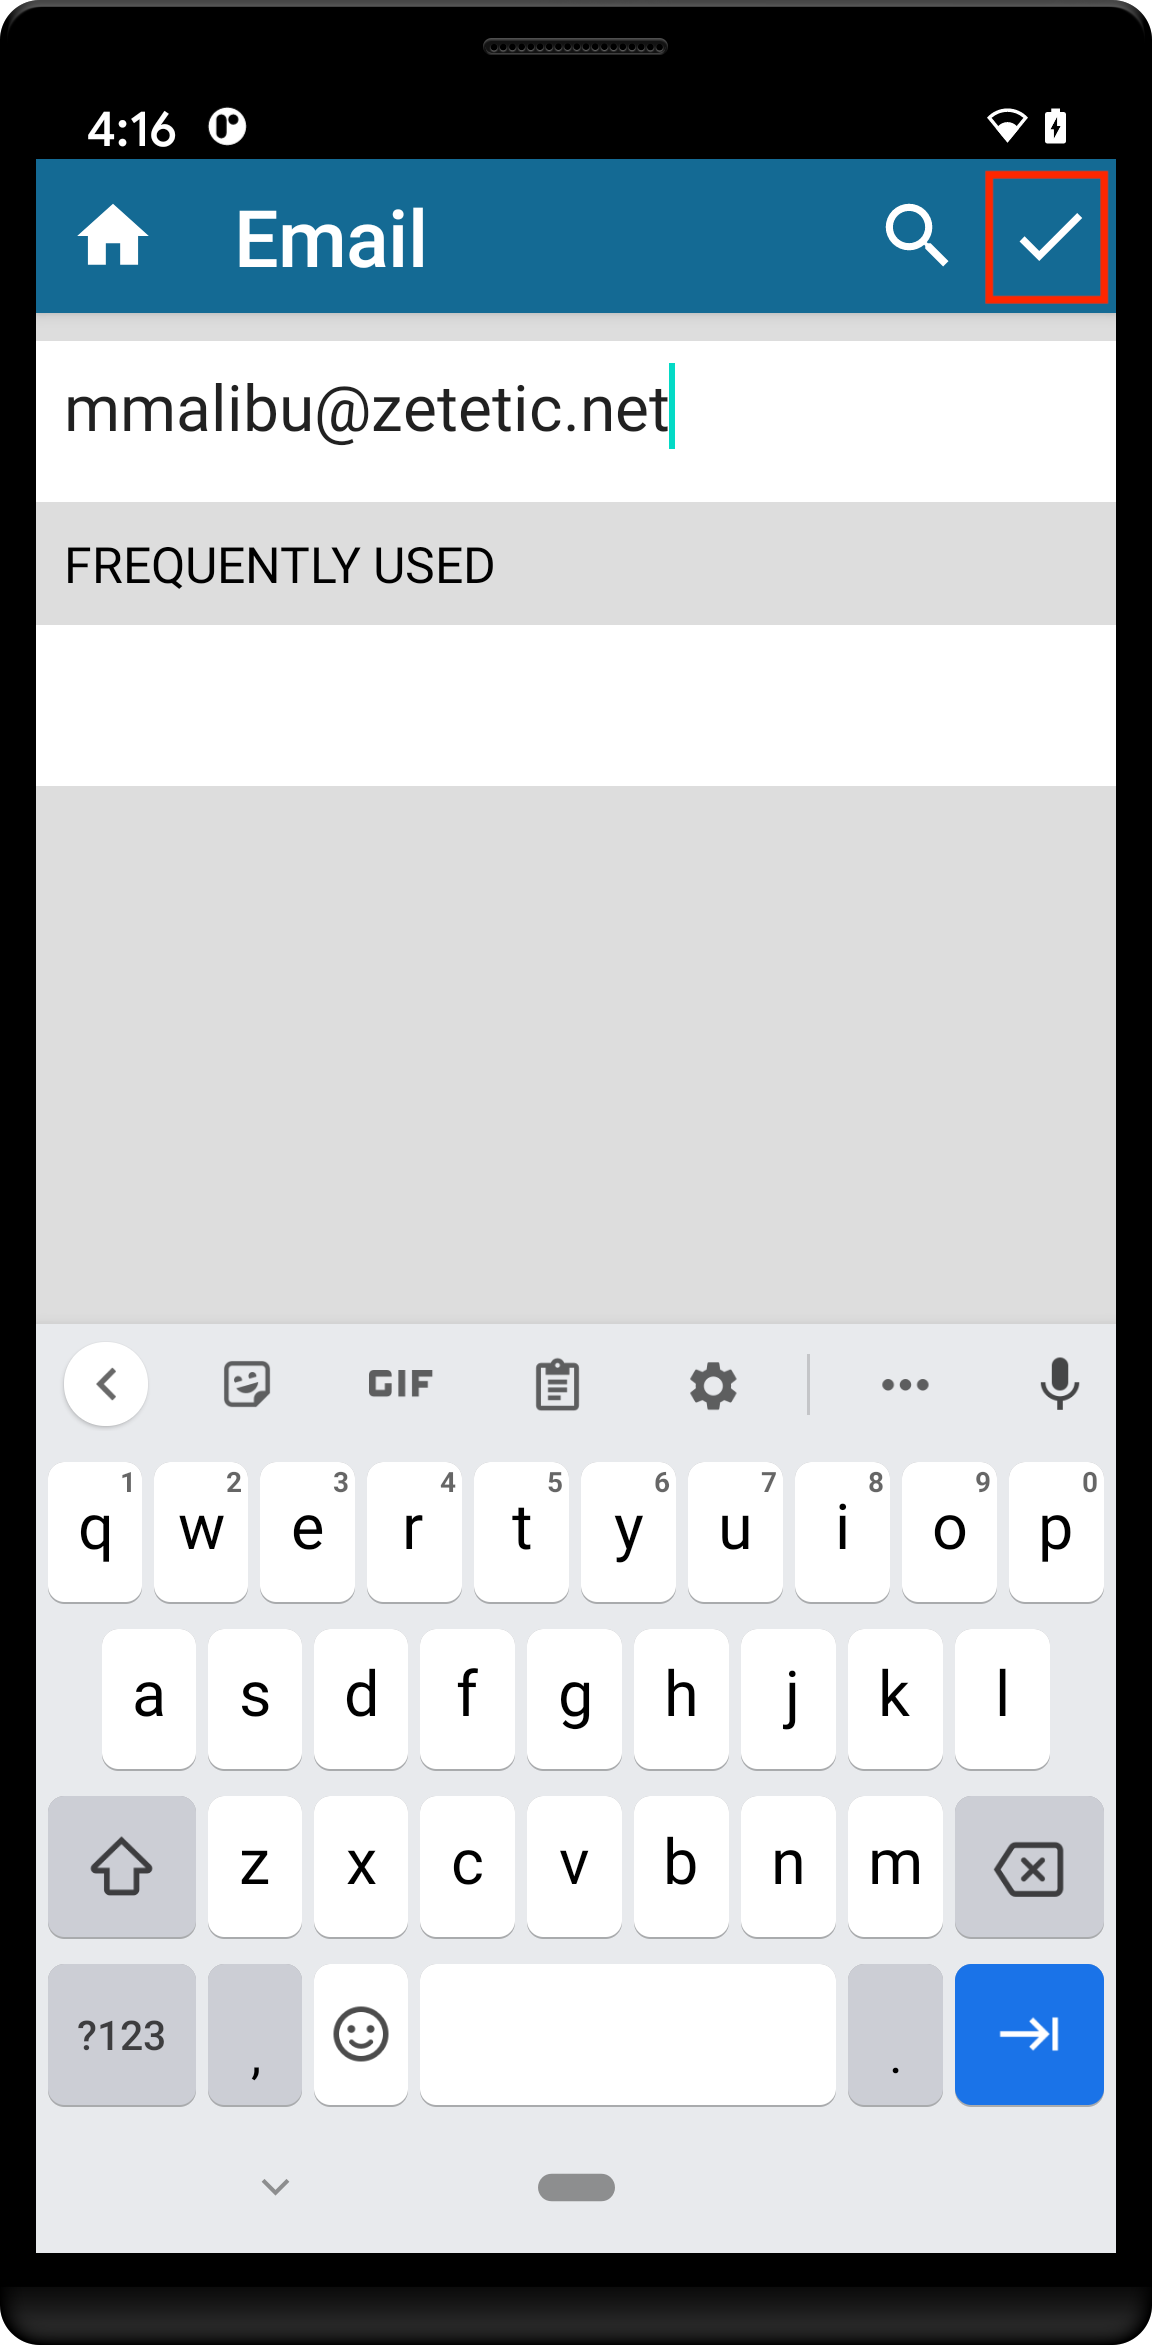
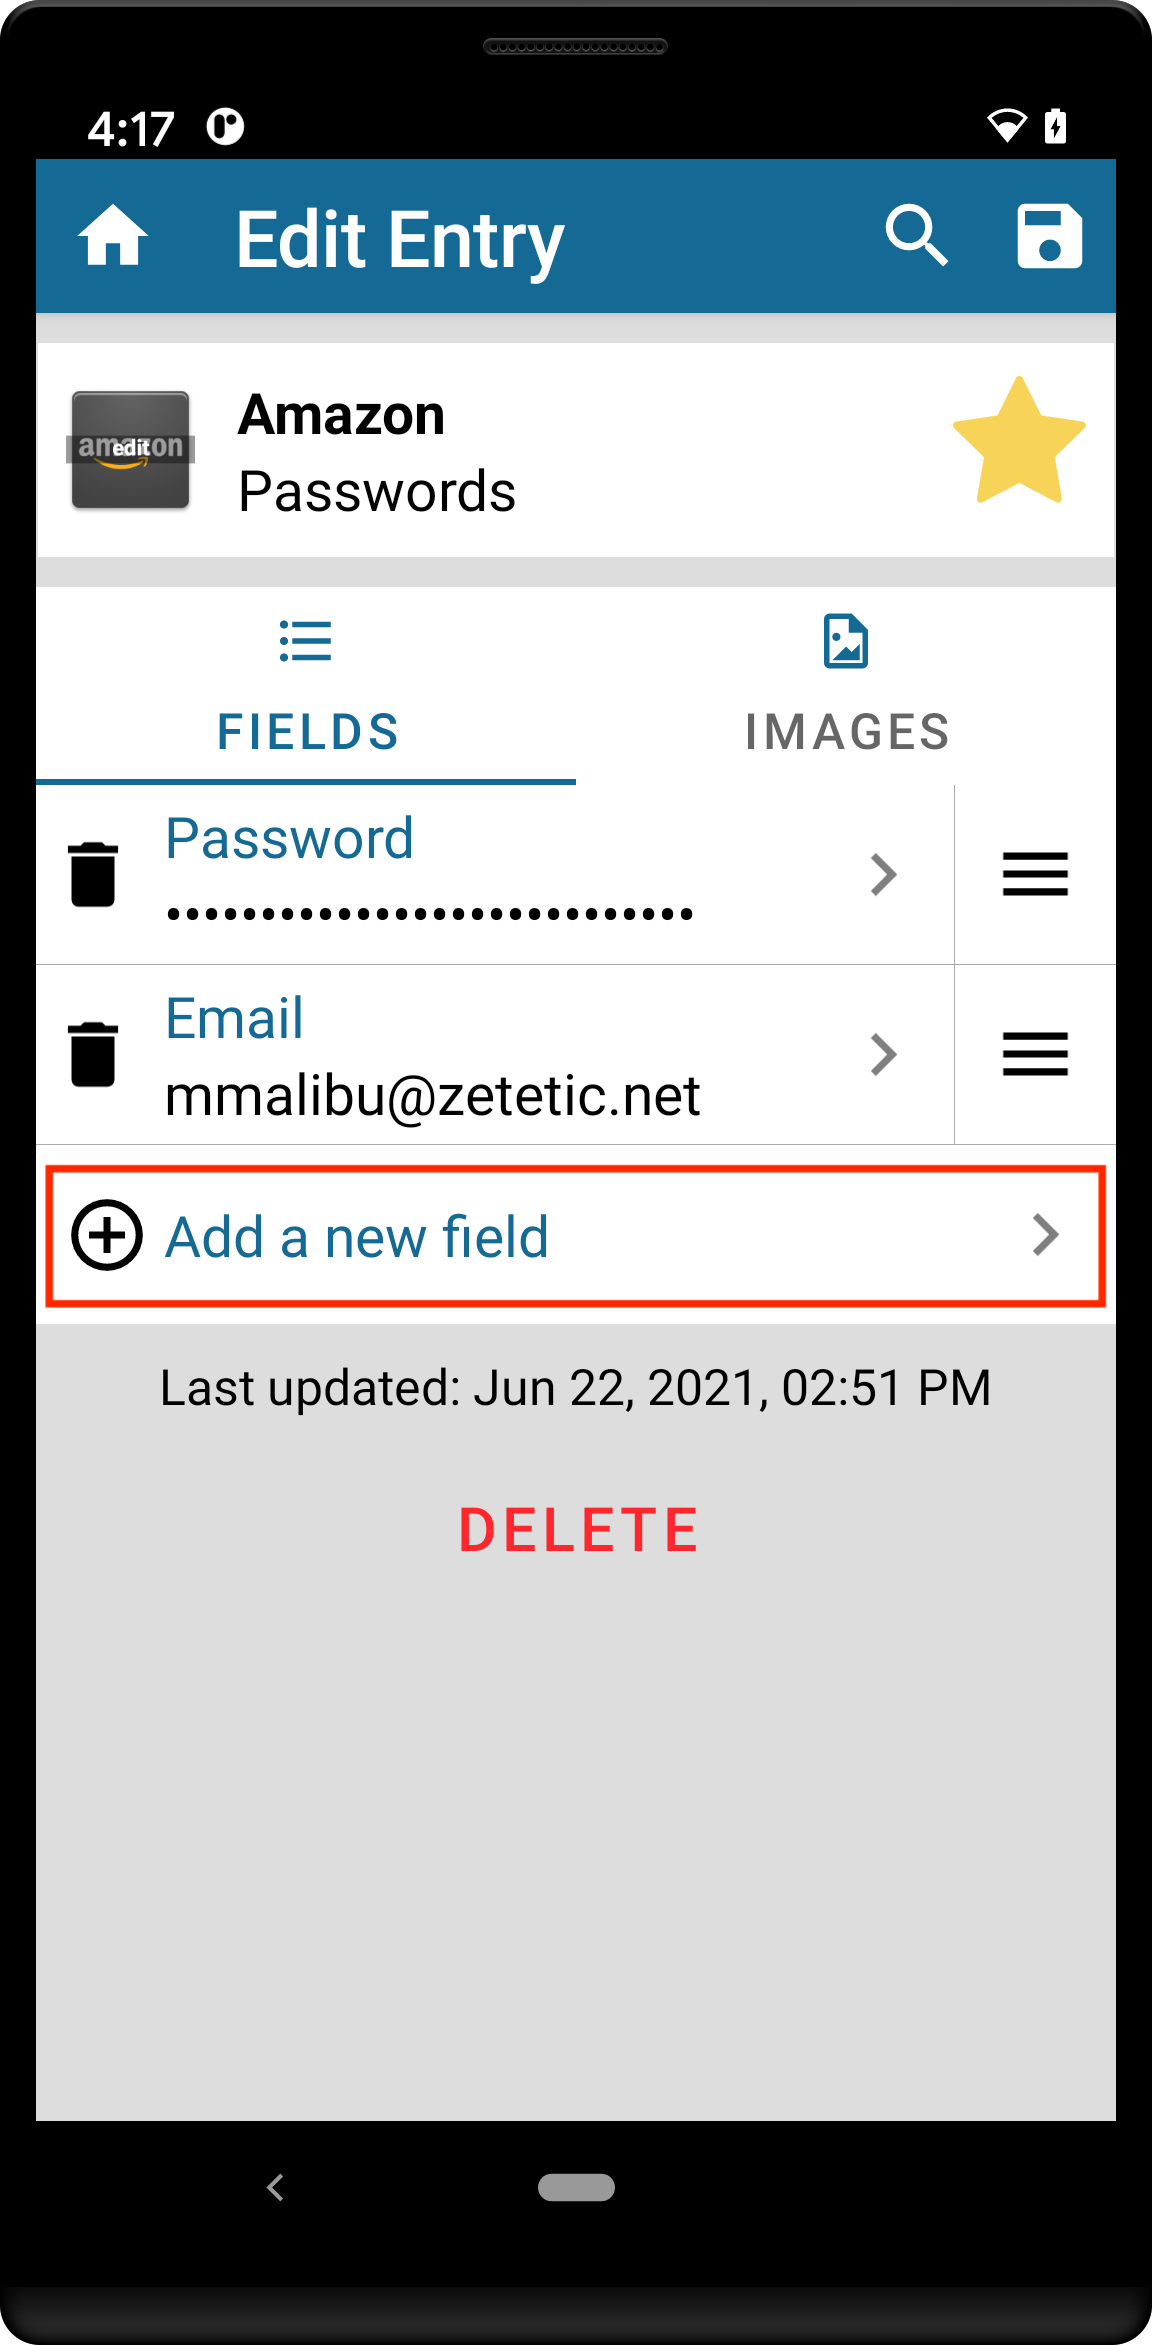
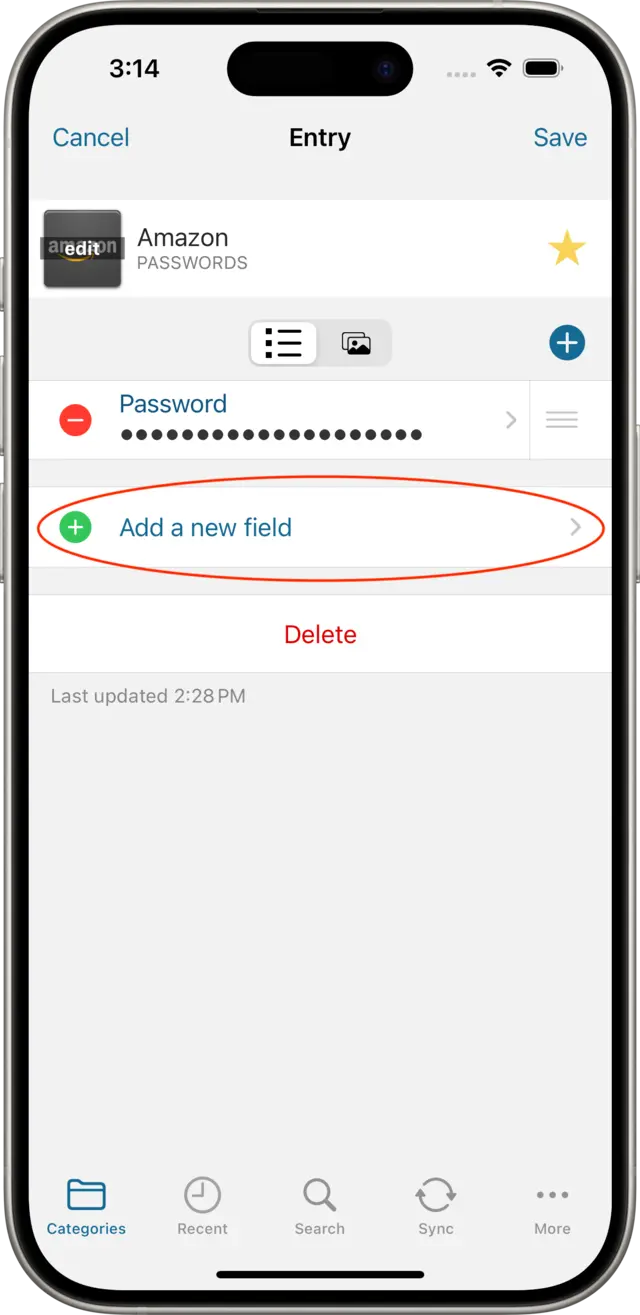
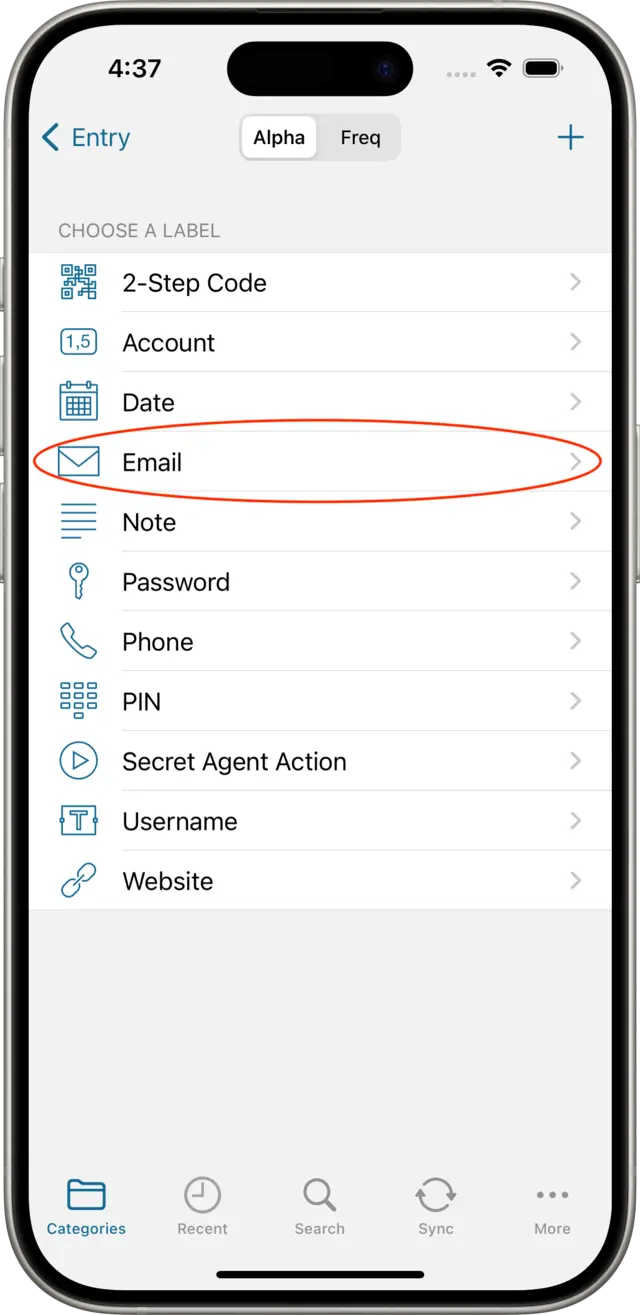
Tap on the edit button to resume editing your Entry, then tap on Add a new field. Then tap on Email in the list of labels that appears (alternatively, tap on Username if the identity associated with this account is not an email address). This will show the Email field editor. Type in the email address associated with this account and tap the ✓.
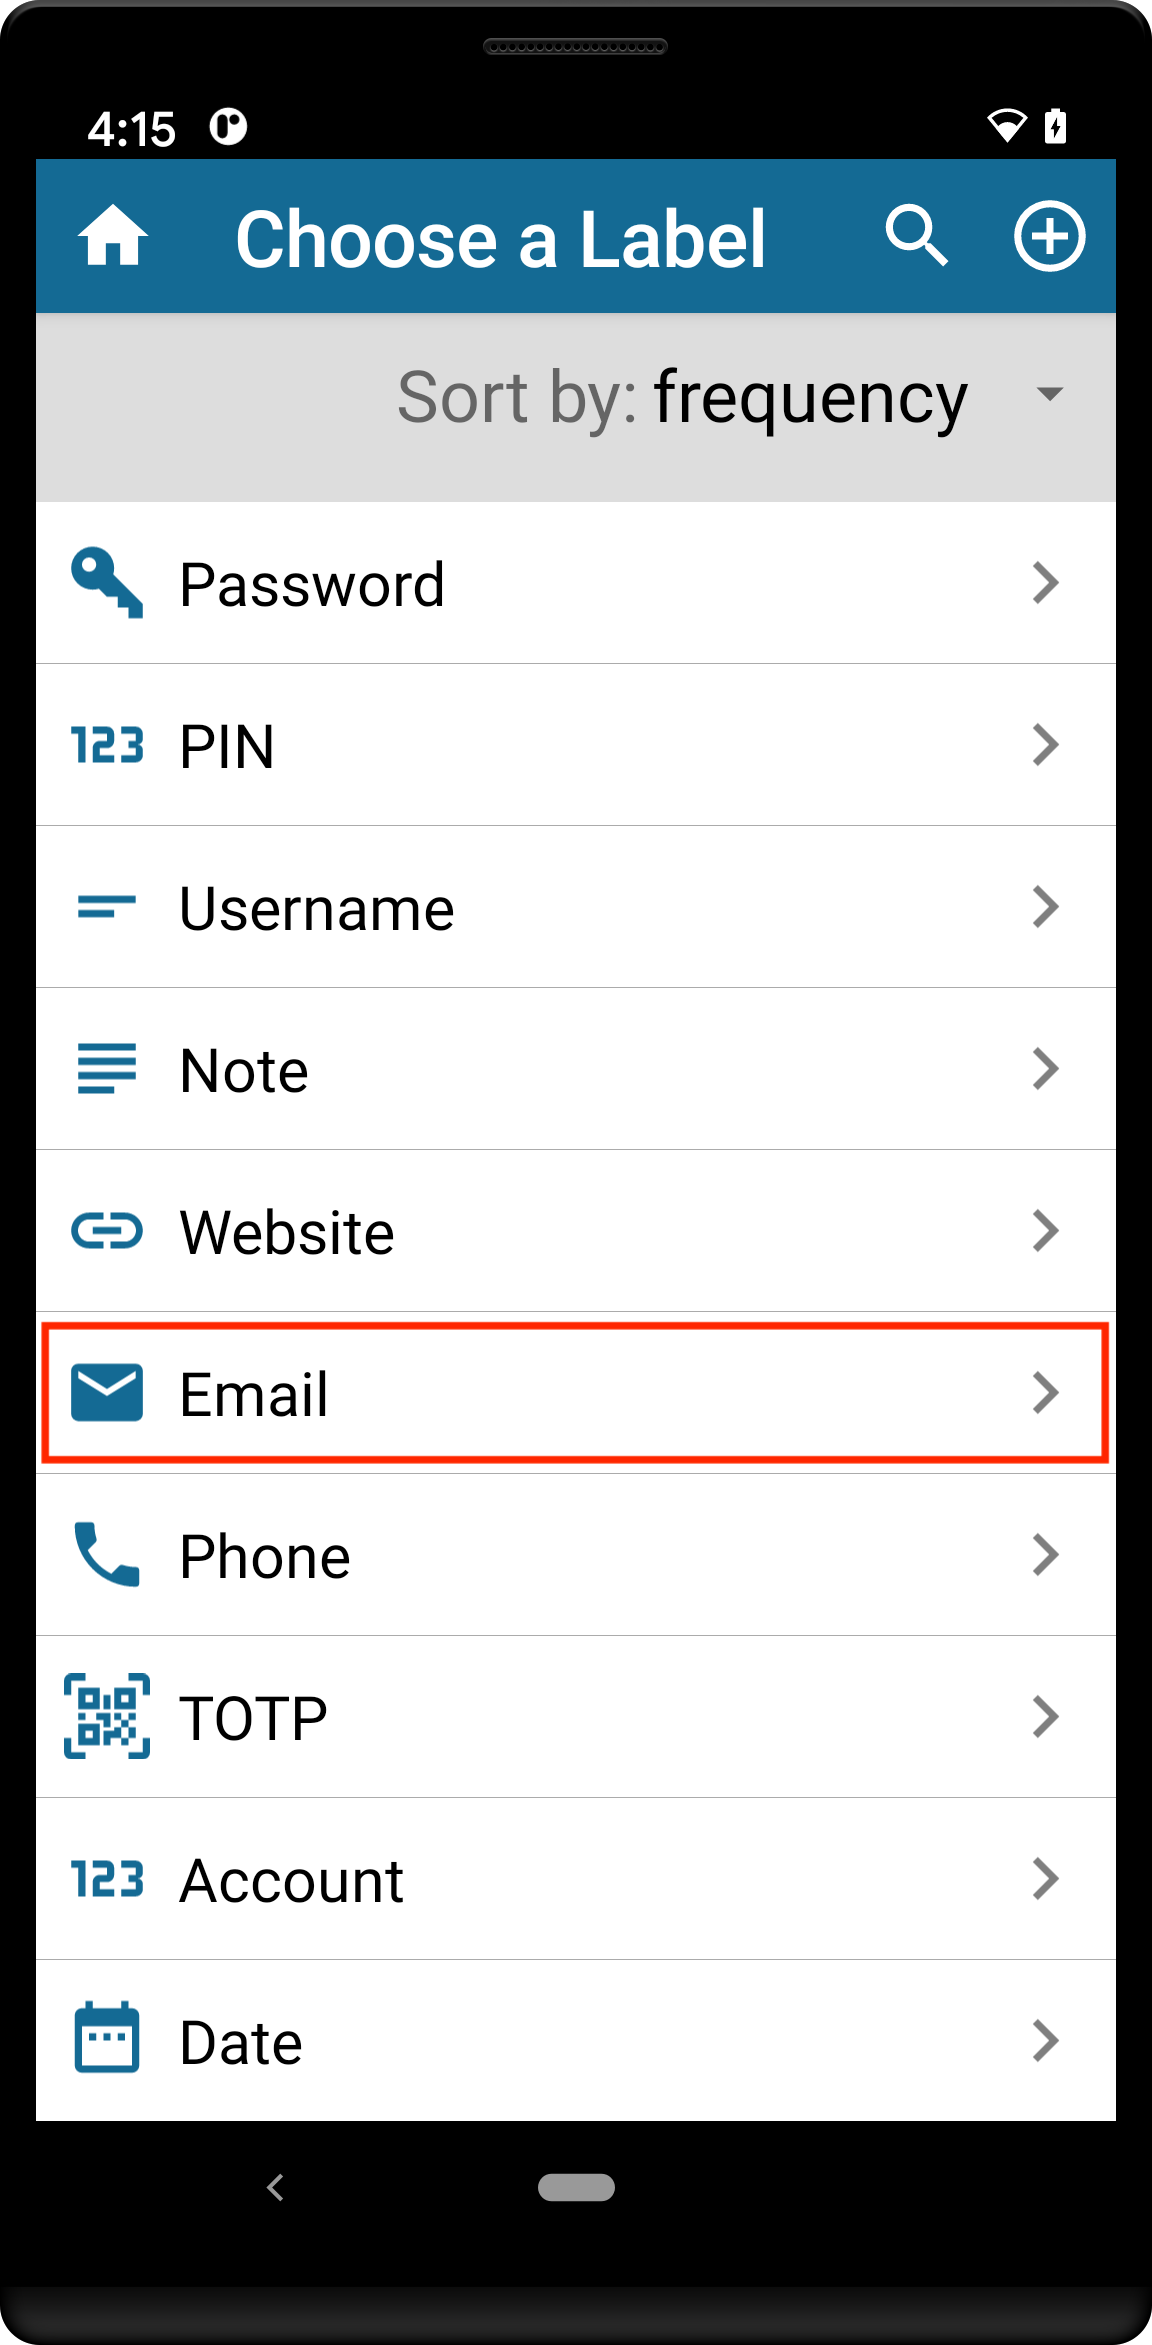
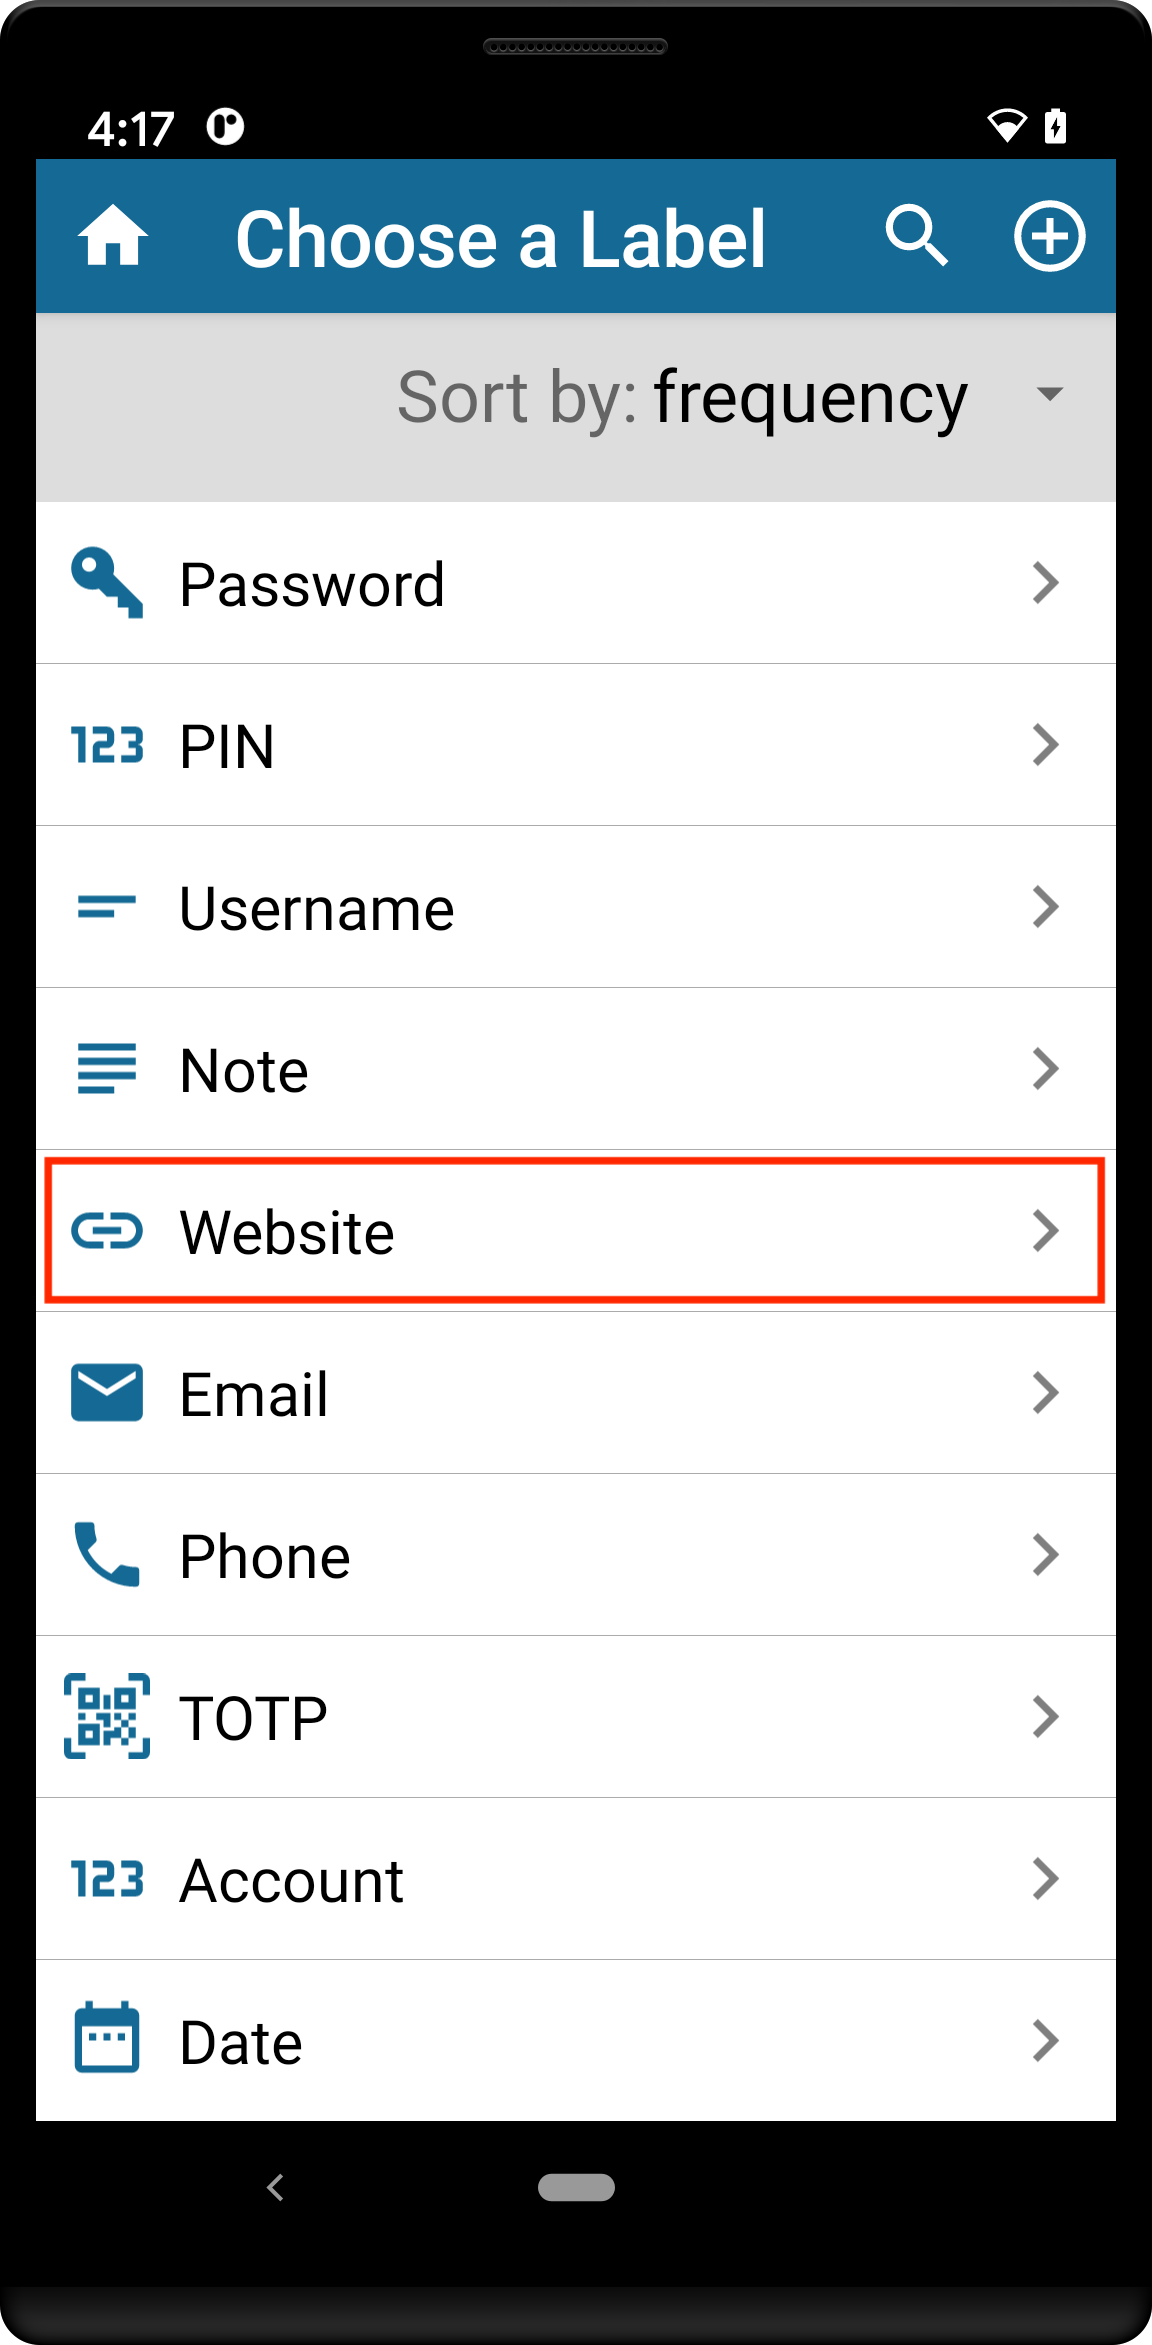
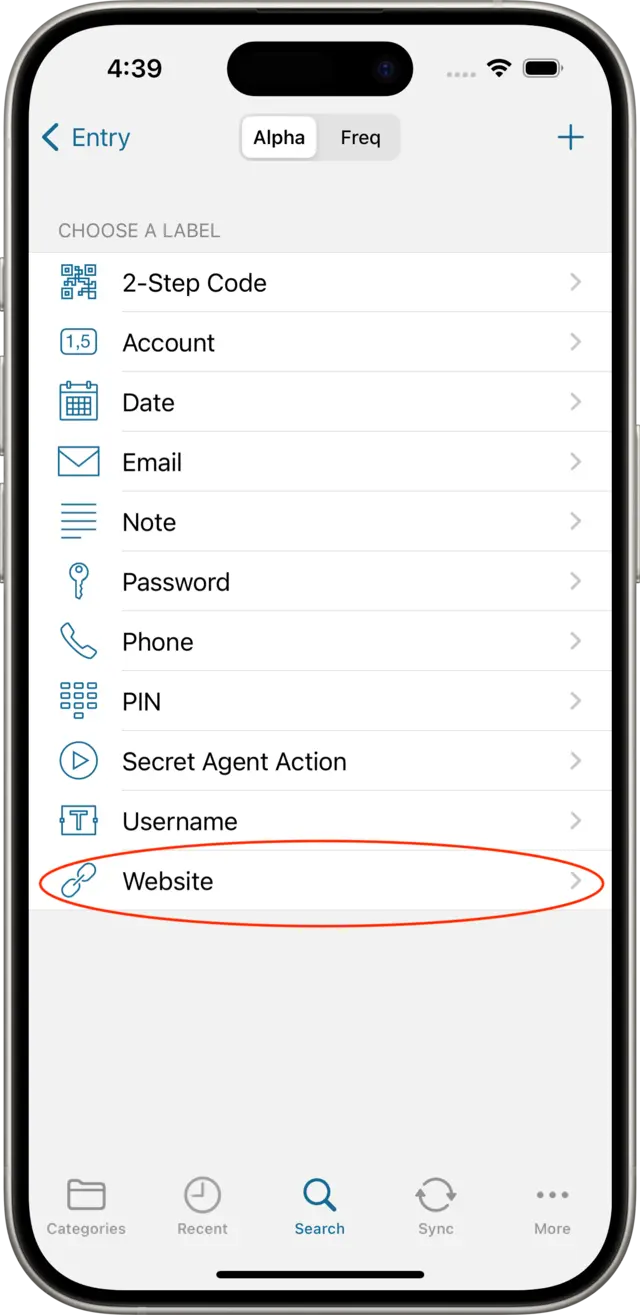
Next, we'll add a Website field to this Entry. Using almost the same process as above, tap on Add a new field, then tap on Website in the Label chooser, and the Website field editor will be displayed:
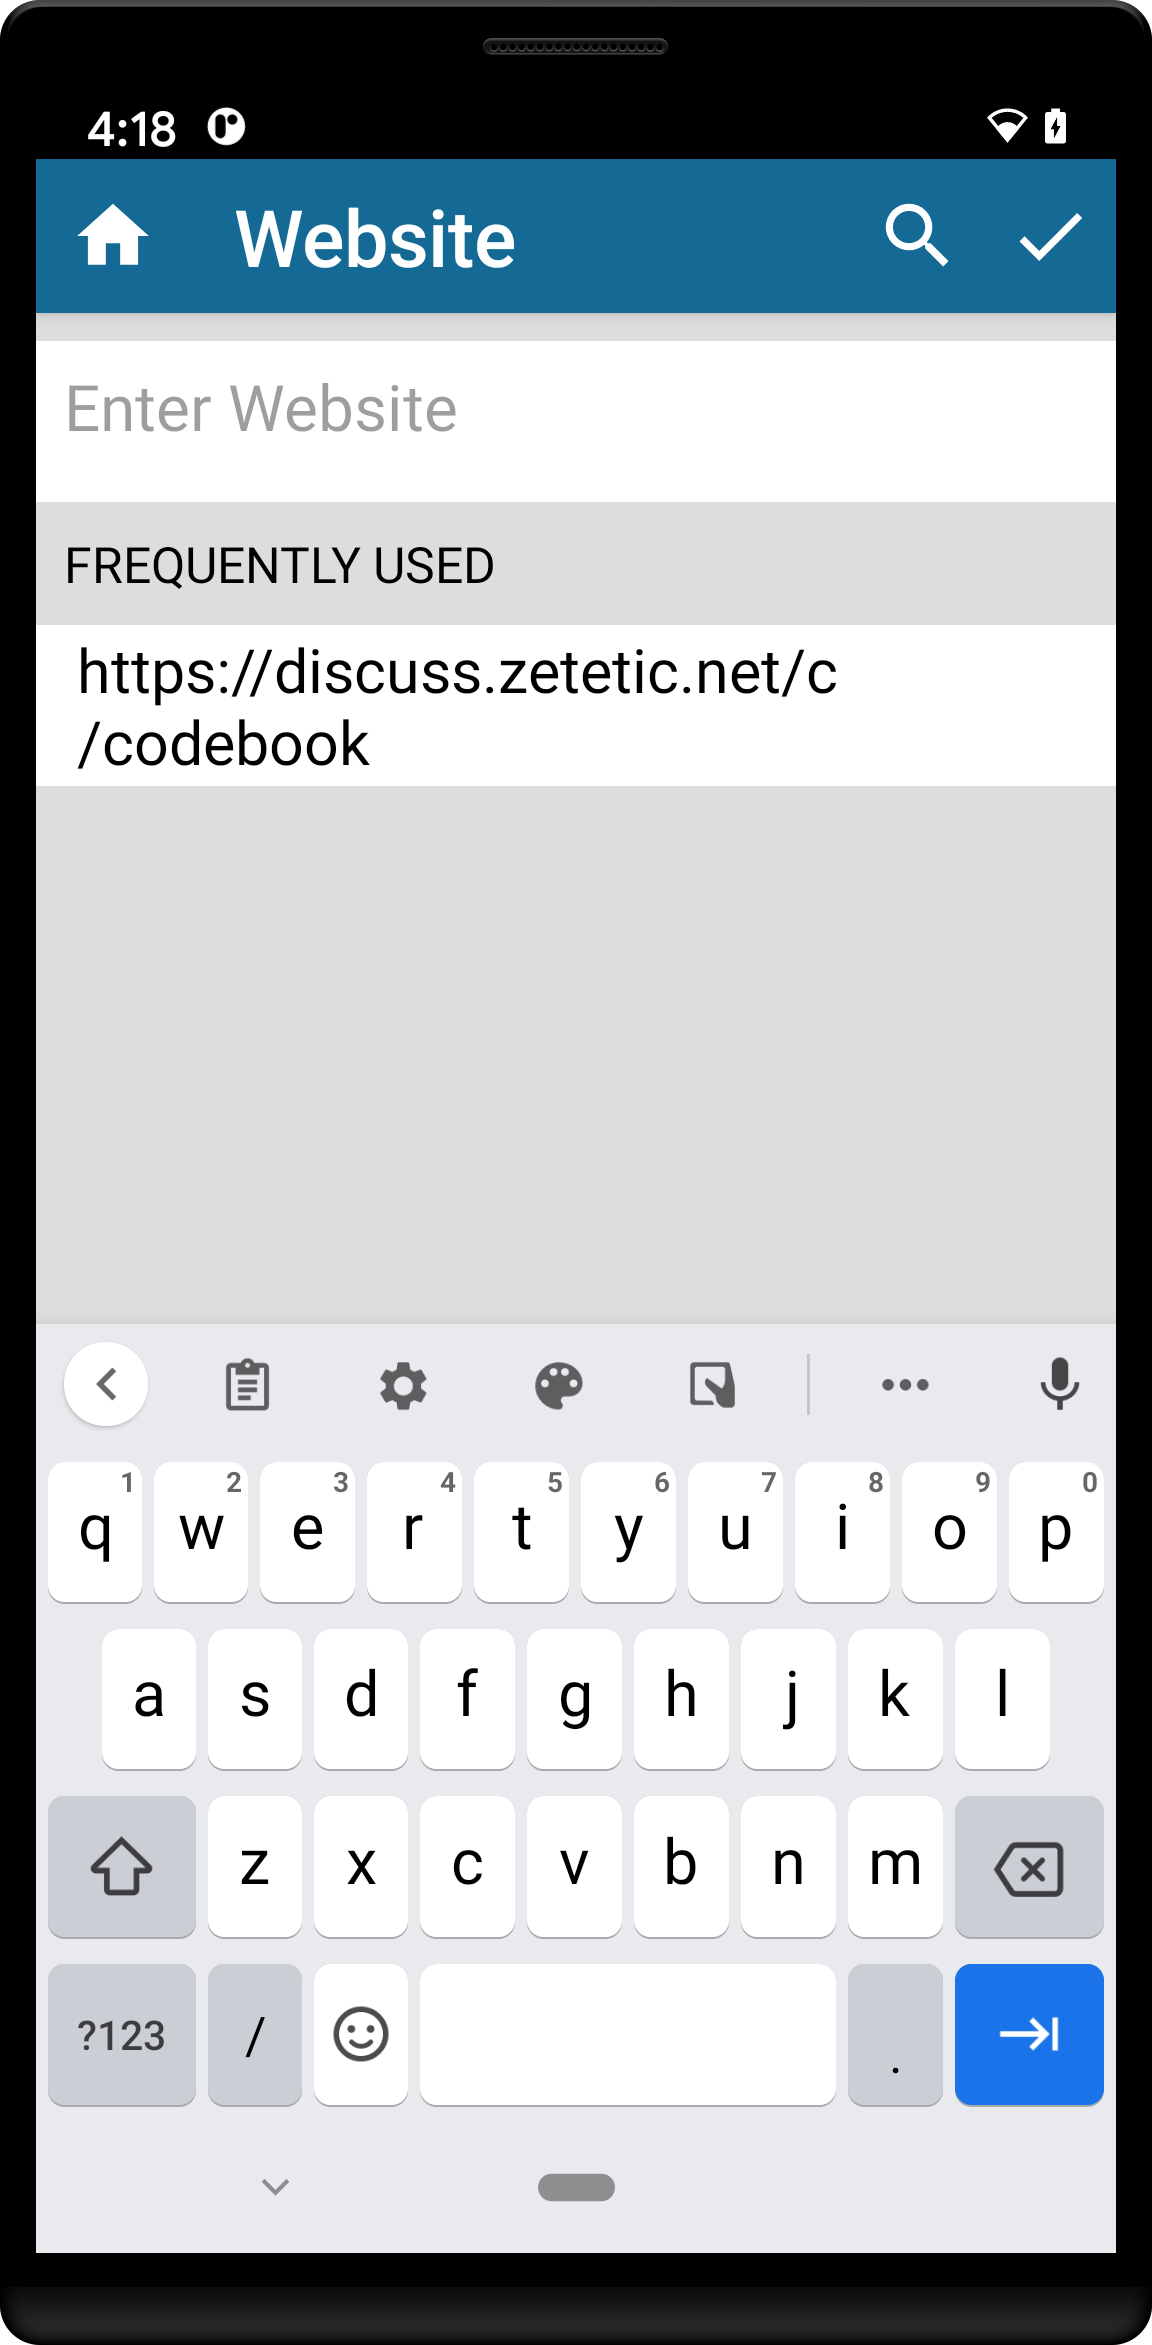
At to the top of the view is a text field where we can type in the website or domain name of the service associated with our account. Below we see the Frequently Used list: this is a list of other values you've already entered into this type of field, to save you a little time in the future. The value there is coming from the "My Website" example entry, created during installation.
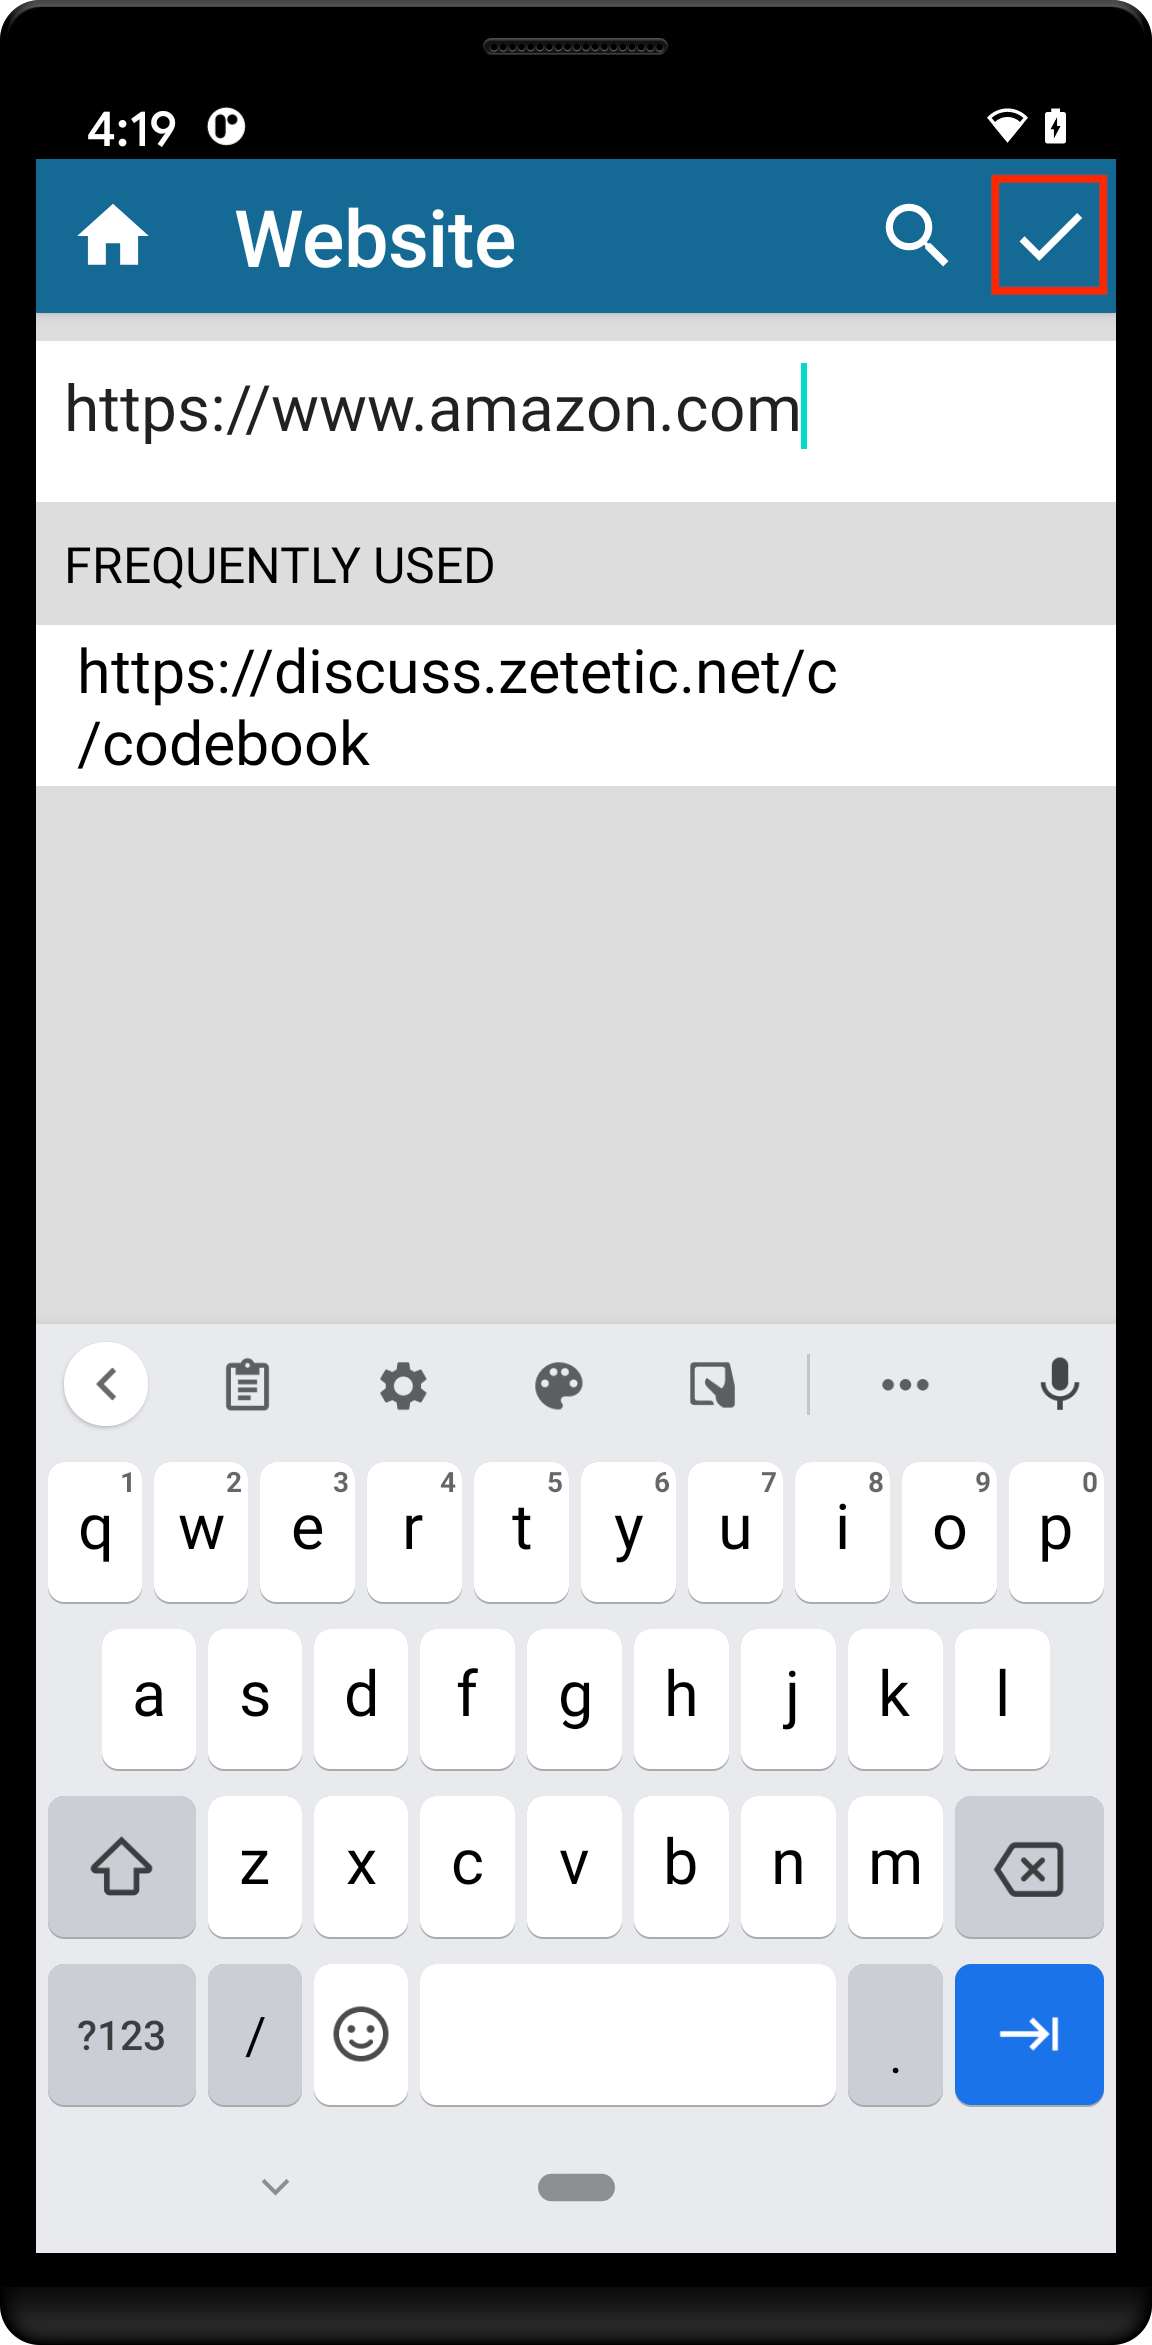
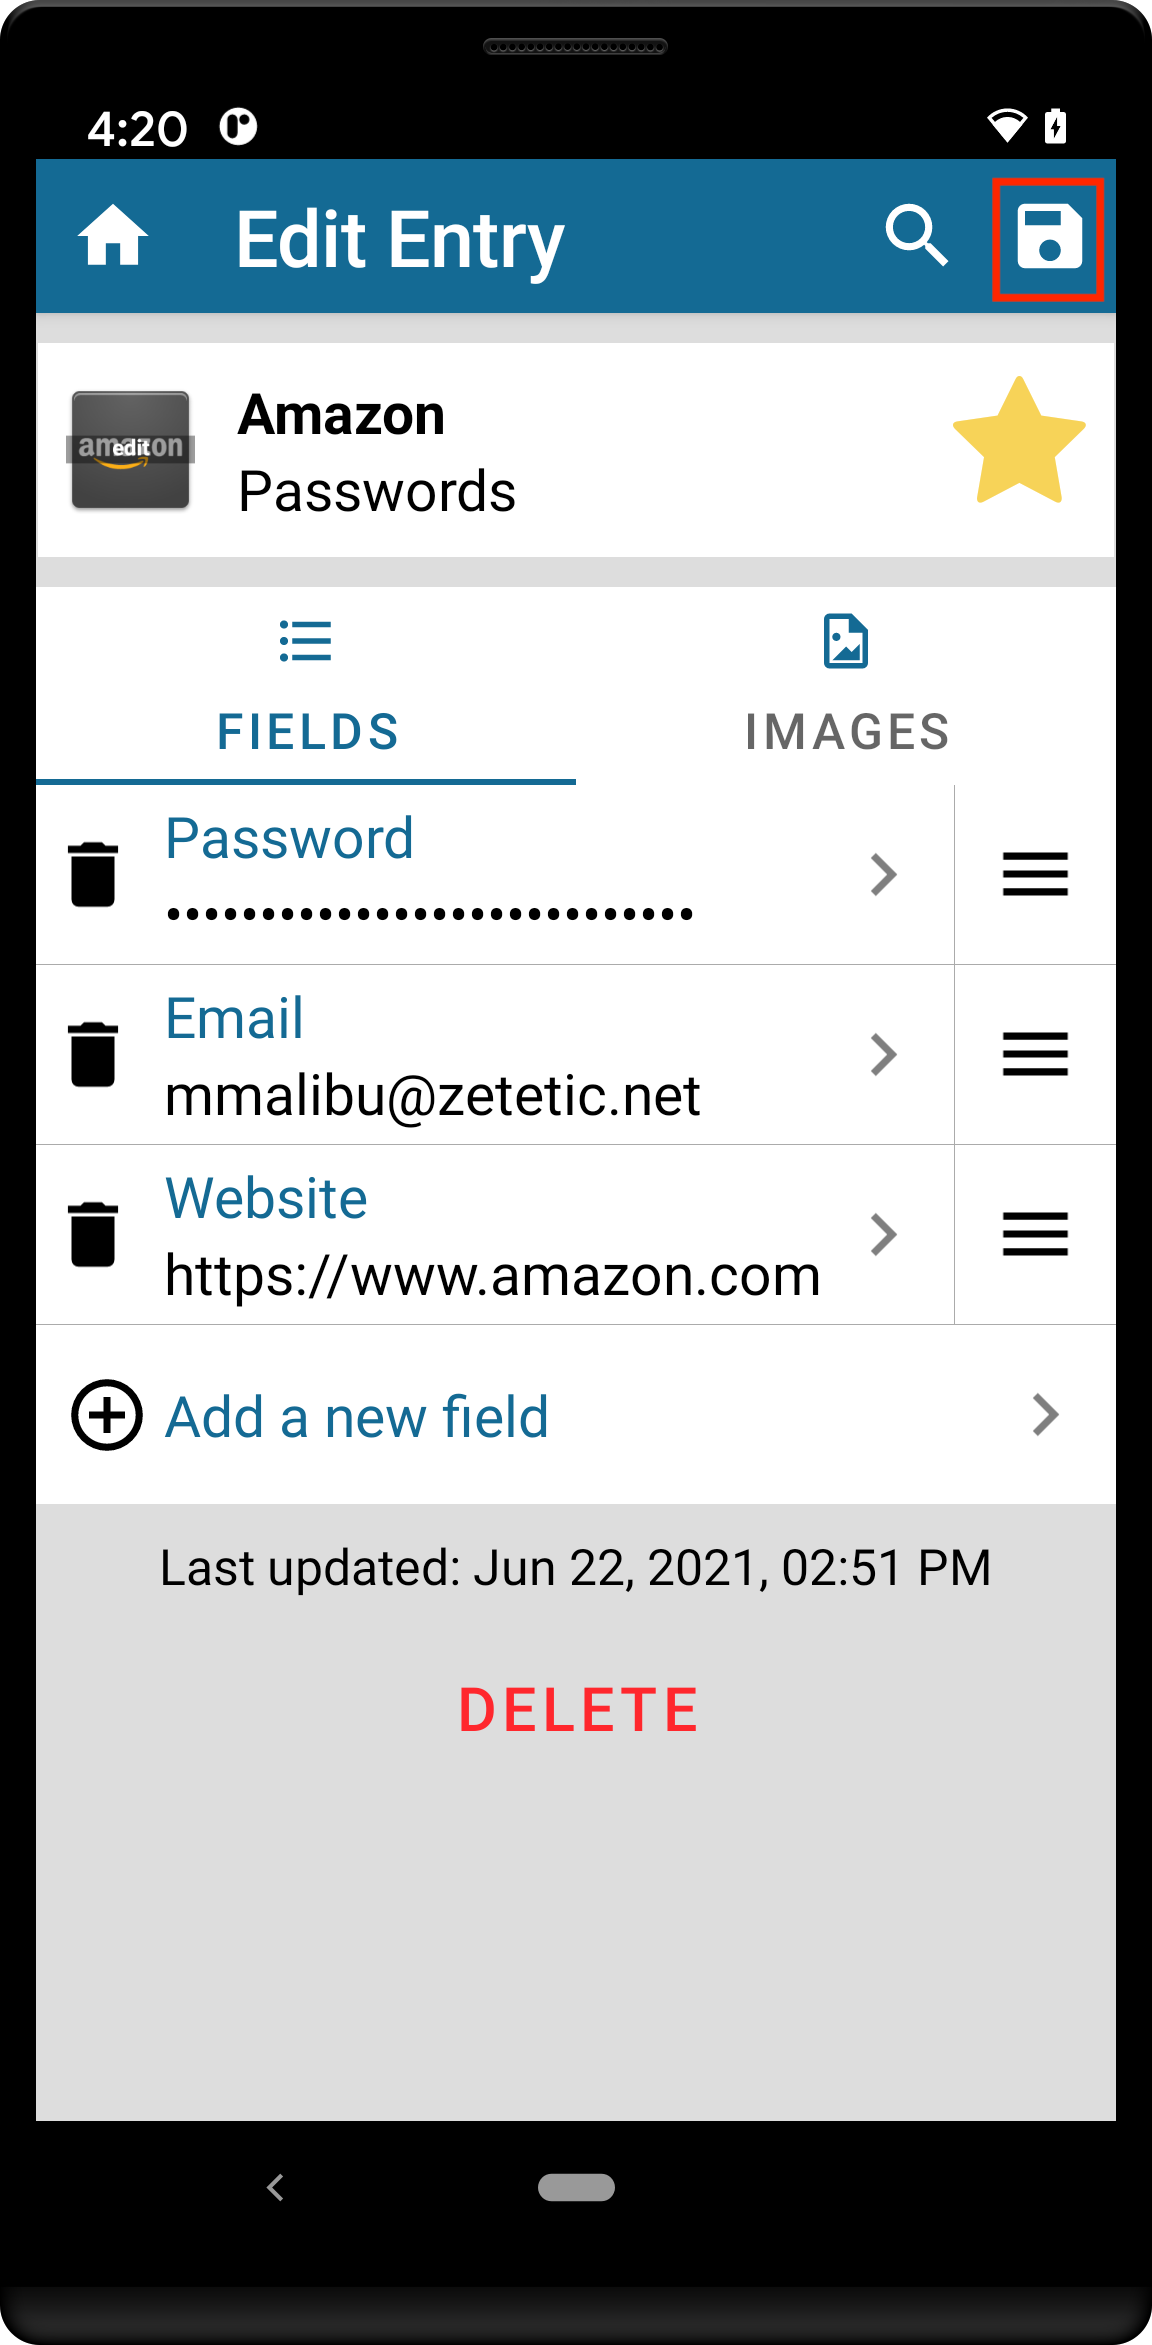
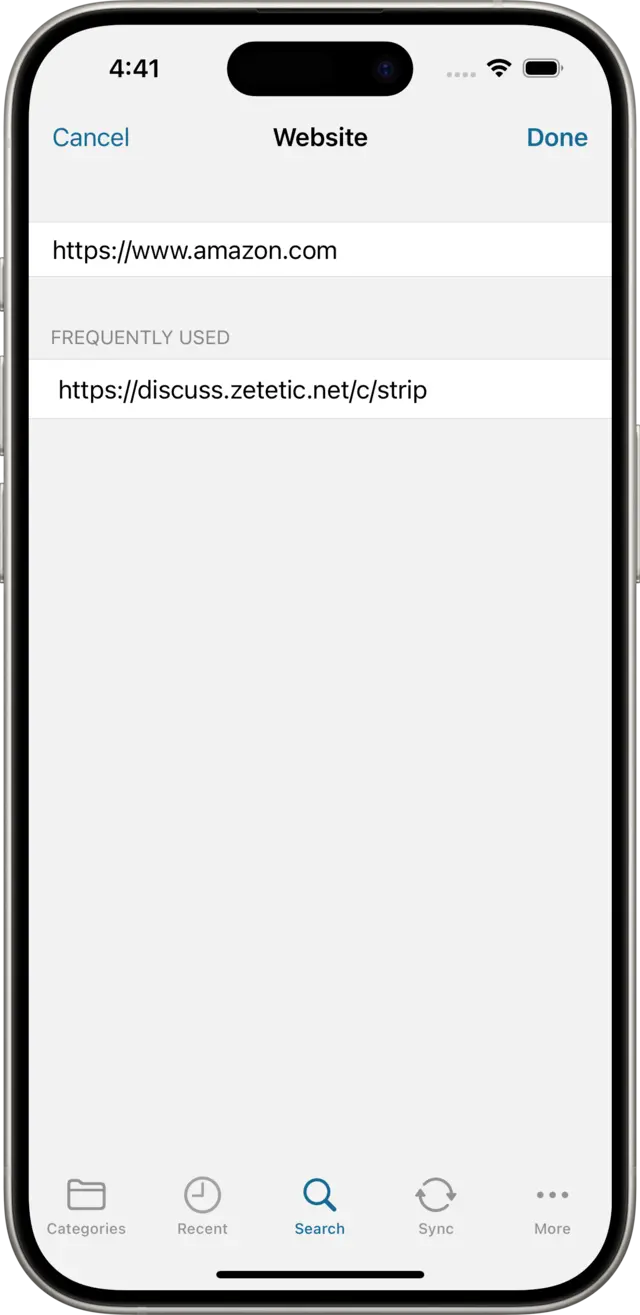
Since in this example we are using an Amazon account, we'll enter https://www.amazon.com. A full URL is not required, you could simply enter the hostname of the website or service associated with the account, for instance, dropbox.com. Then we tap the ✓ on the Website view, and the Save icon on the Entry view to save our changes.
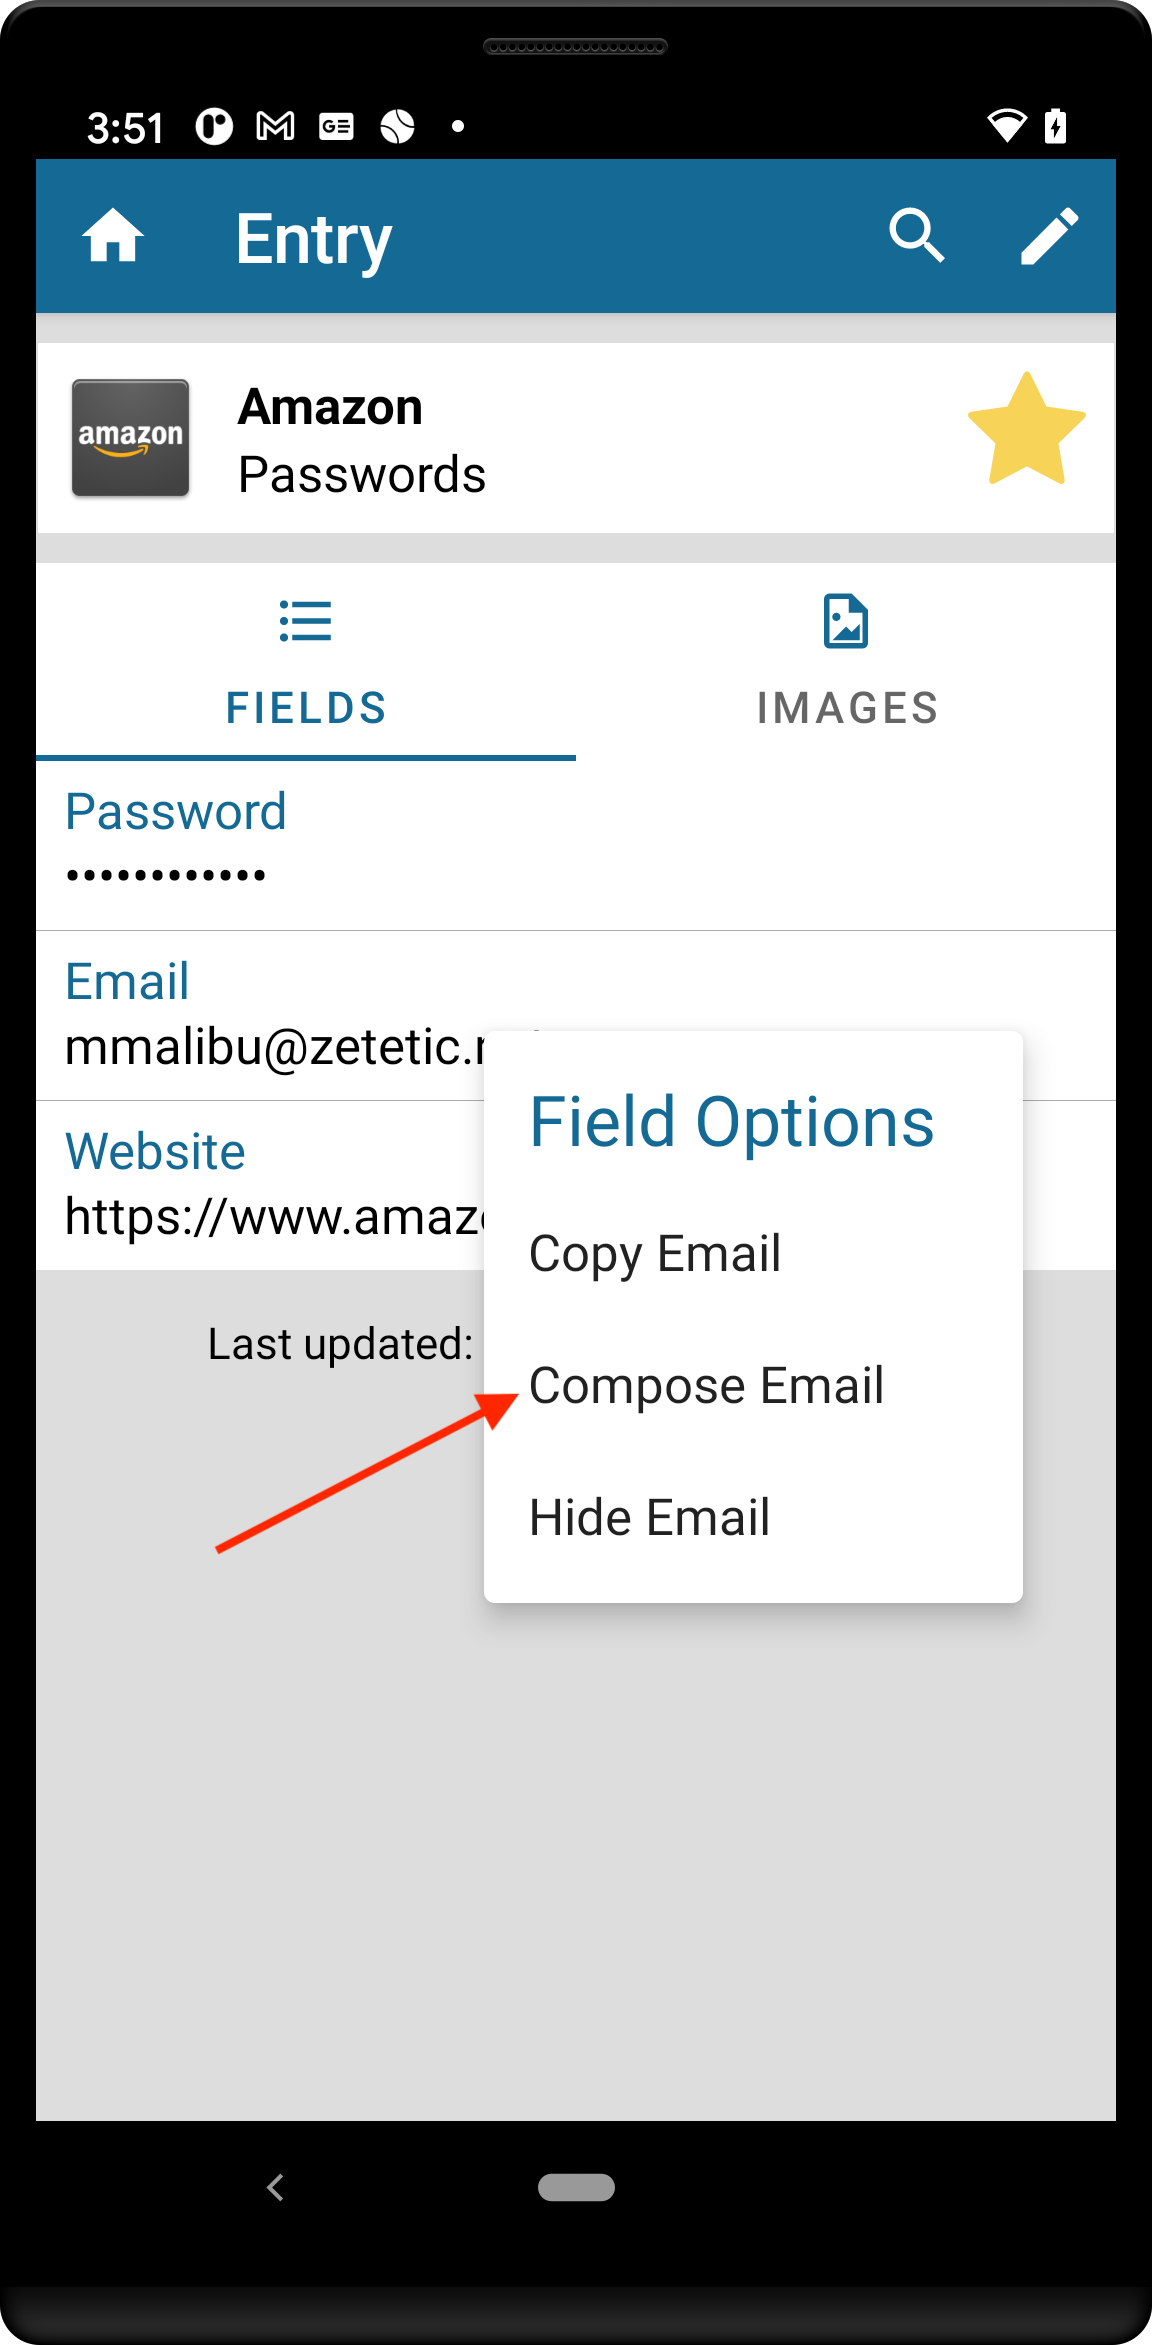
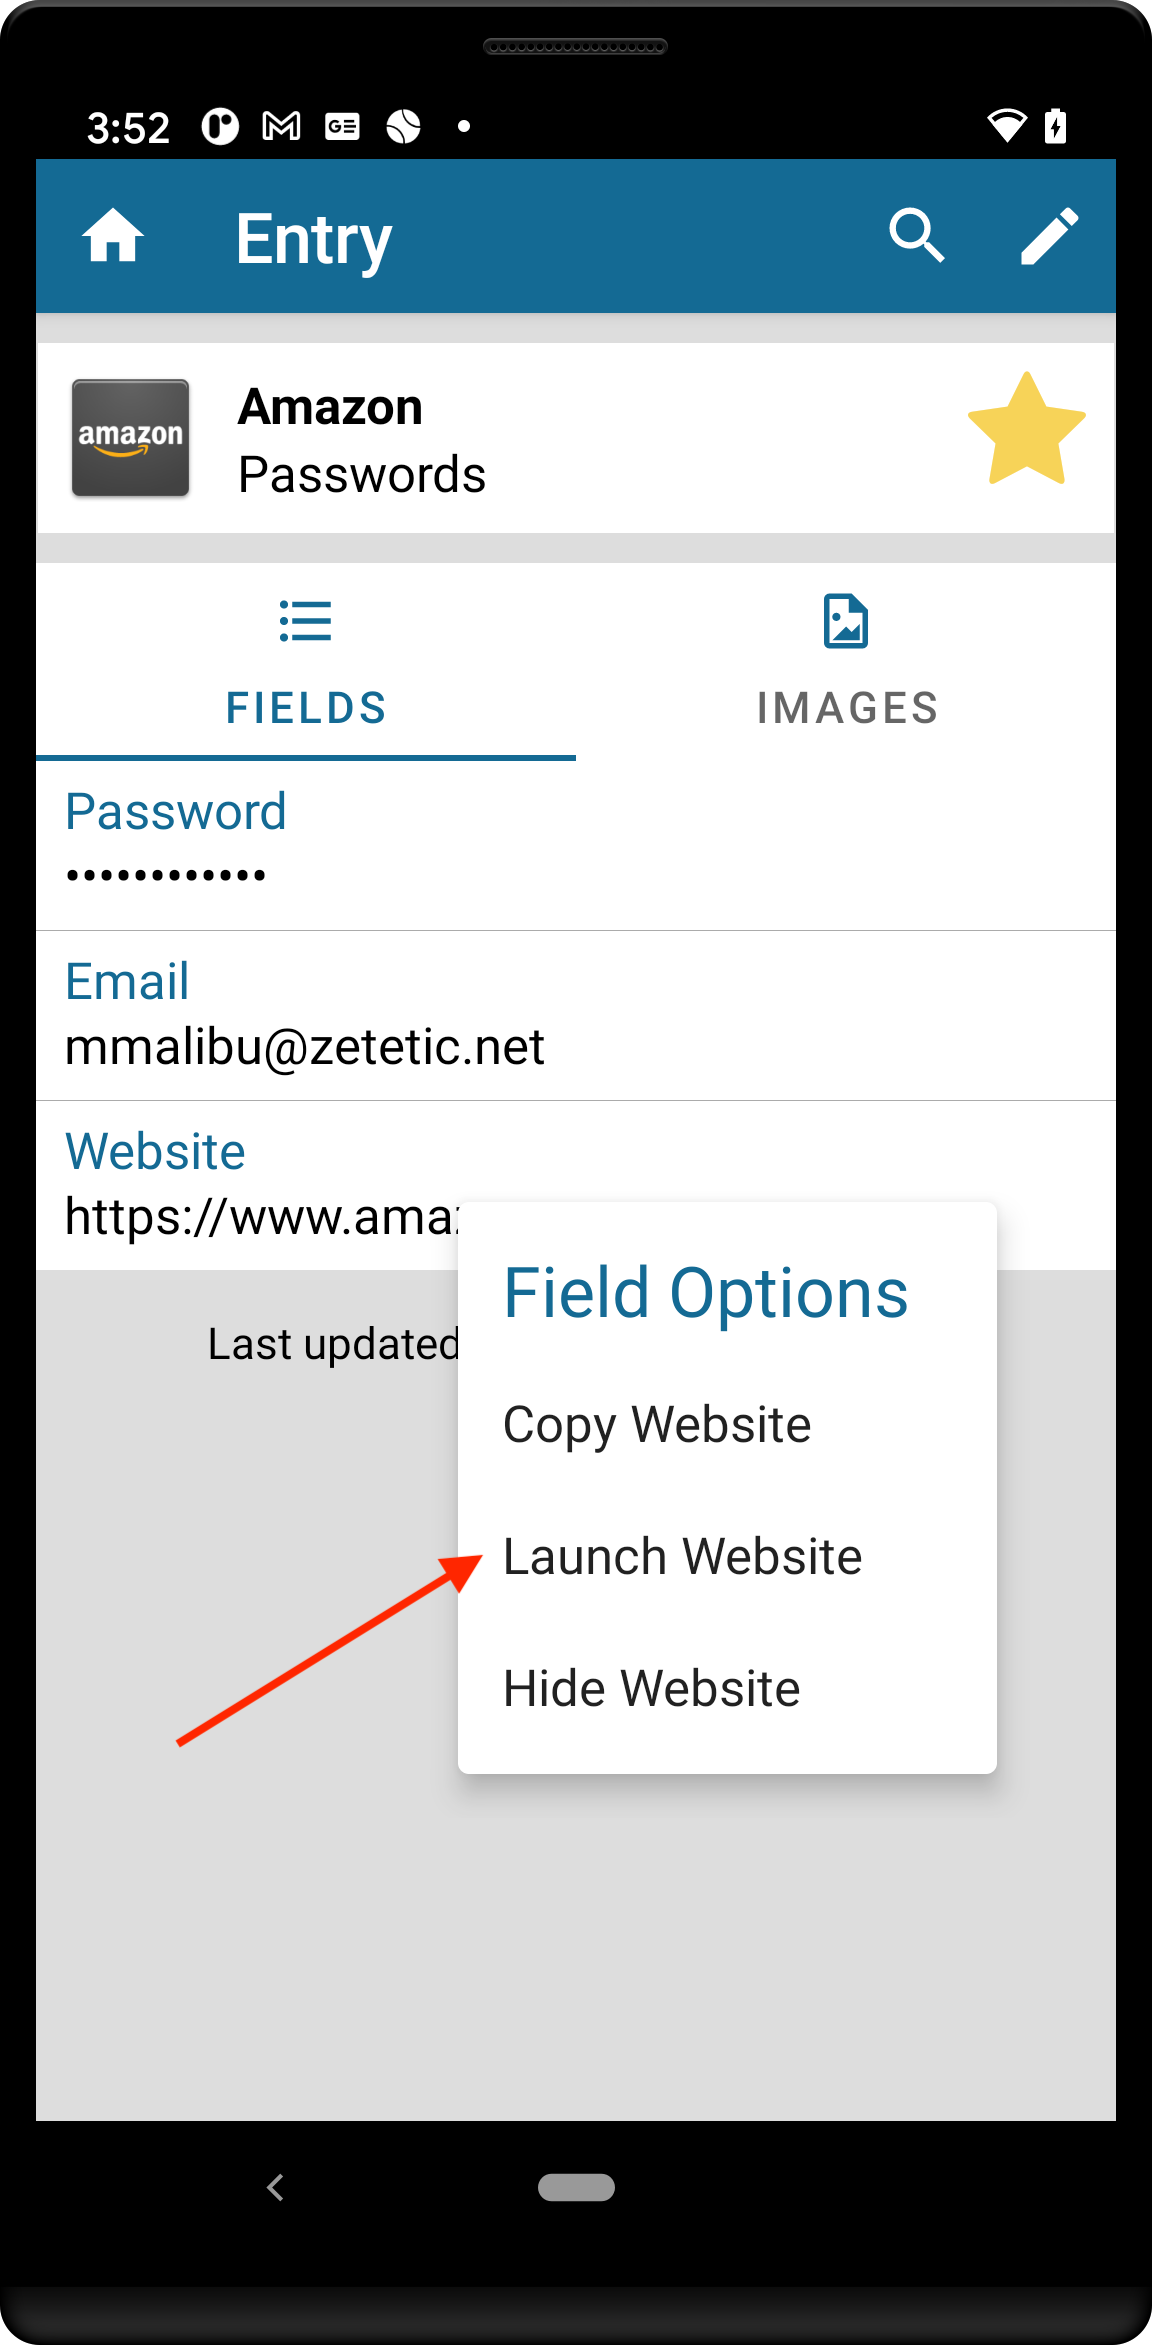
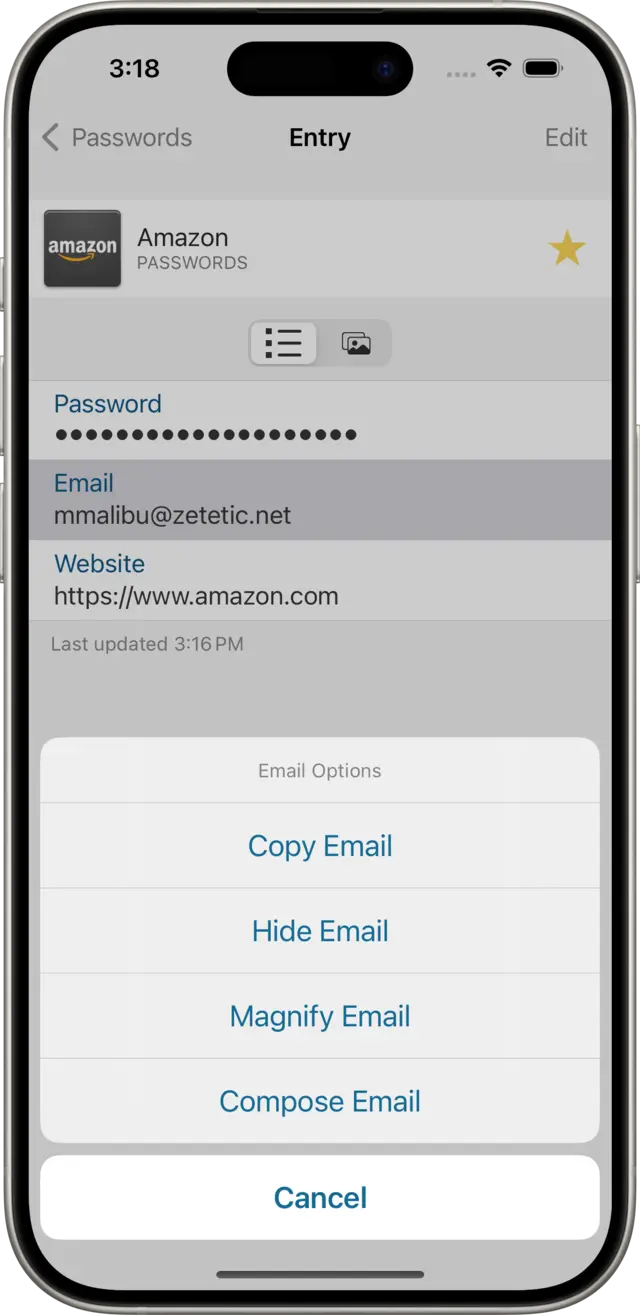
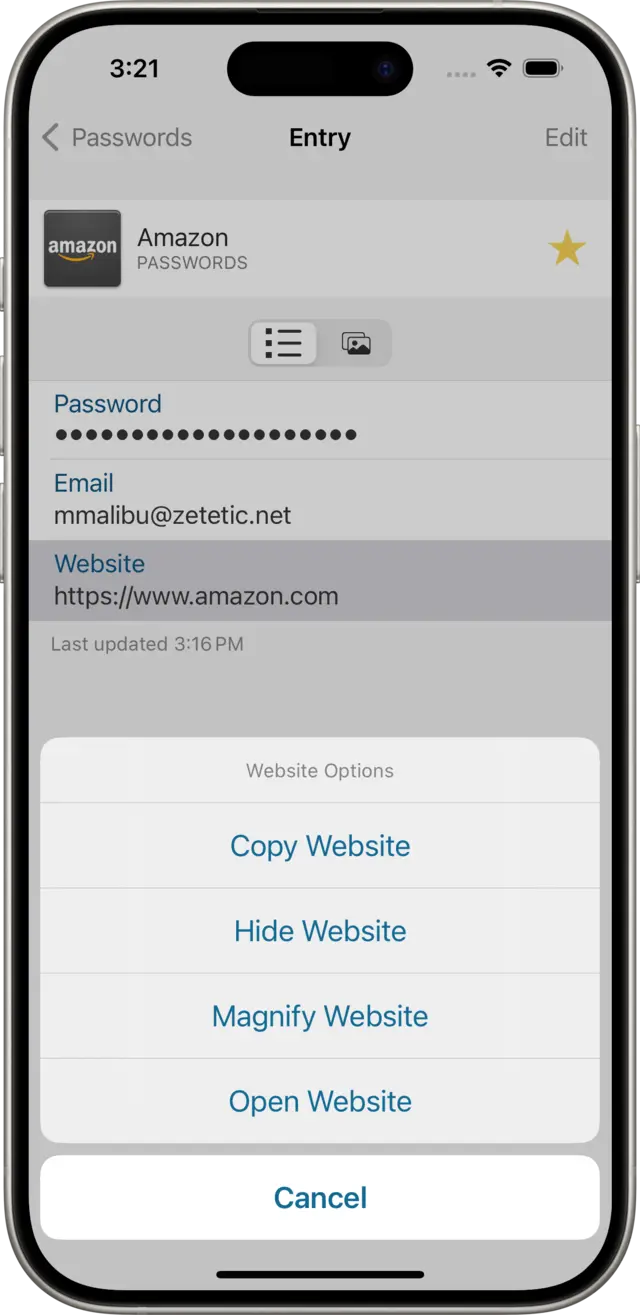
Long tap on either of the two new fields you just created, and you should see a slightly different Field Options menu for each. Both provide the options to hide the value, copy it to the clipboard. However, the middle option differs. In the case of Email, we see the option to compose a new one to this address in Mail (useful if you are storing contacts in Codebook). In the case of Website, we have an option to Launch the URL in the default web browser.
Having both an Email (or Username) and a Website field on your Entries will make it easier to login to websites and other apps later using Codebook.
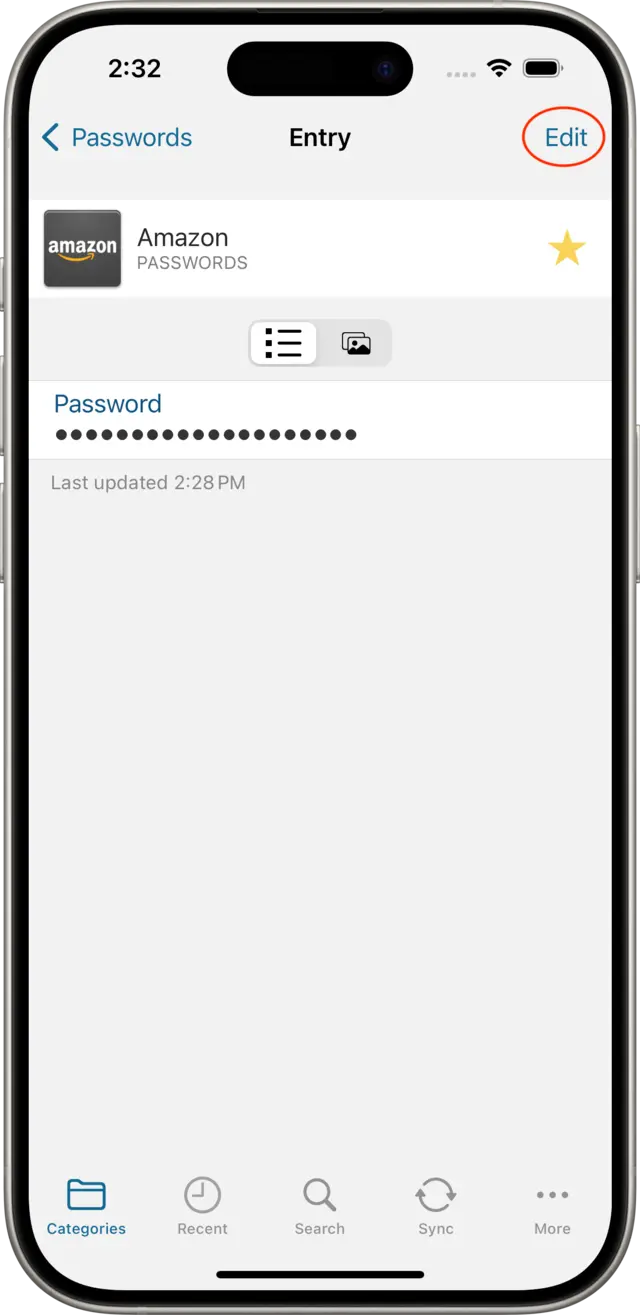
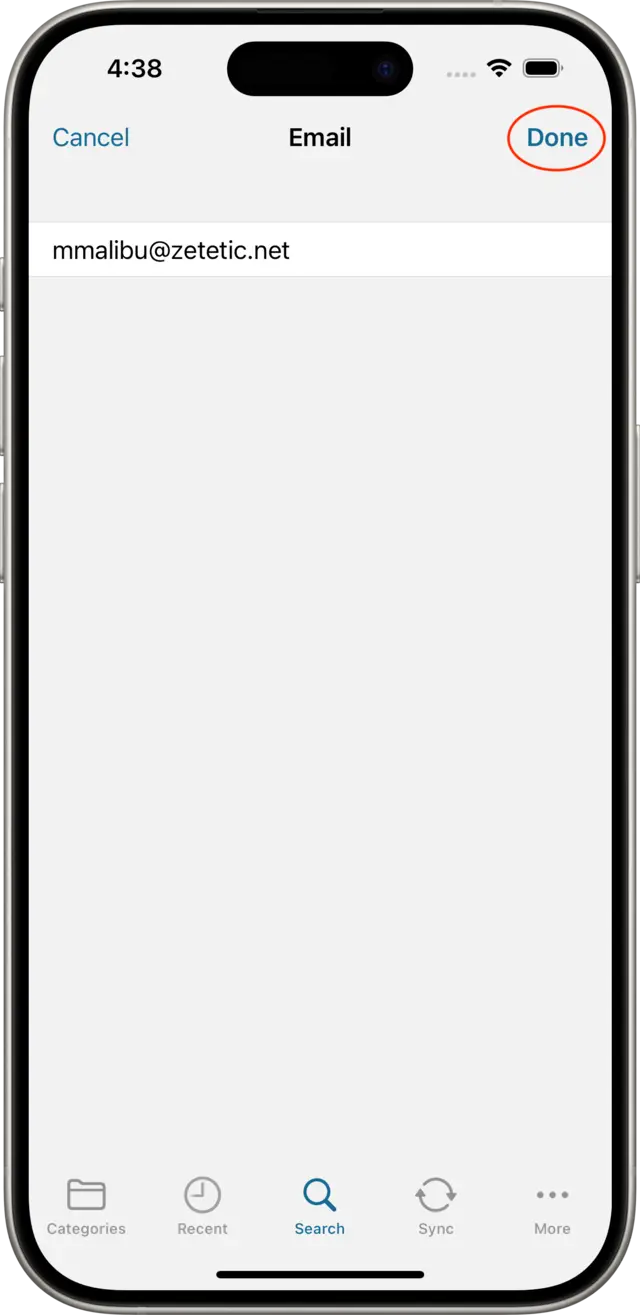
Tap on the Edit button to resume editing your Entry, then tap on Add a new field. Then tap on Email in the list of labels that appears (alternatively, tap on Username if the identity associated with this account is not an email address). This will show the Email field editor. Type in the email address associated with this account and tap on Done.
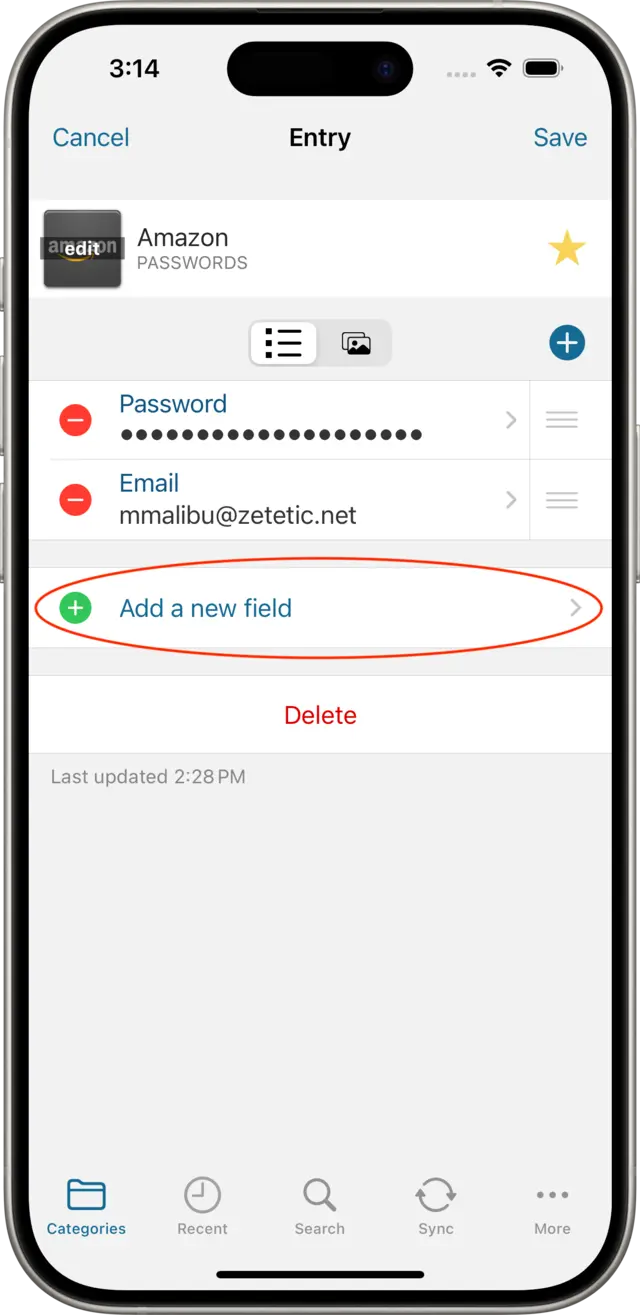
Next, we'll add a Website field to this Entry. Using almost the same process as above, tap on Add a new field, then tap on Website in the Label chooser, and the Website field editor will be displayed:
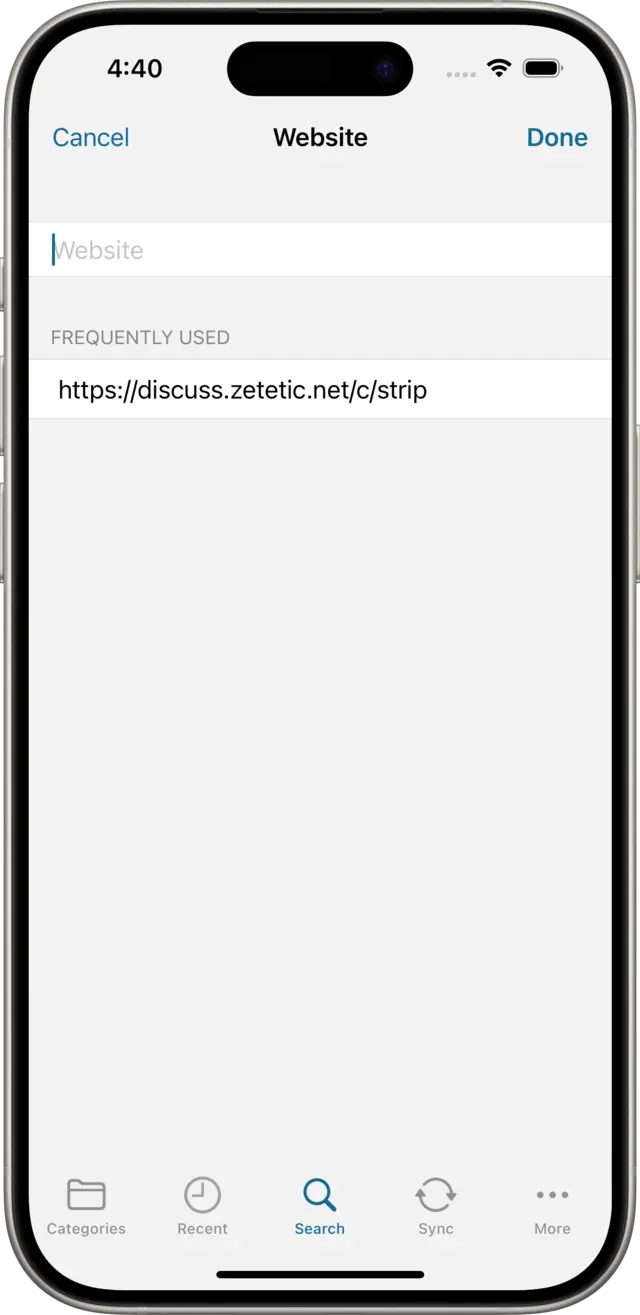
At to the top of the view is a textfield where we can type in the website or domain name of the service associated with our account. Below we see the Frequently Used list: this is a list of other values you've already entered into this type of field, to save you a little time in the future. The value there is coming from the "My Website" example entry, created during installation.
Since in this example we are using an Amazon account, we'll enter https://www.amazon.com. A full URL is not required, you could simply enter the hostname of the website or service associated with the account, for instance, dropbox.com. Then we tap on Done on the Website view, and Save on the Entry view to save our changes.
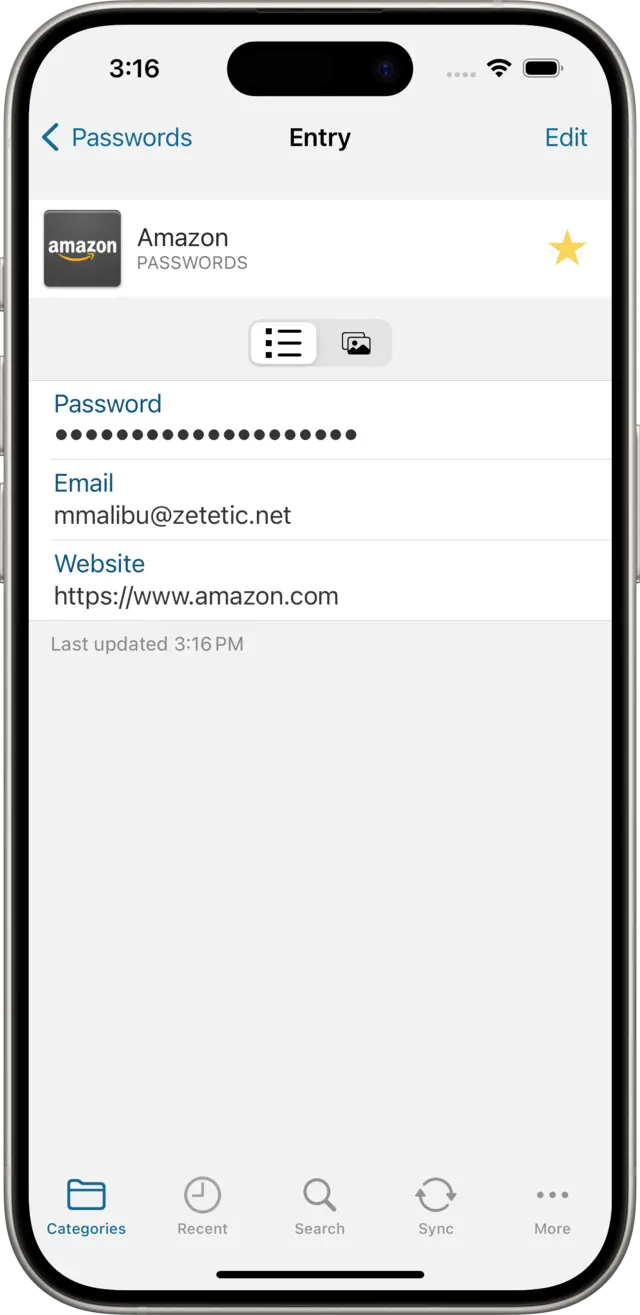
Tap on either of the two new fields you just created, and you should see a slightly different options menu for each. Both provide the options to hide the value, copy it to the clipboard, and magnify it (view it in very large type). However, the bottom option differs: In the case of Email we see the option to compose a new one to this address in Mail (useful if you are storing contacts in Codebook). In the case of Website we have an option to open the URL in the default web browser.
Having both an Email (or Username) and a Website field on your Entries will make it easier to login to websites and other apps later using Codebook.
The Magnify option will display the selected field in a larger fixed width font.


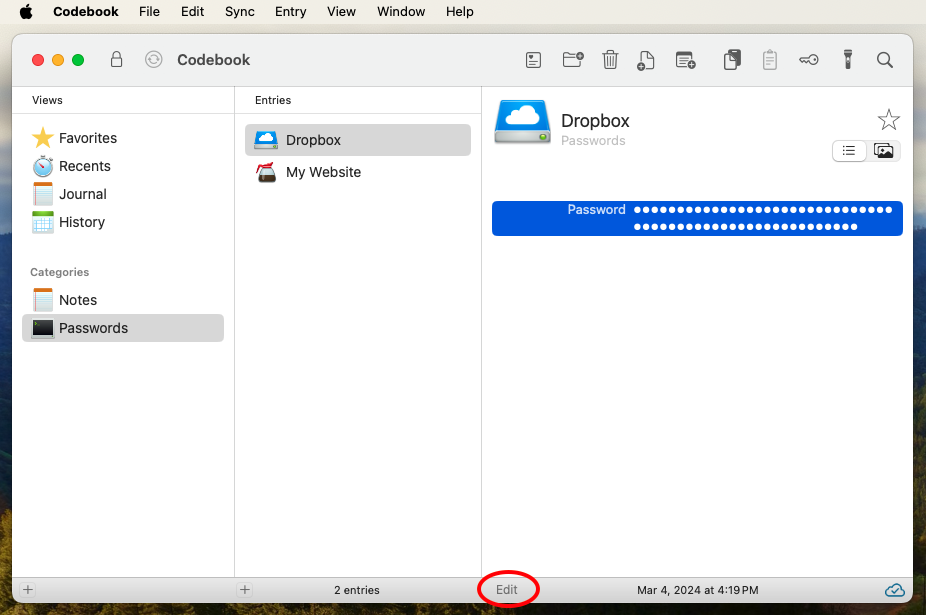
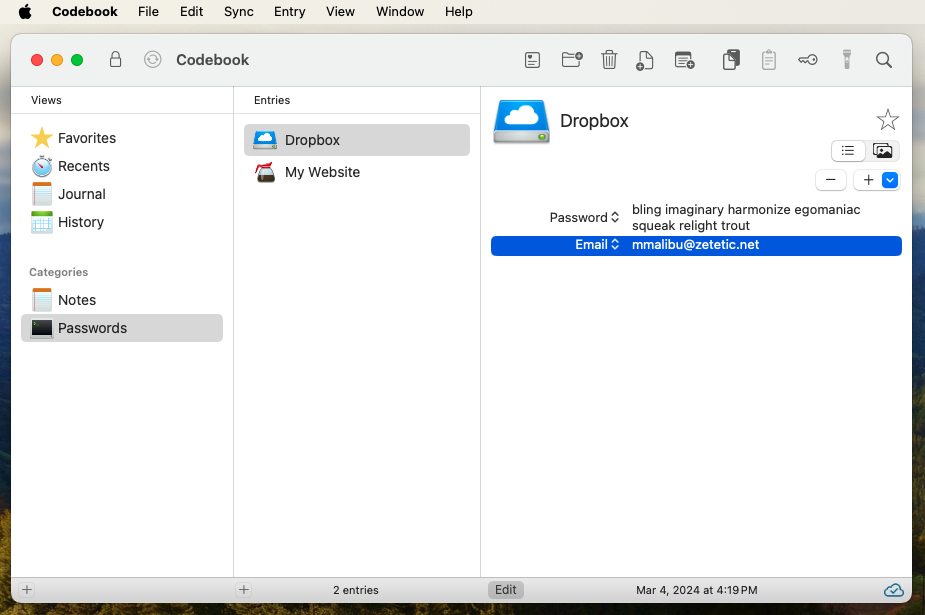
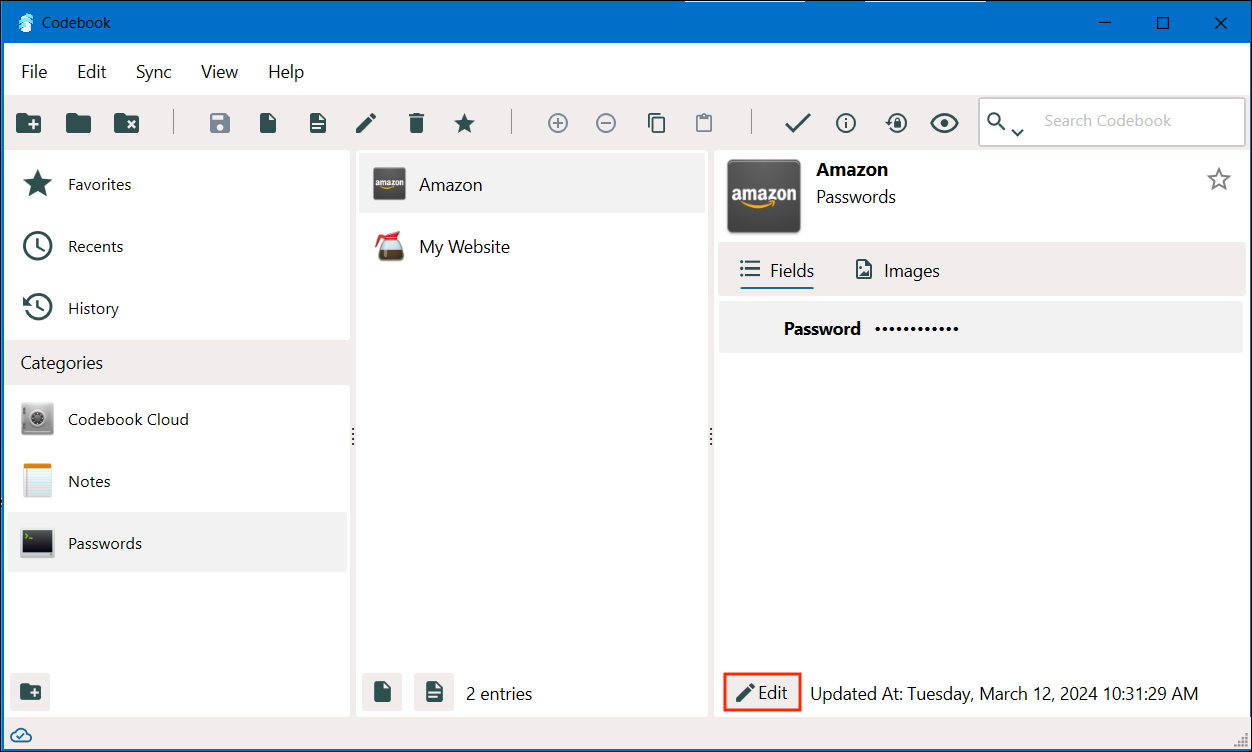
Click on the Edit button (⌘ E) to resume editing your Entry.
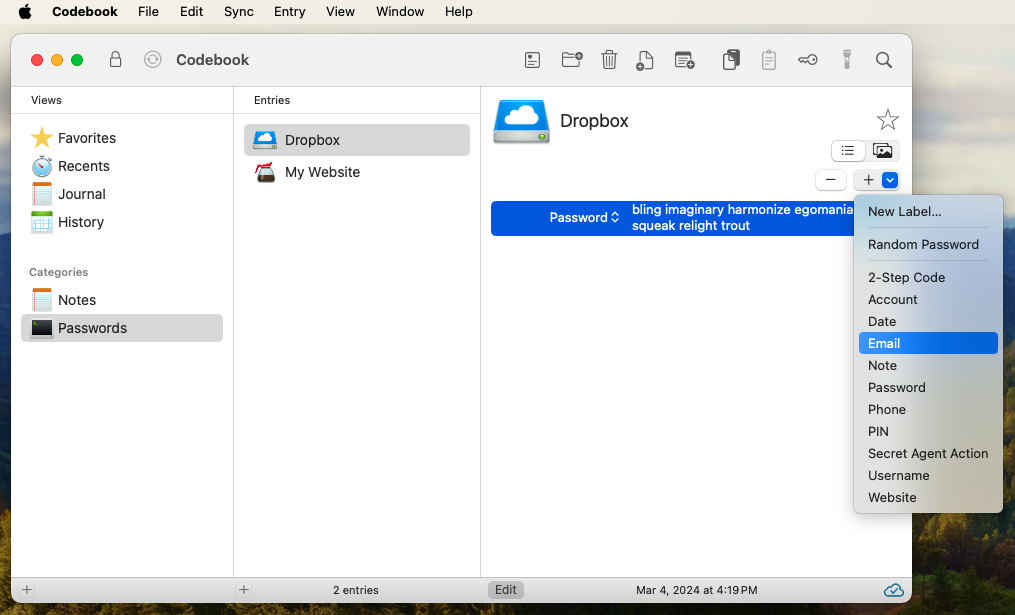
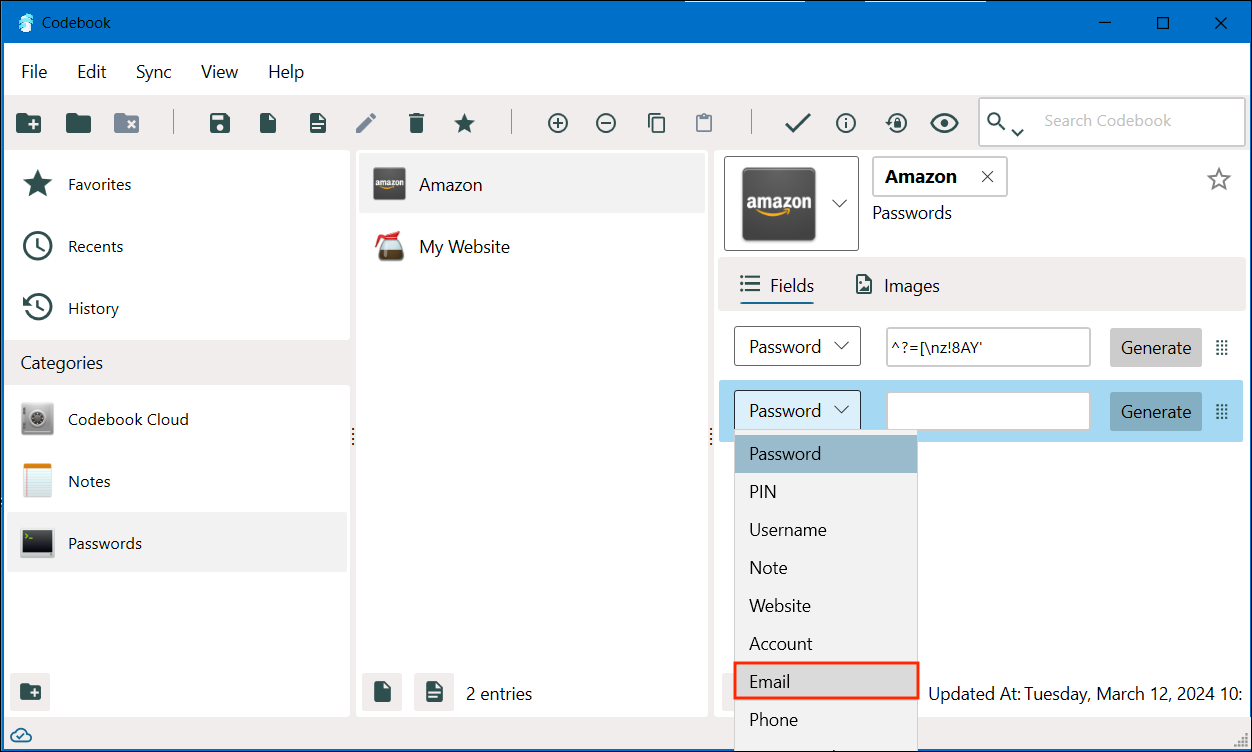
Similar to how we added a Password field in the previous article, click on the Add Field button, and this time select Email (alternatively, select Username if the identity associated with this account is not an email address).
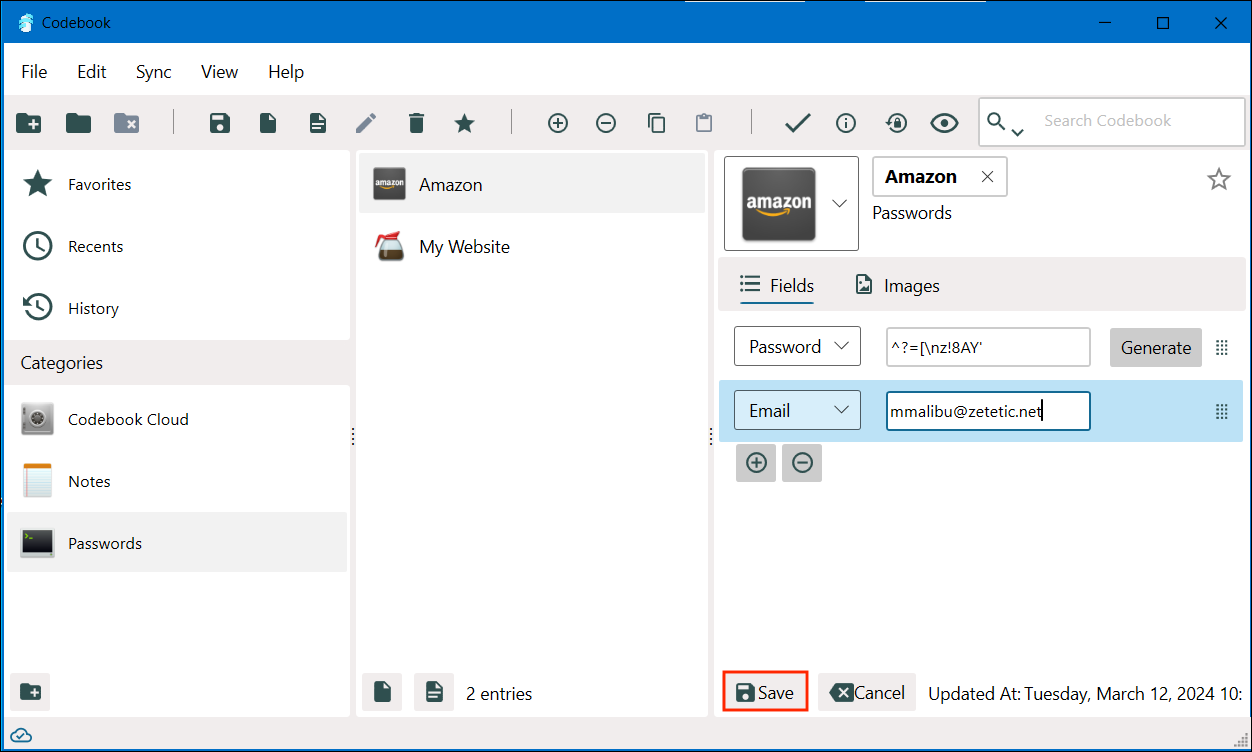
This adds a new Email row to the Entry's Fields list, with keyboard focus awaiting your input. Type in the Email address for this account, and hit tab or enter when done.
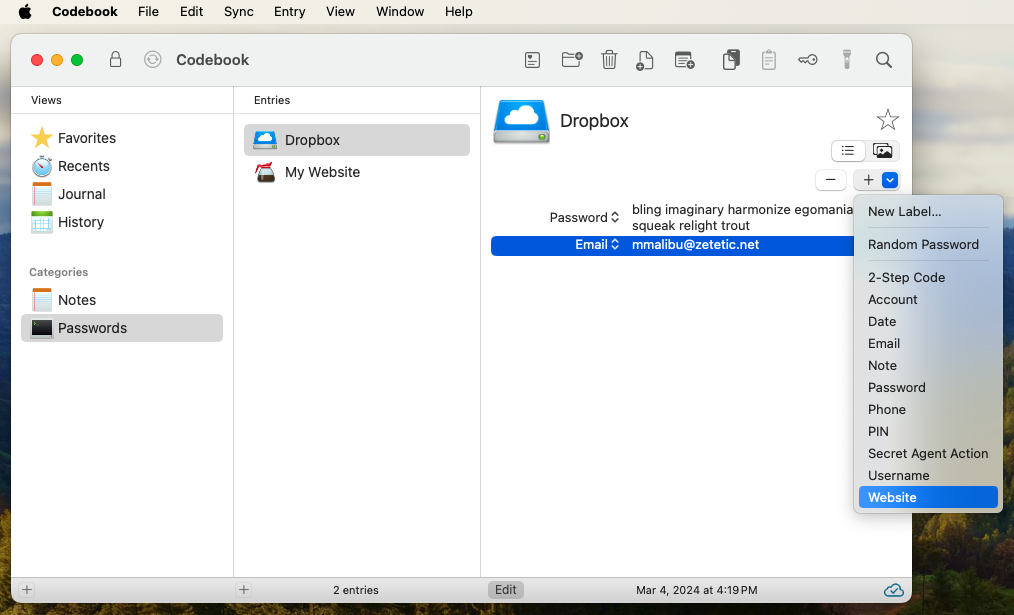
Click on the Add Field button again, and select Website.
Since in our example we're setting up an Entry for a Dropbox account, we'll enter dropbox.com for the Website field. Specifying the domain name, host name, or full URL of the account or service can help Codebook quickly supply your passwords later when you need them. Hit tab or enter when you're done filling out the Website field.
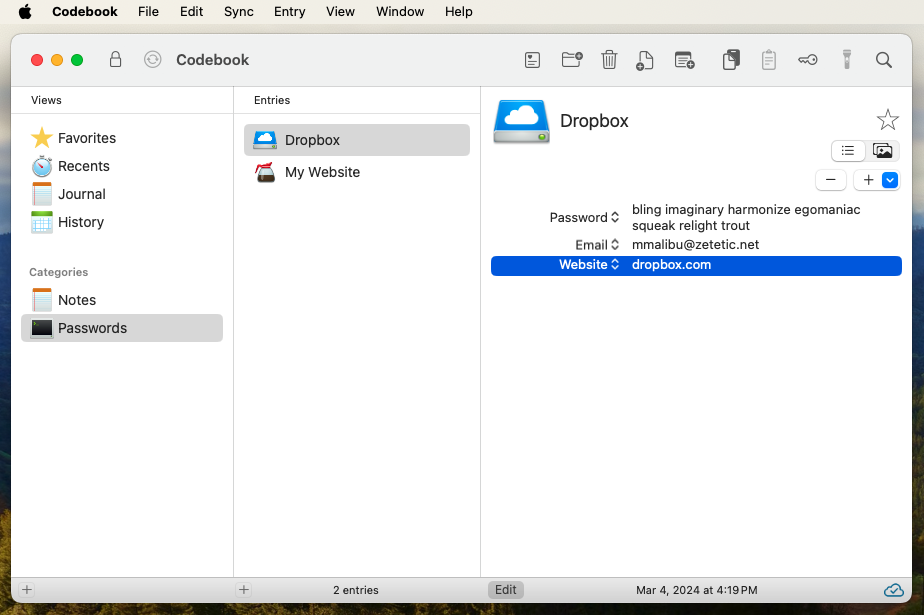
At this point you may wish to rearrange the order in which the Fields are displayed on the Entry. This is quite easy: use drag and drop to move the Field rows up and down the list as you see fit. Then click on the Edit button at the bottom of the Entry to end editing.
Right-click on each of the two Fields you just created and a context menu will appear. Just like with Password fields, we see options to hide, copy, and magnify (view in large type) the selected Field. The option at the bottom differs: in the case of Email we see an option to Compose a new message to this address (this will launch Mail), and in the case of Website we have an option to open the URL in our default web browser.
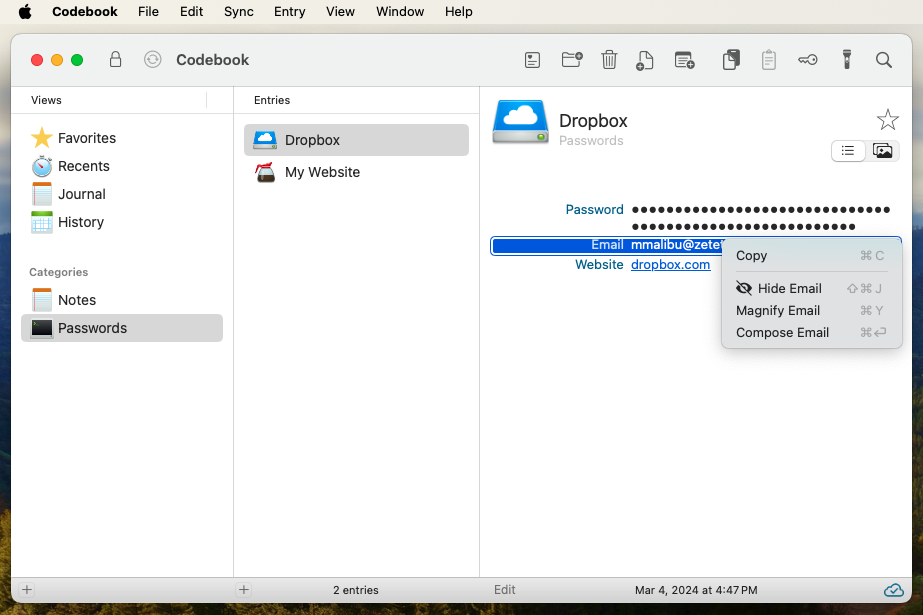
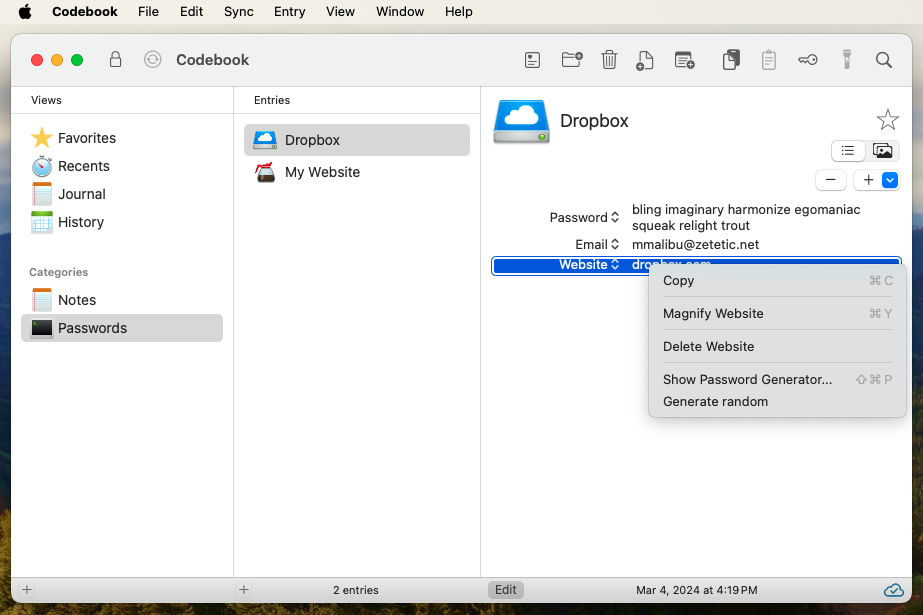
Having both an Email (or Username) and a Website field on your Entries will make it easier to login to websites and other apps later using Codebook.
The Magnify option will display the selected field in a larger fixed width font.


Click on the Edit button to resume editing your Entry.
CLick on the add field button (+) to add a new field. Click on the label edit button to show a list of labels.
![]()
Select email from the drop down list.
This will show the Email field editor. (Alternatively, tap on Username if the identity associated with this account is not an email address.)
Type in the email address associated with this account and click on Save.
Next, we'll add a Website field to this Entry using almost the same process as above:
Notice the suggestion that appears when the 'h' is entered into the field. This is a list of other values you've already entered into this type of field, to save you a little time in the future. The value here is coming from the "My Website" example entry, created during installation.
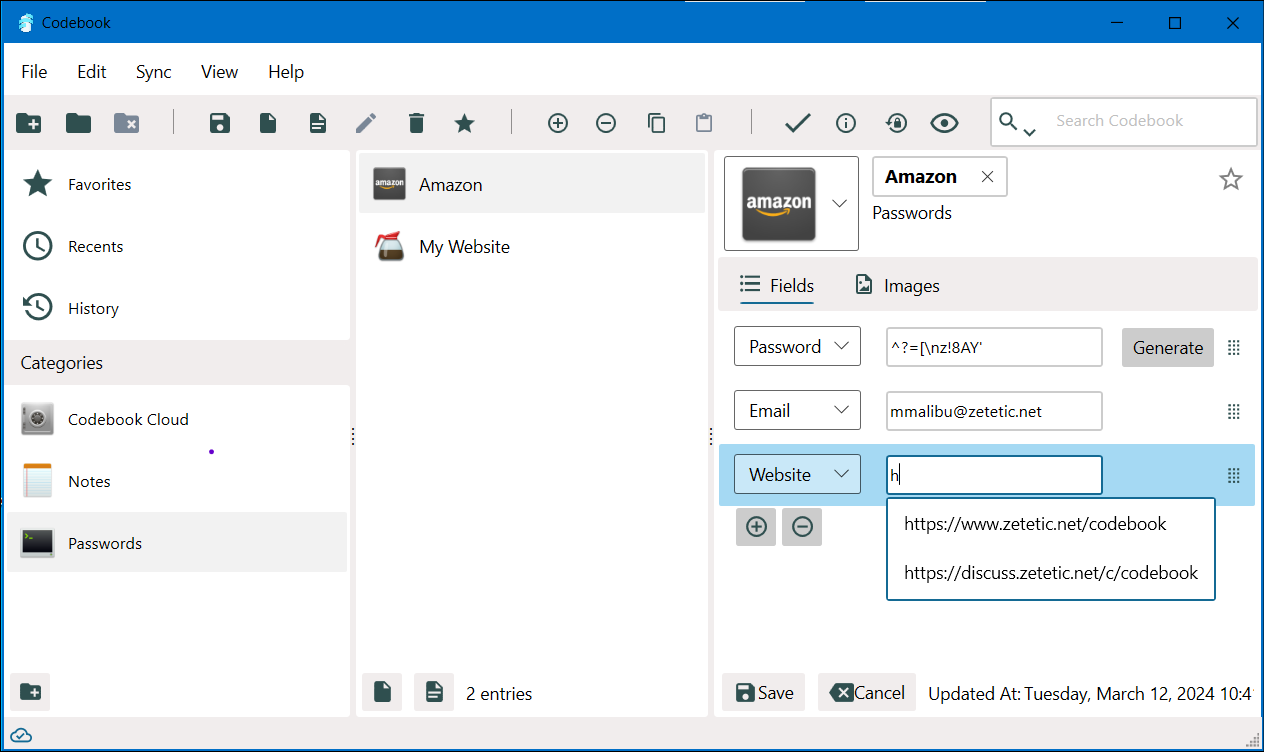
Since in this example we are using an Amazon account, we'll enter https://www.amazon.com. A full URL is not required, you could simply enter the hostname of the website or service associated with the account, for instance, dropbox.com. Then click on Save to save your changes.
Right click on either of the two new fields you just created, and you will see an options menu. This provides the options to hide the value, copy it to the clipboard, and magnify it (view it in very large type).
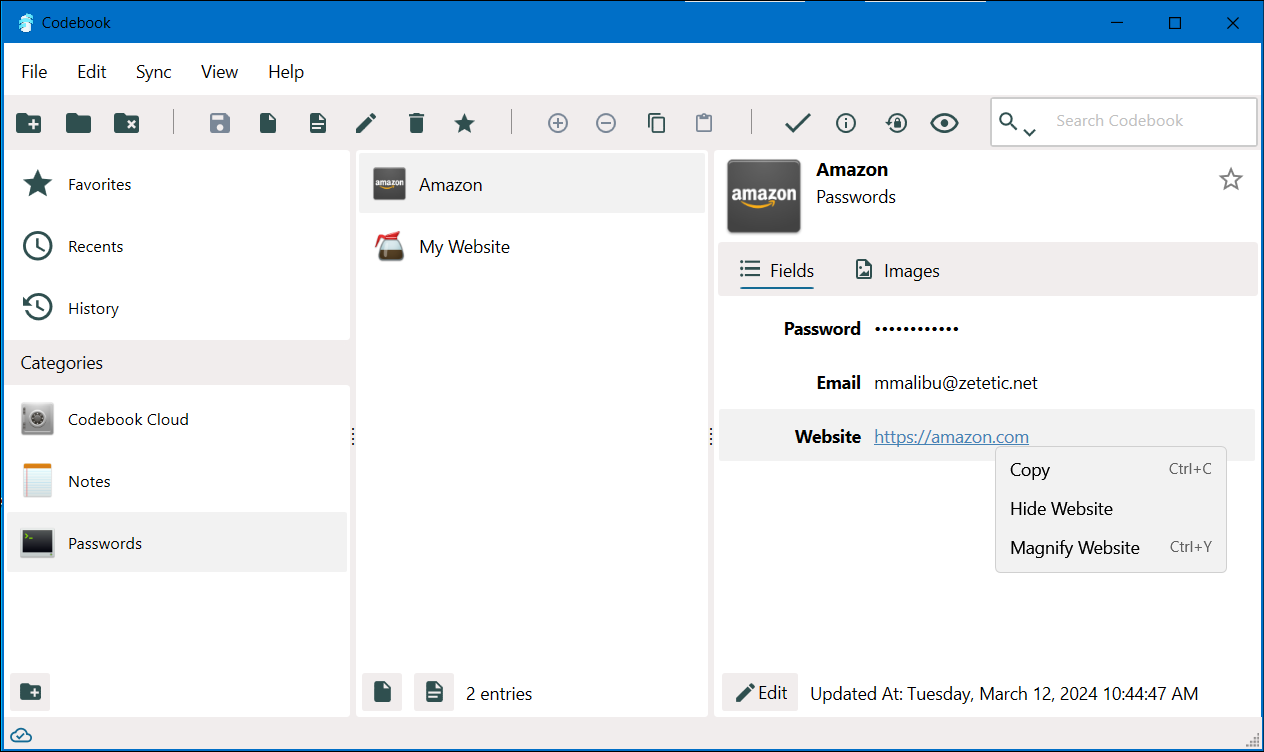
The Magnify option will display the selected field in a larger fixed width font.