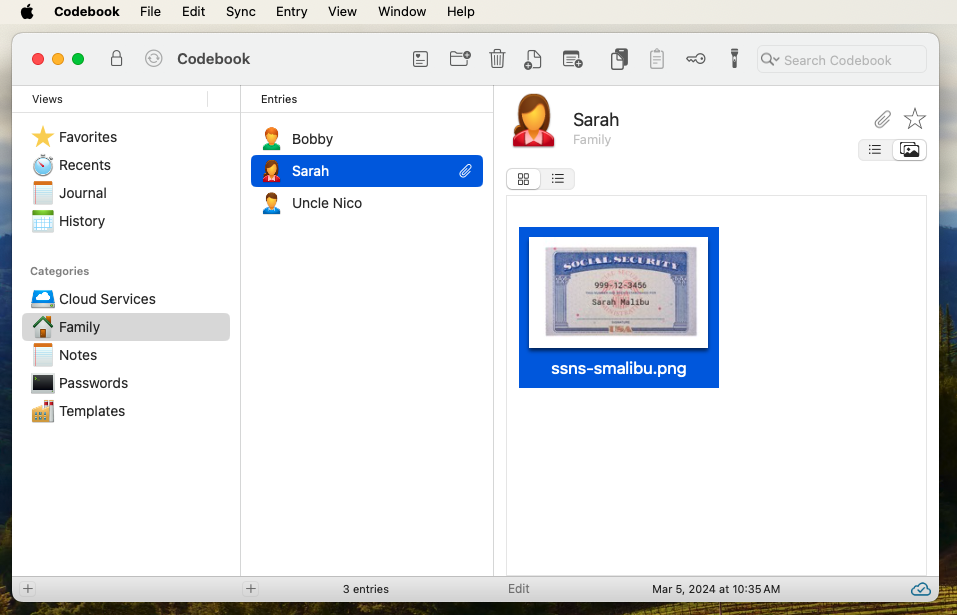
There may be times when you want to store a picture of your credentials in Codebook, your social security or insurance cards, for example. You can add an image or PDF file to any of your Entries. To get started, create a category named Family, and an entry for a family member. For our example, we will add a picture of Sarah's social security card to her Entry.
From the Family category, tap on the Entry we created for Sarah, and tap the Edit button. Then, tap the Images button ![]() to display the Images view.
to display the Images view.
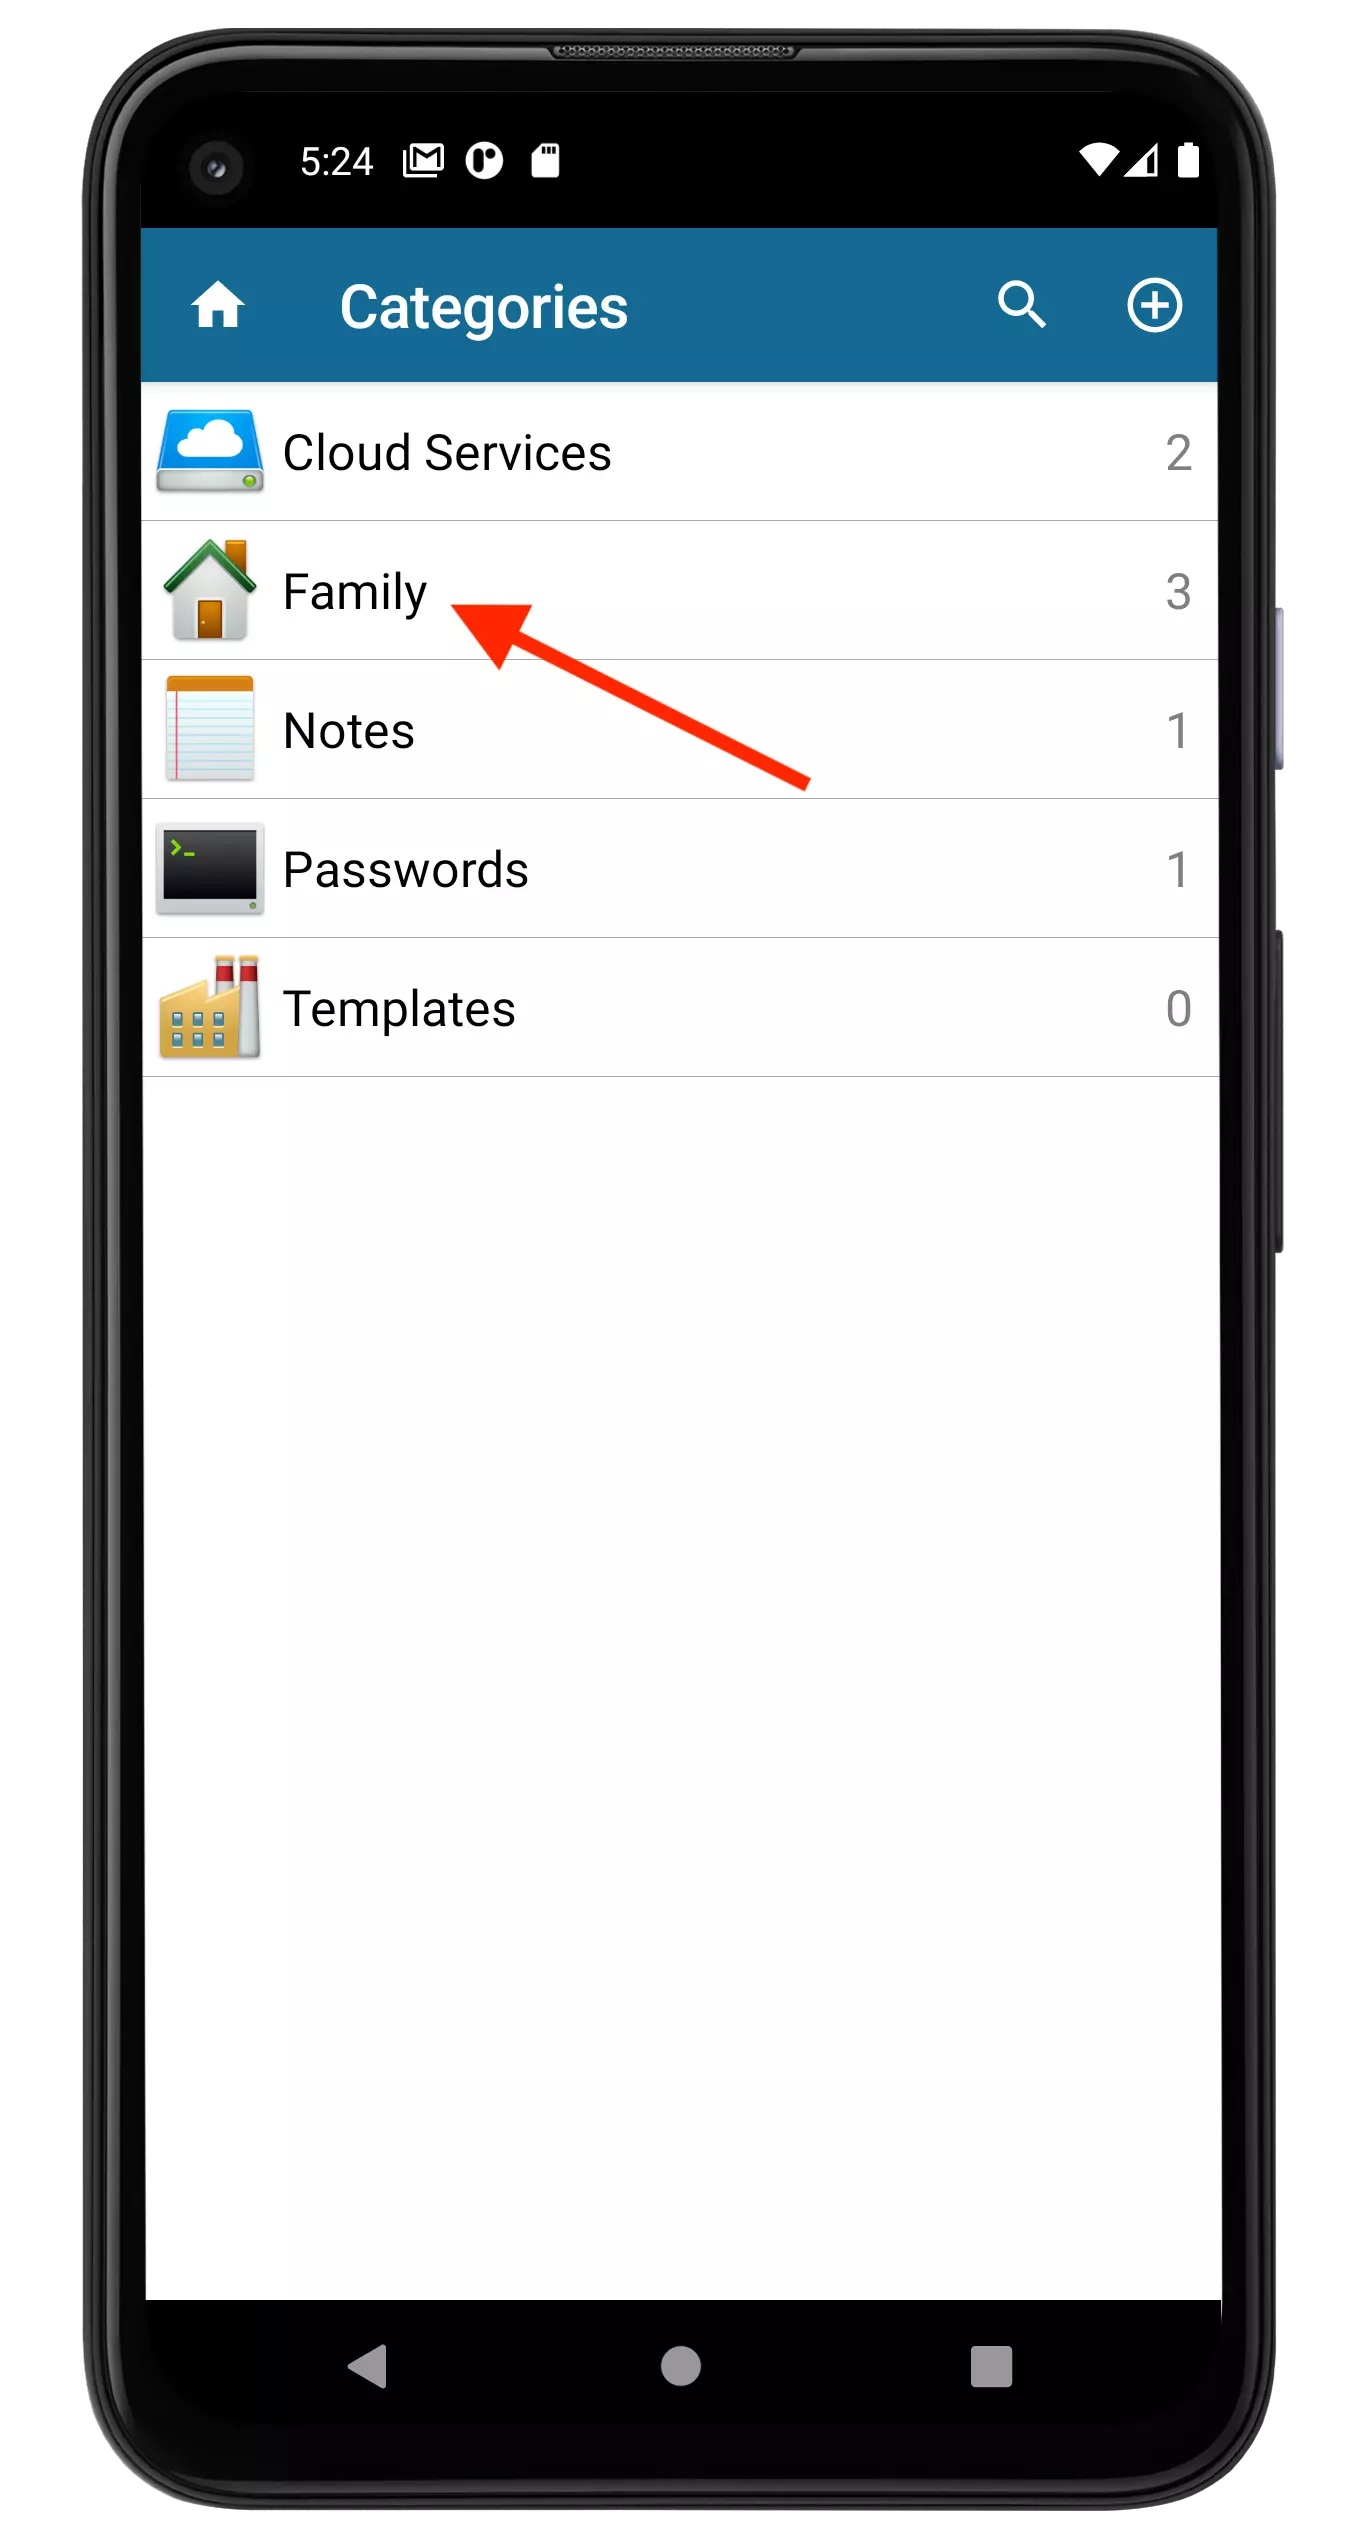
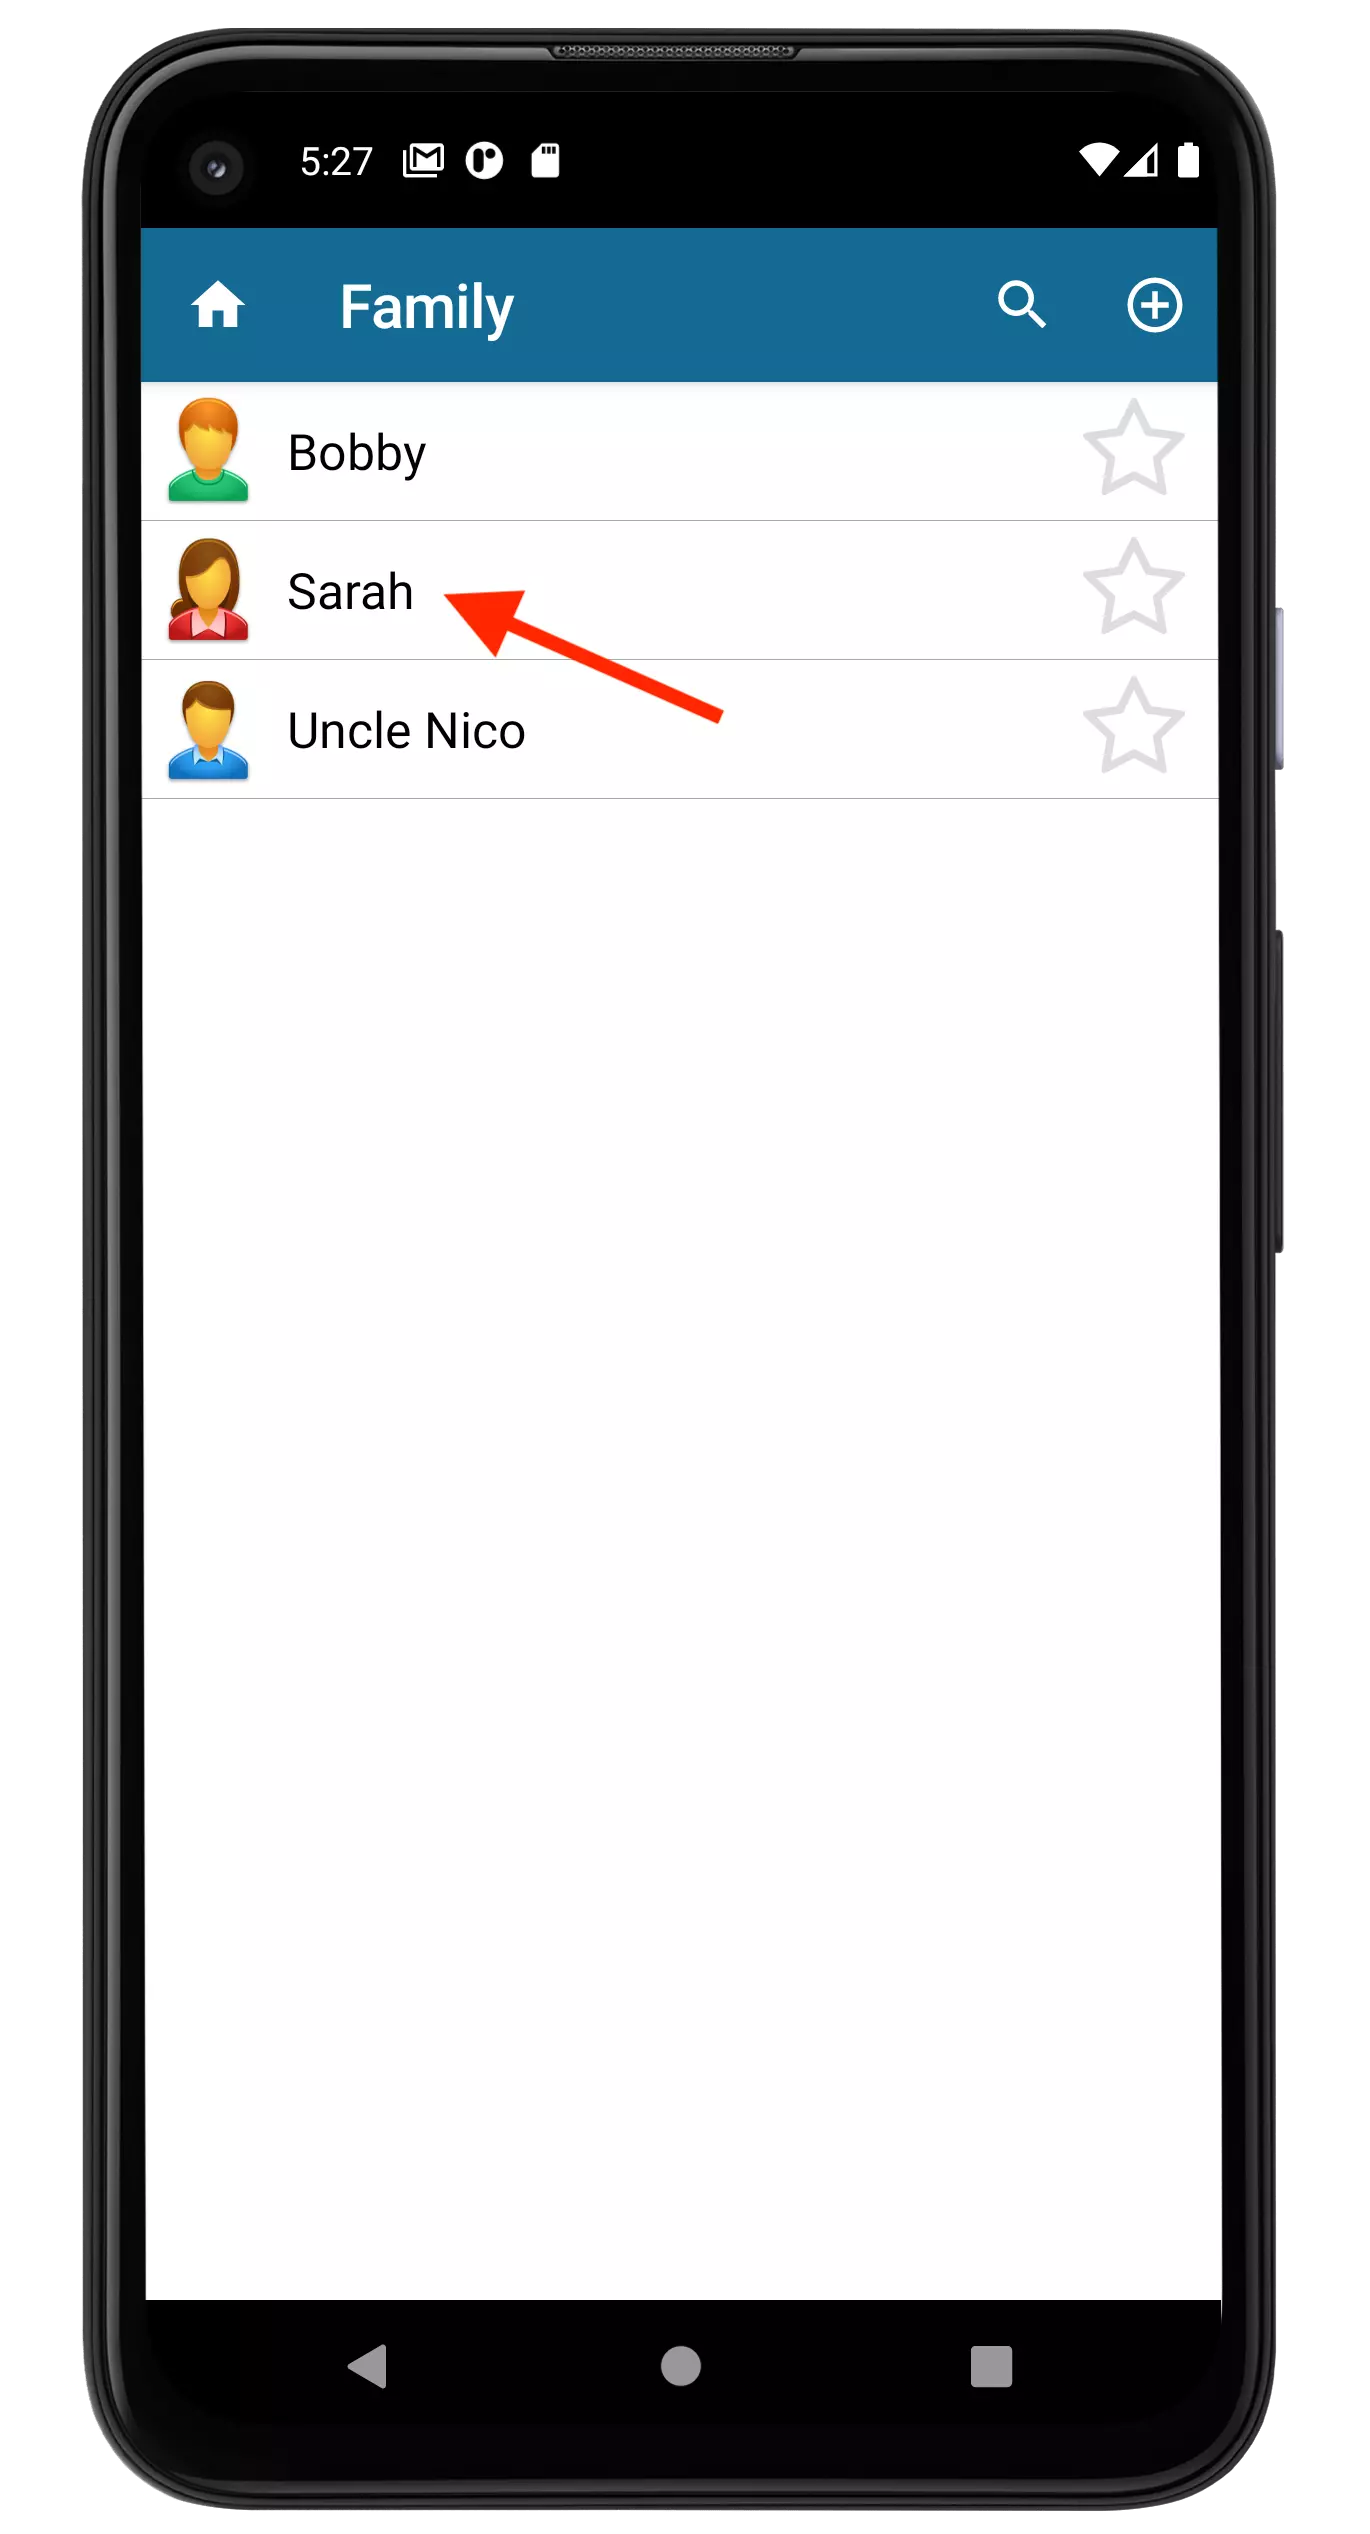
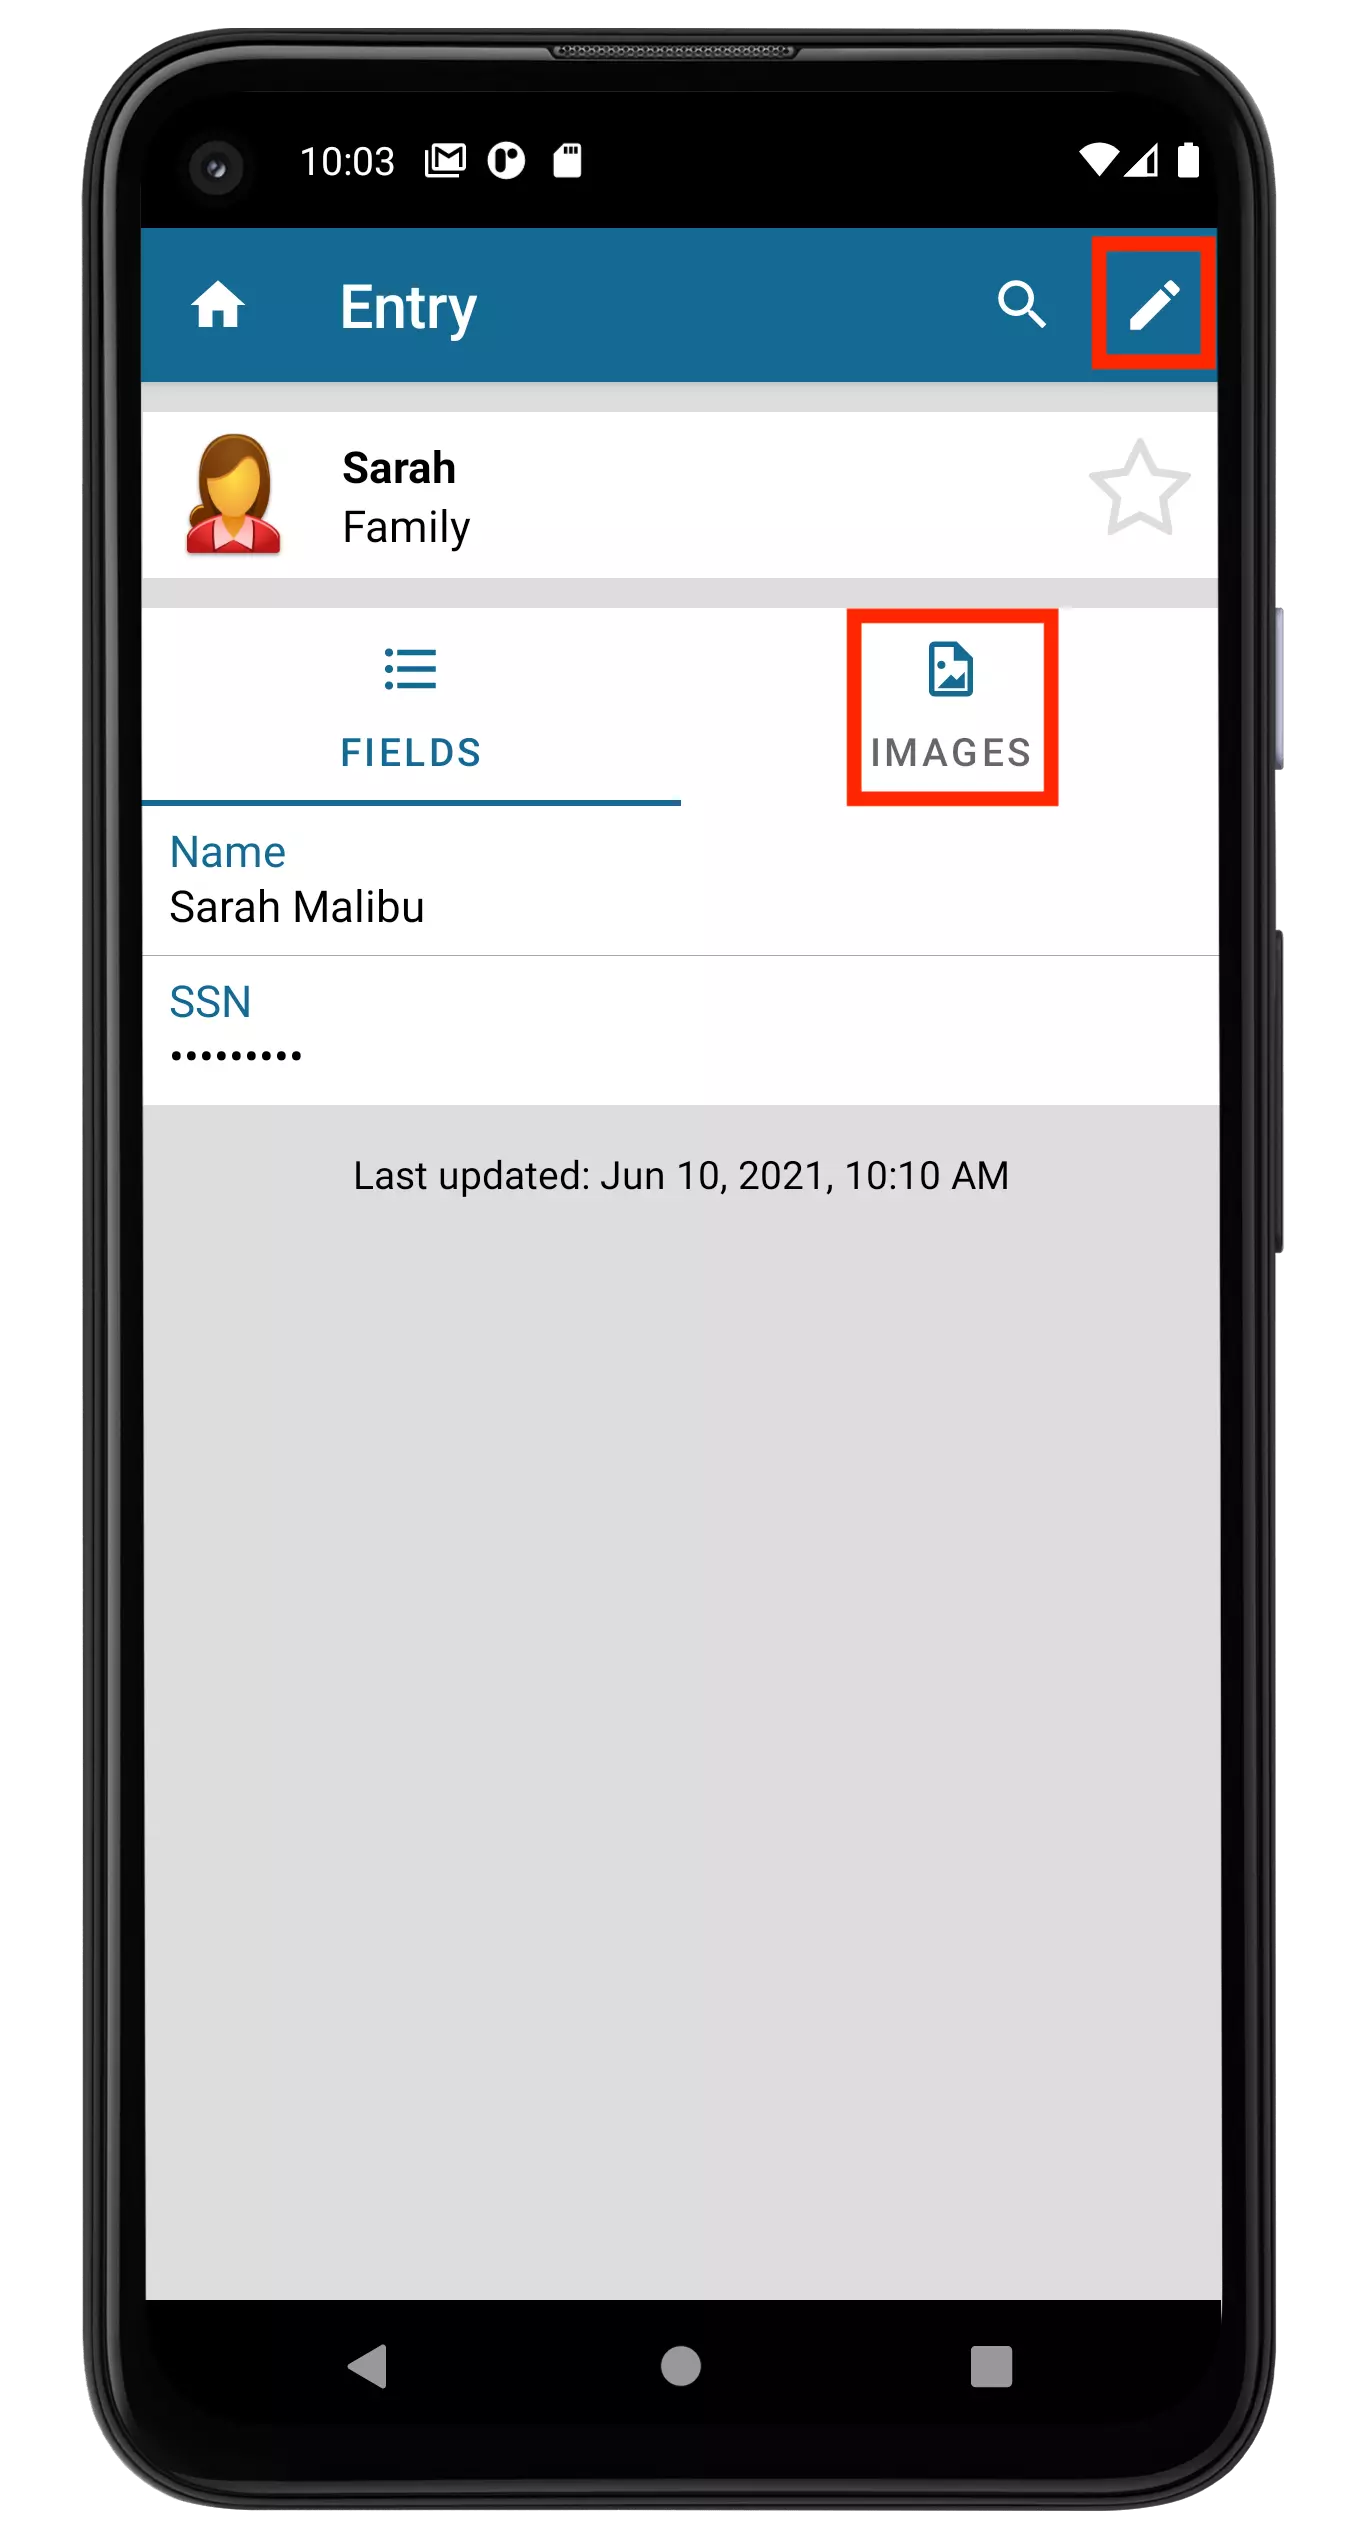
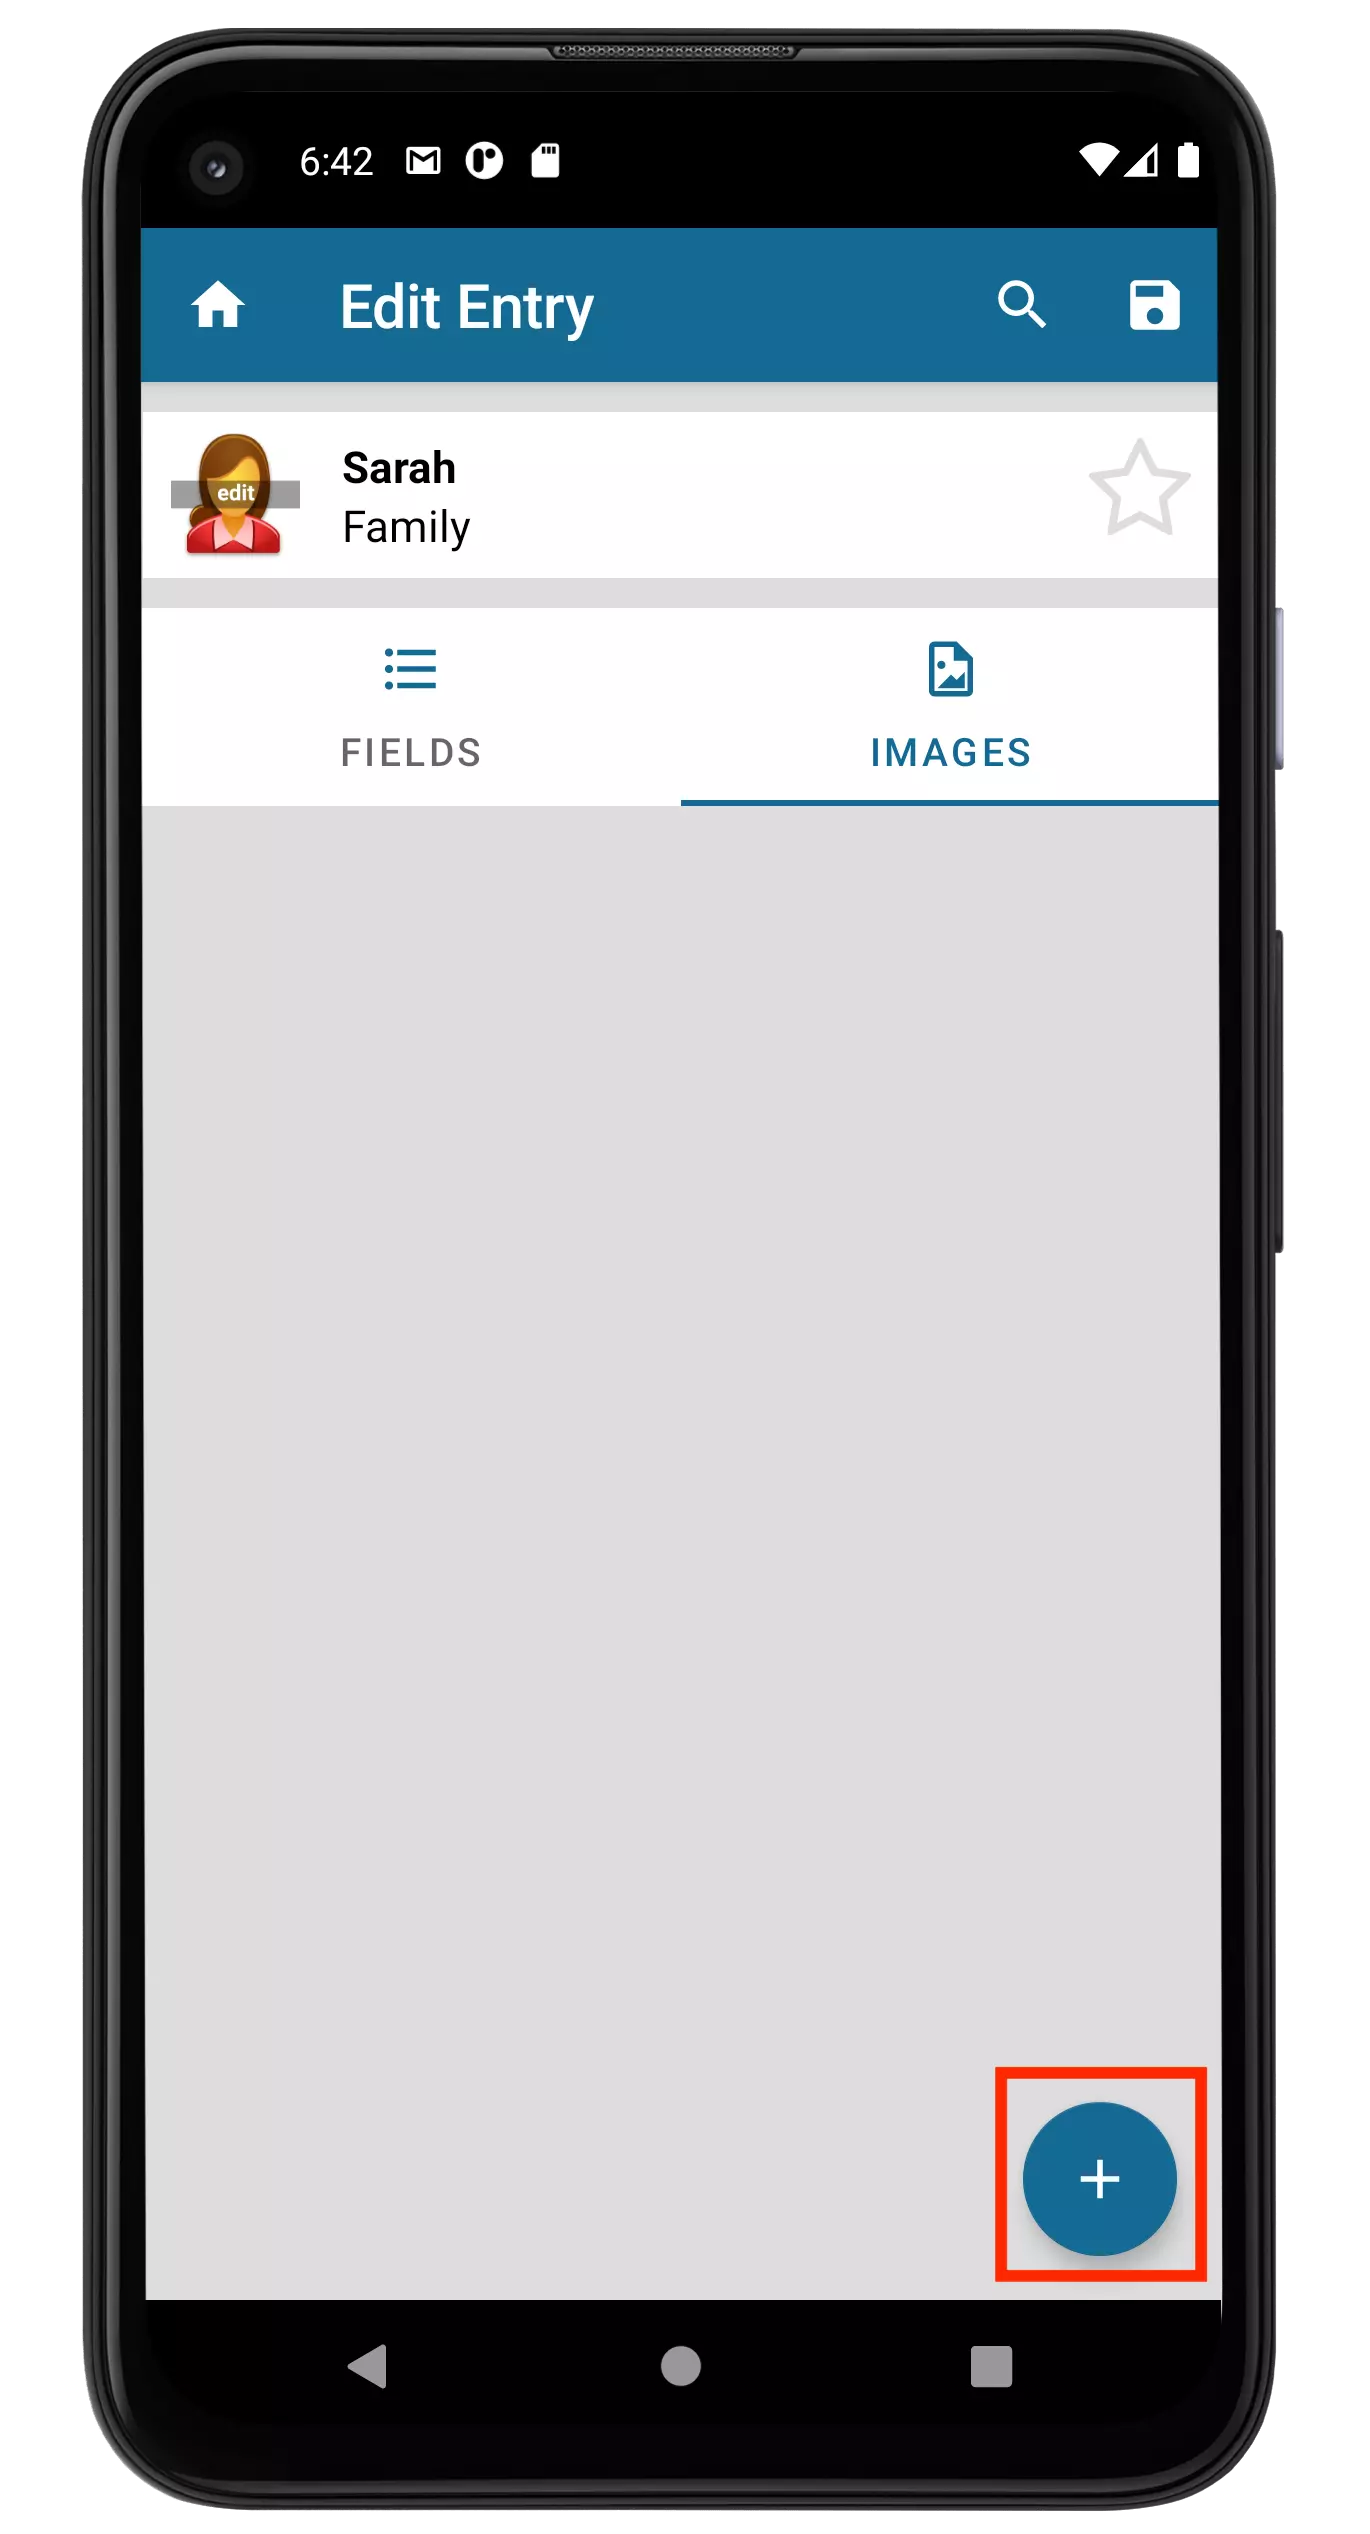
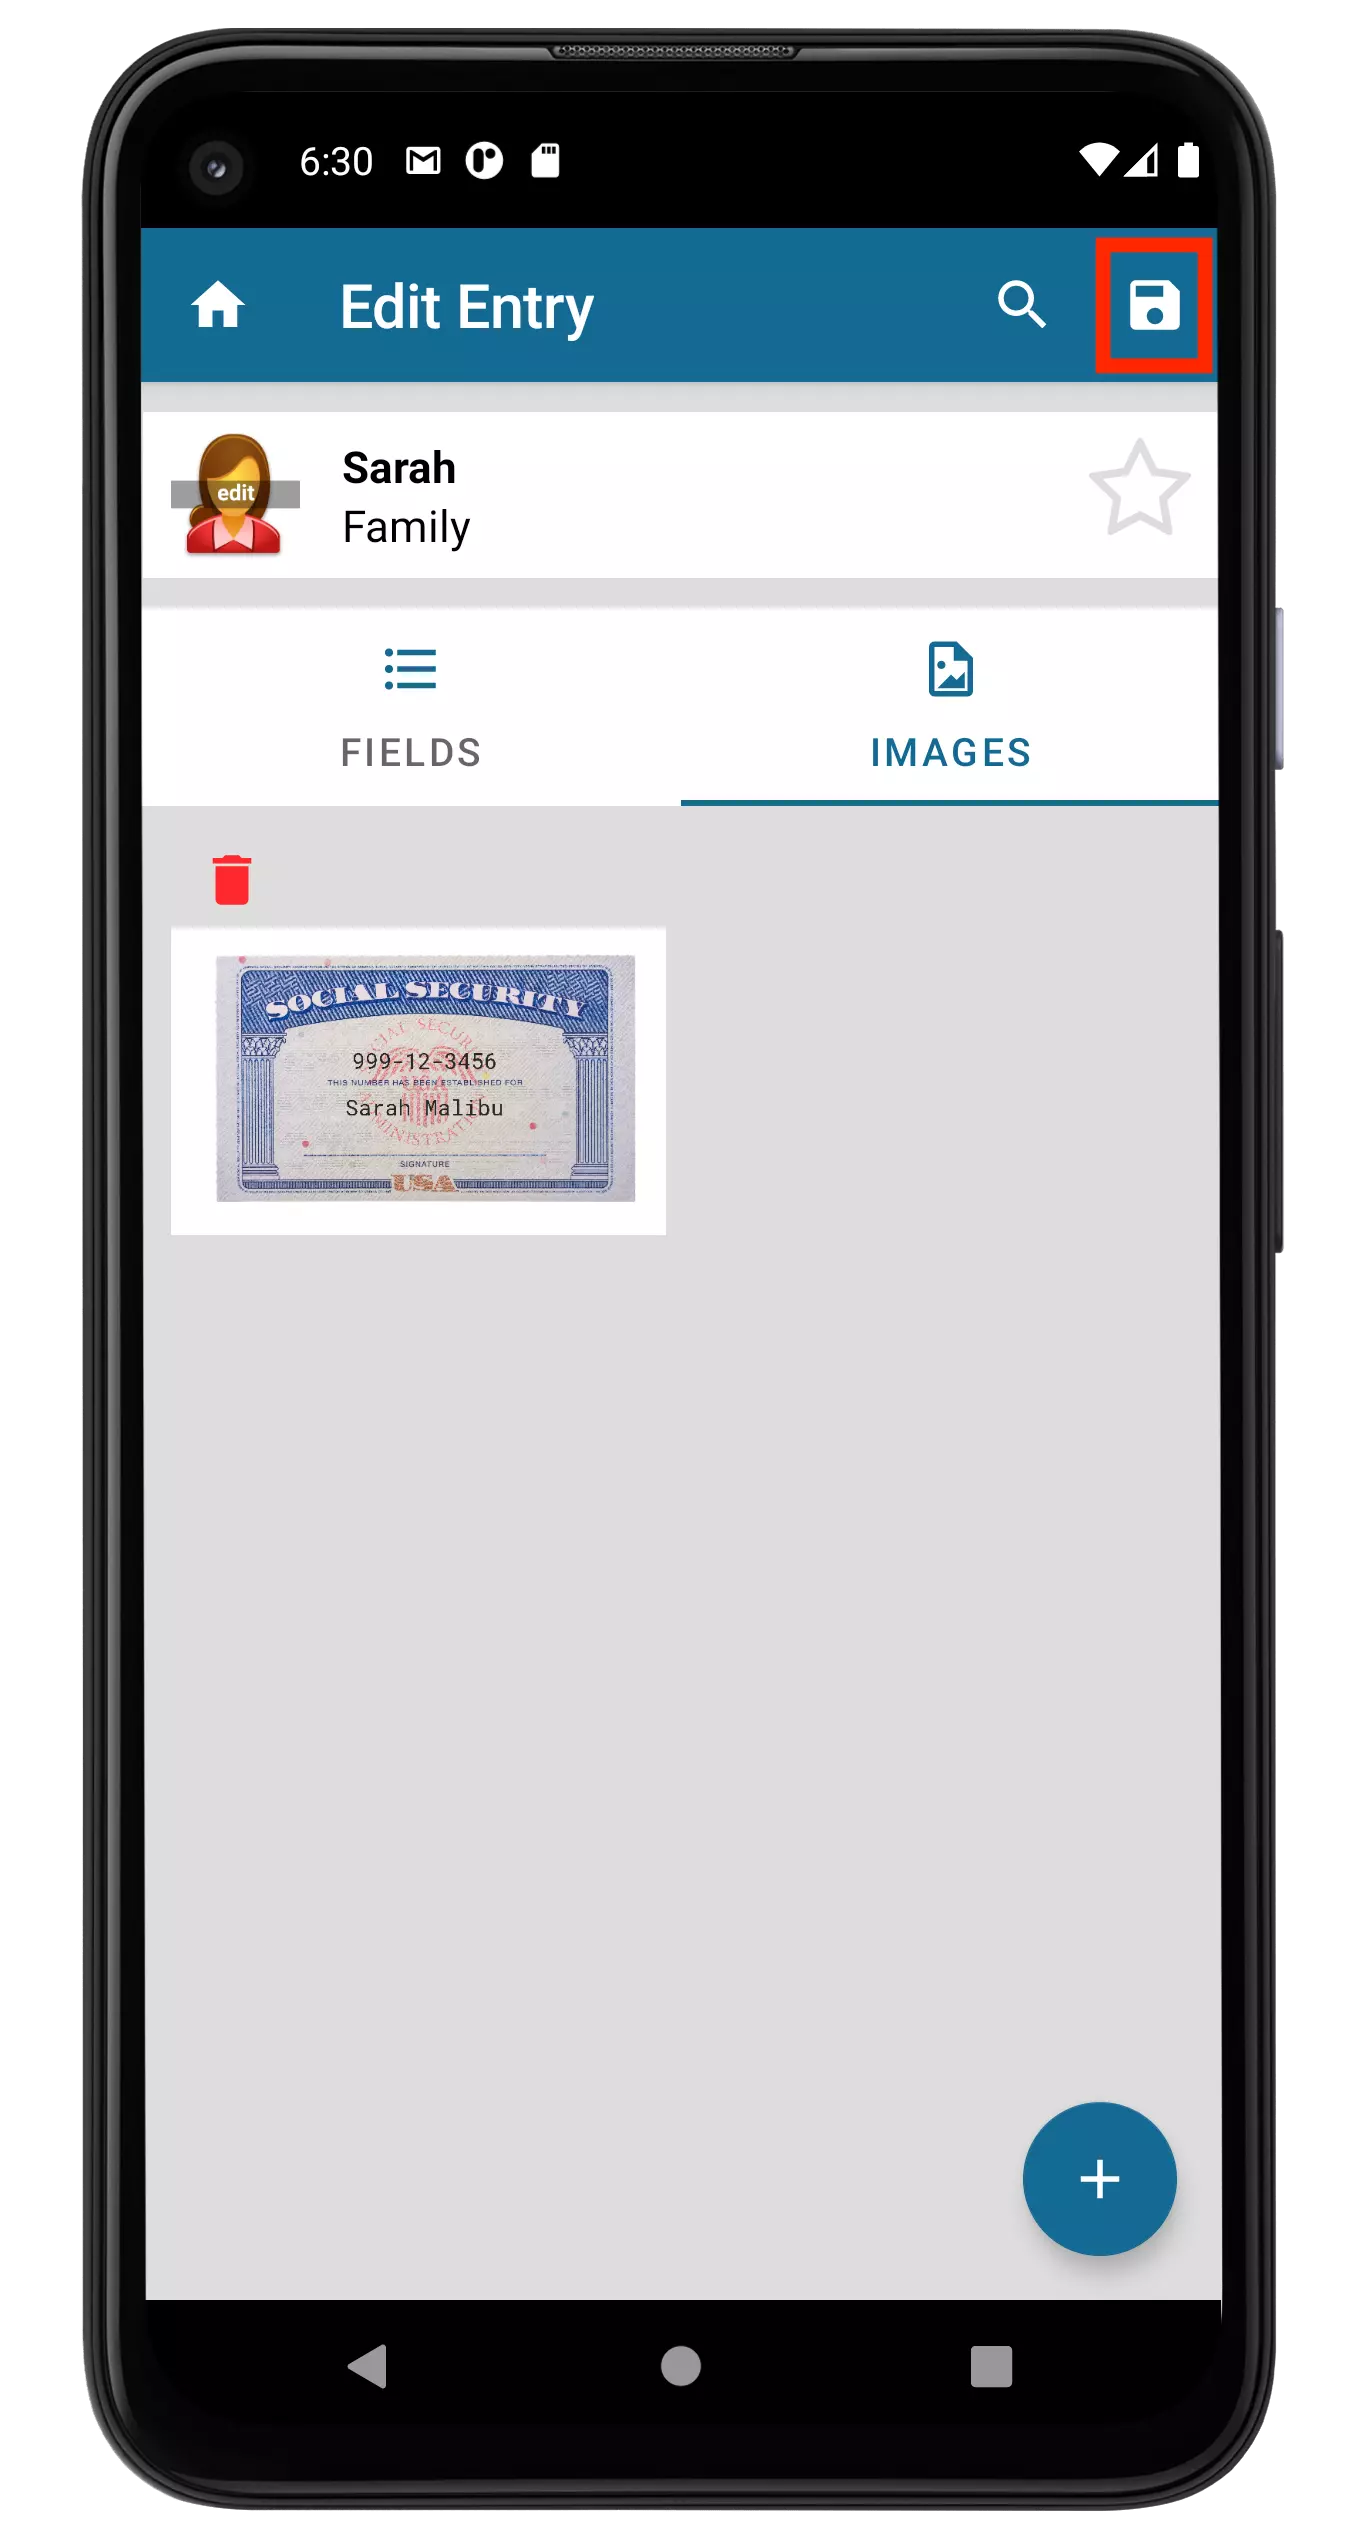
Tap the Add Image + button in the bottom right hand corner to add an image to this Entry:
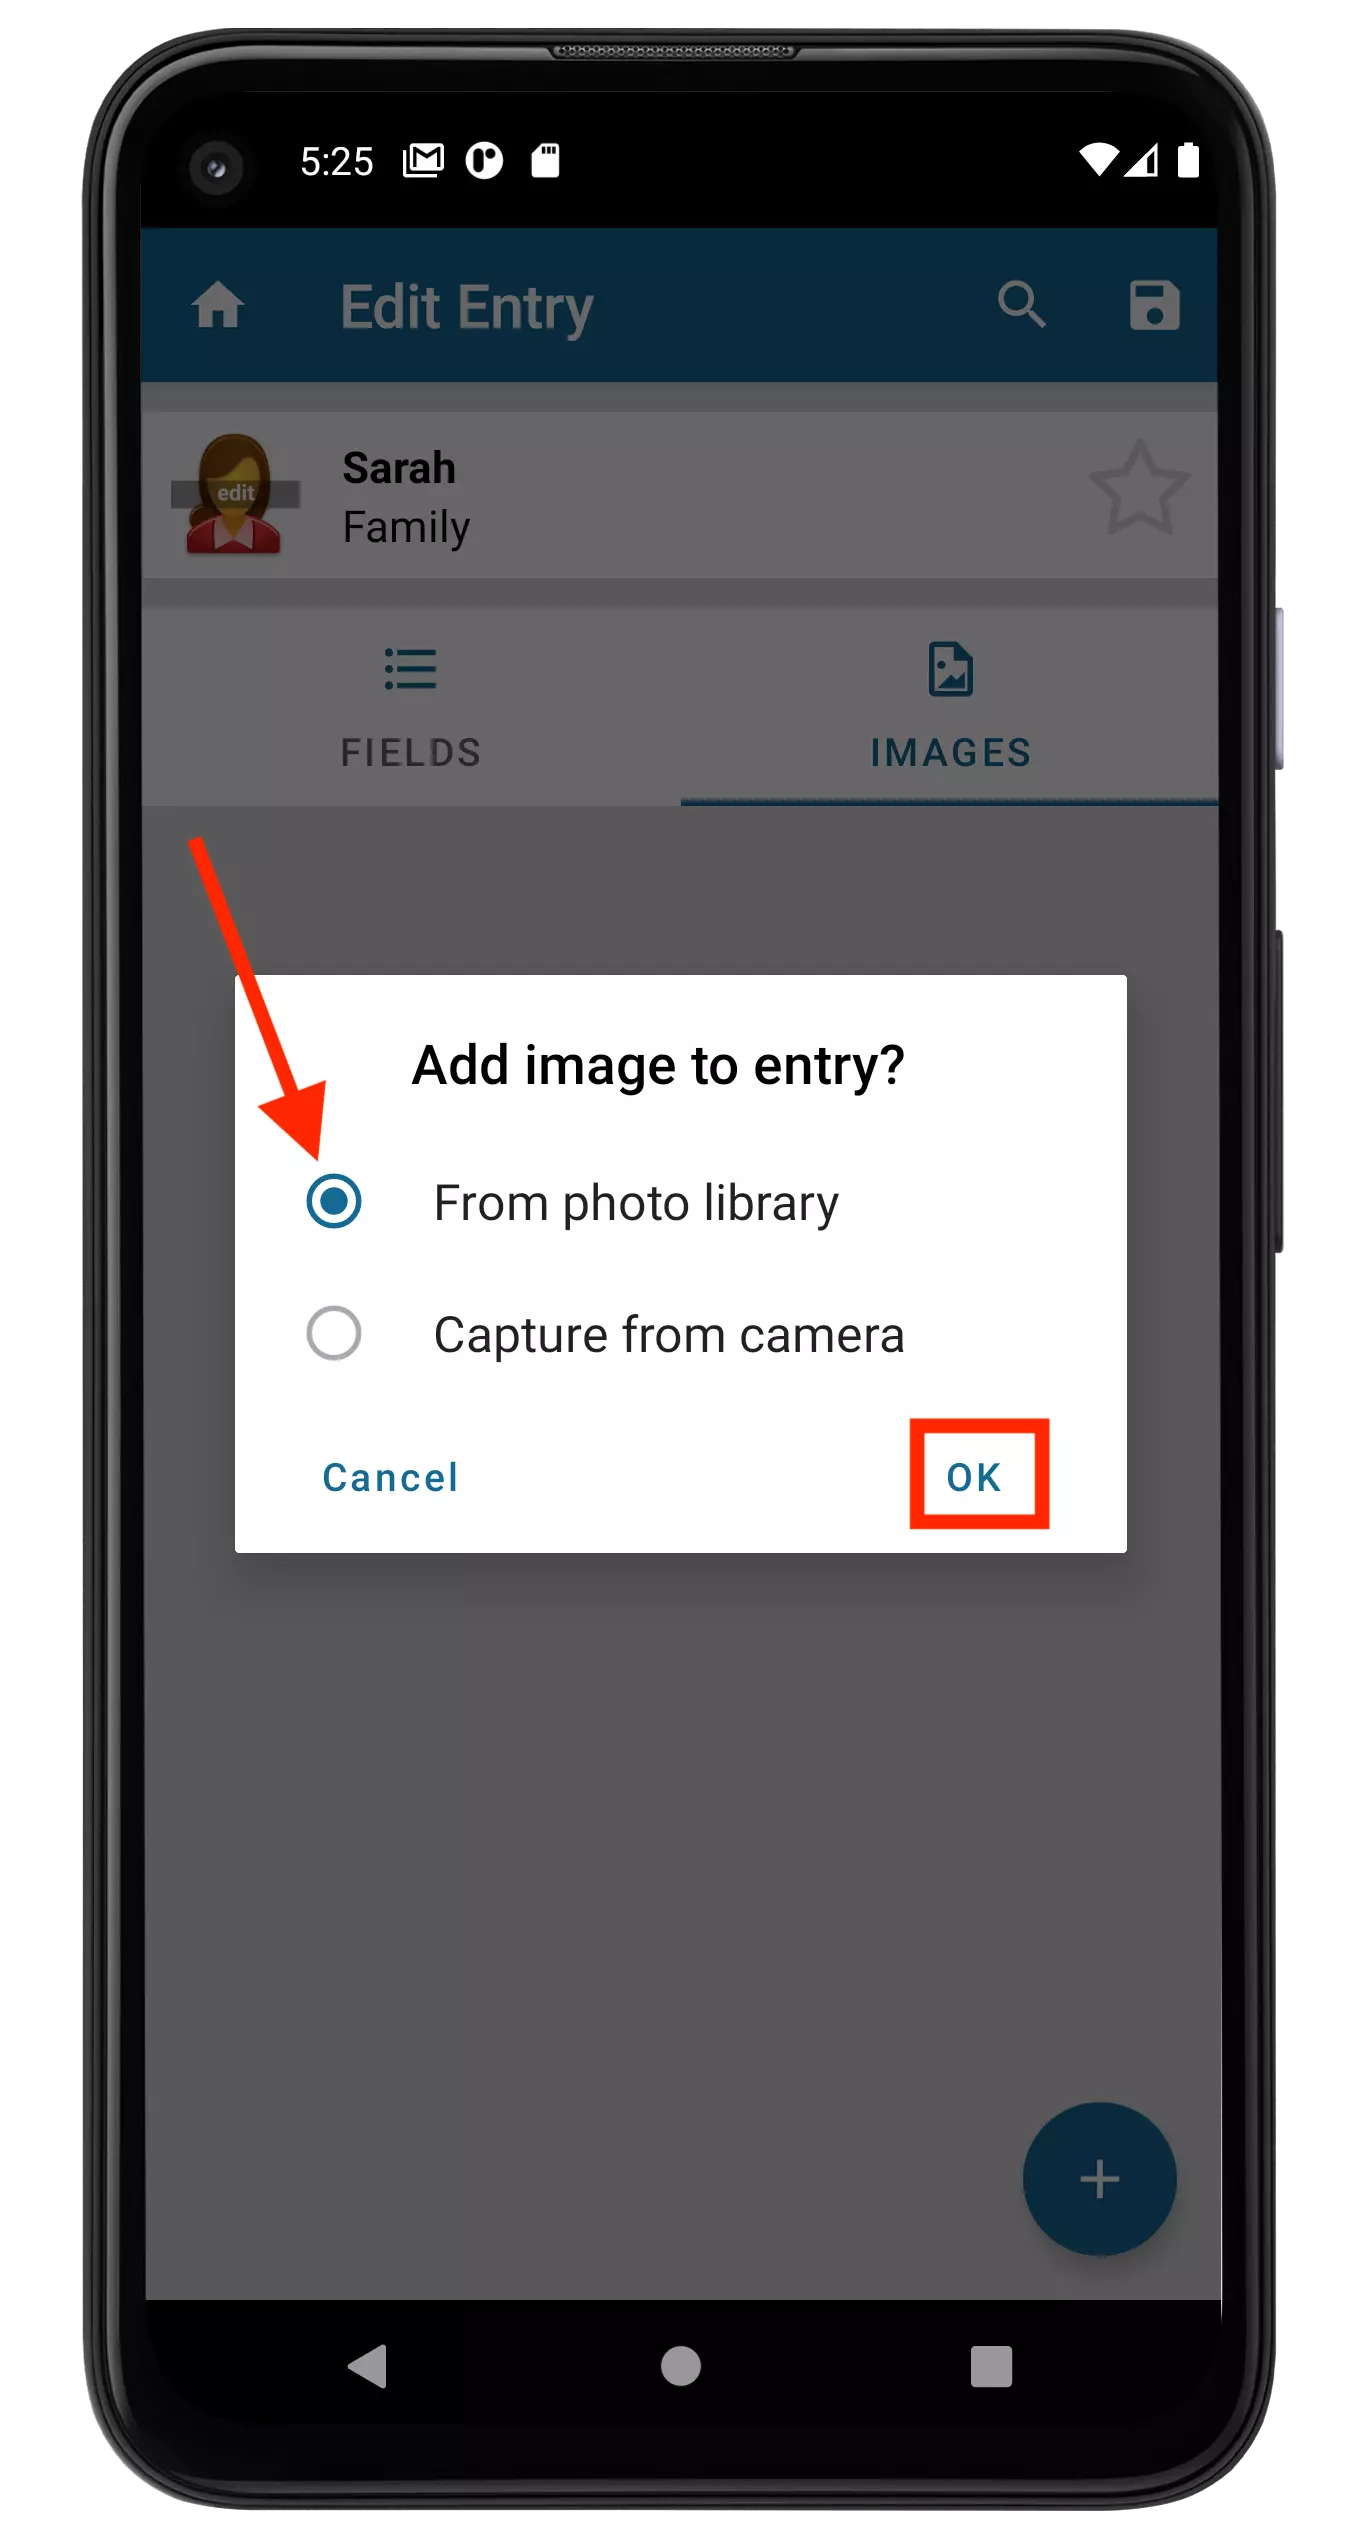
You will be prompted with two options for adding an image:
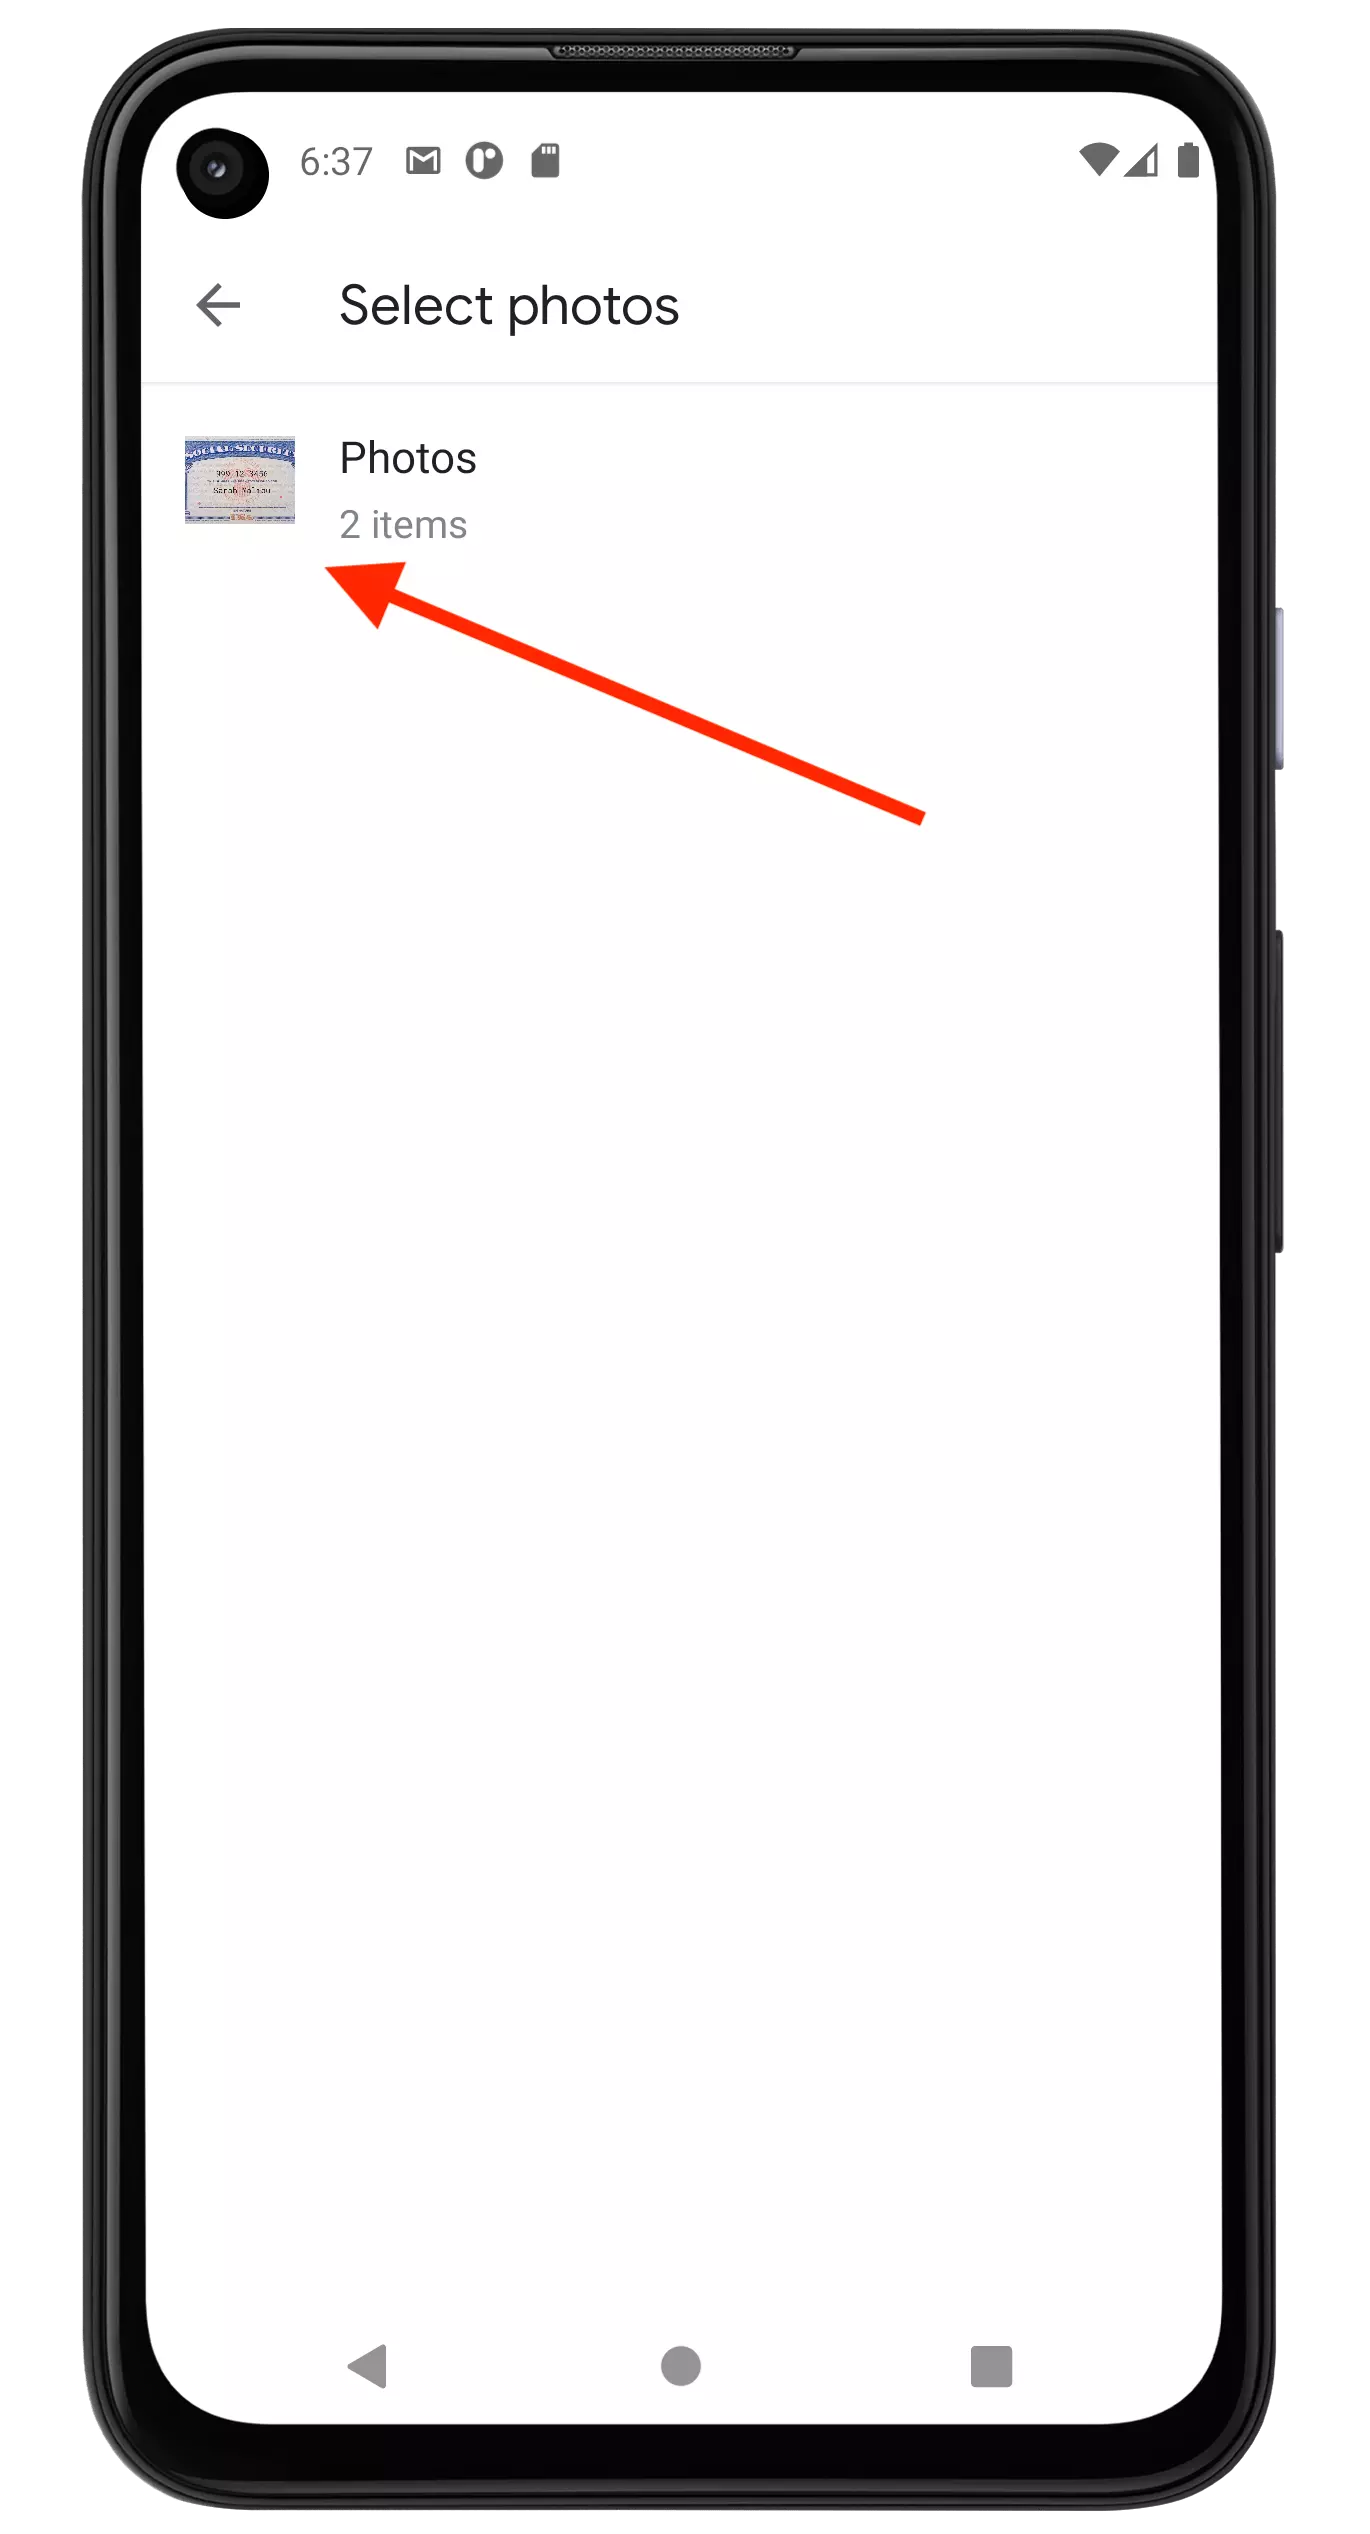
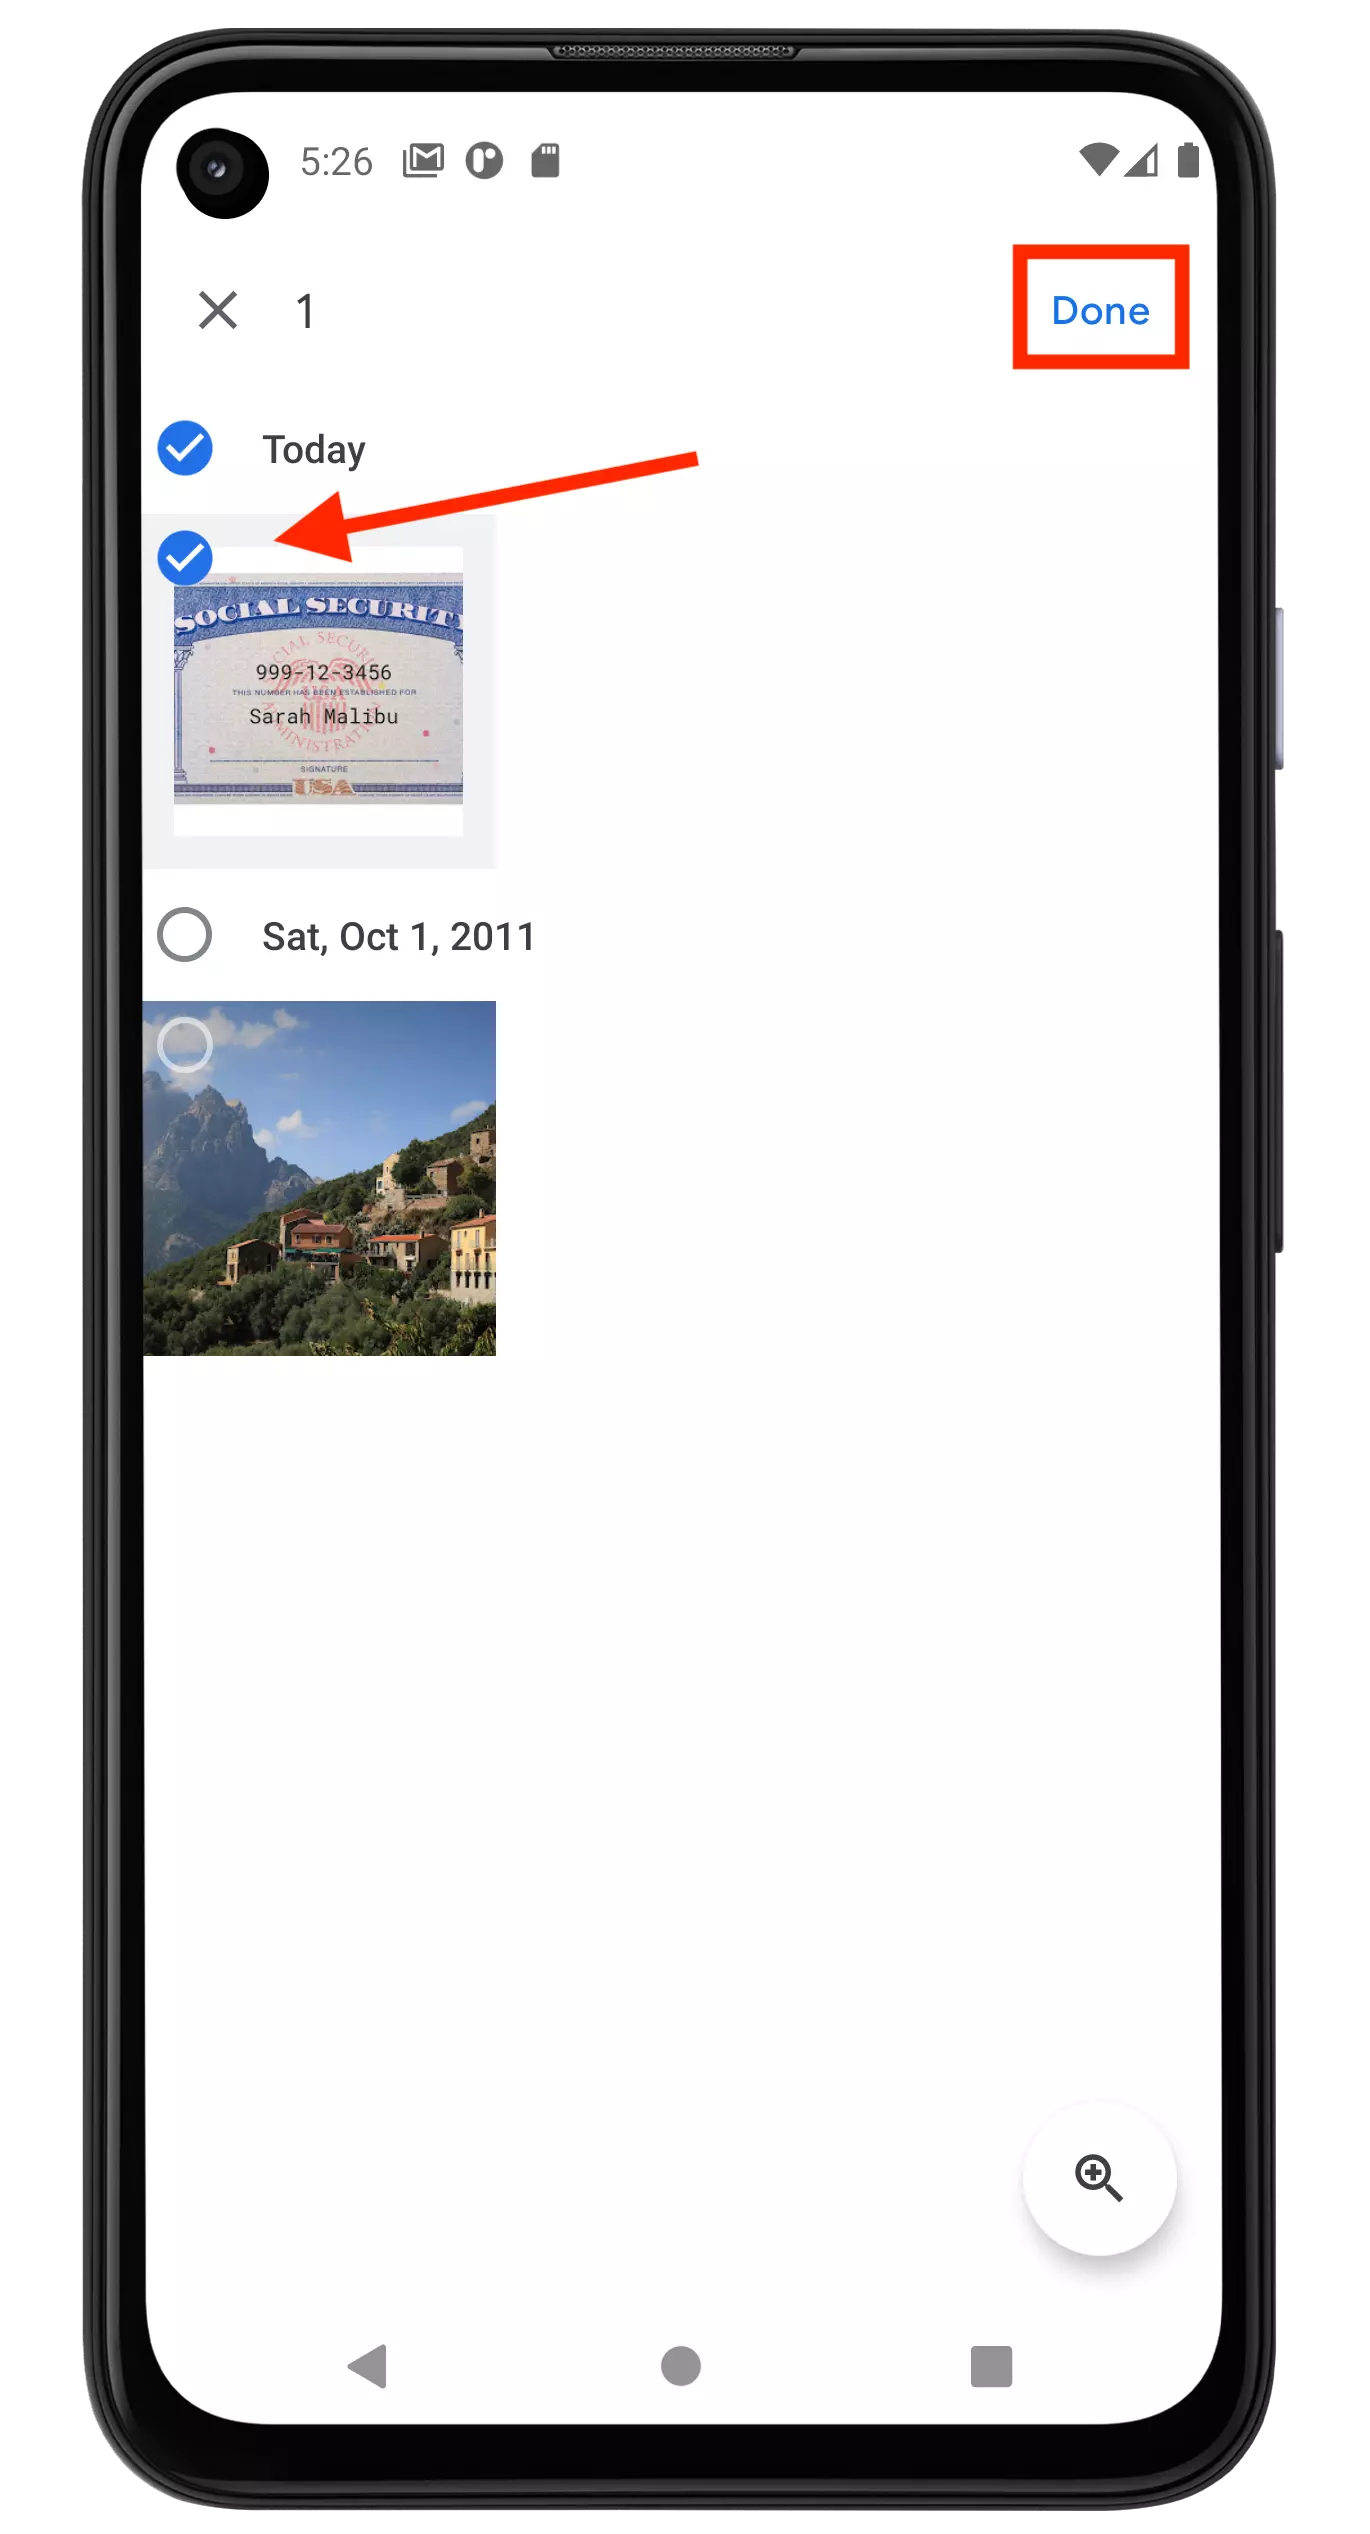
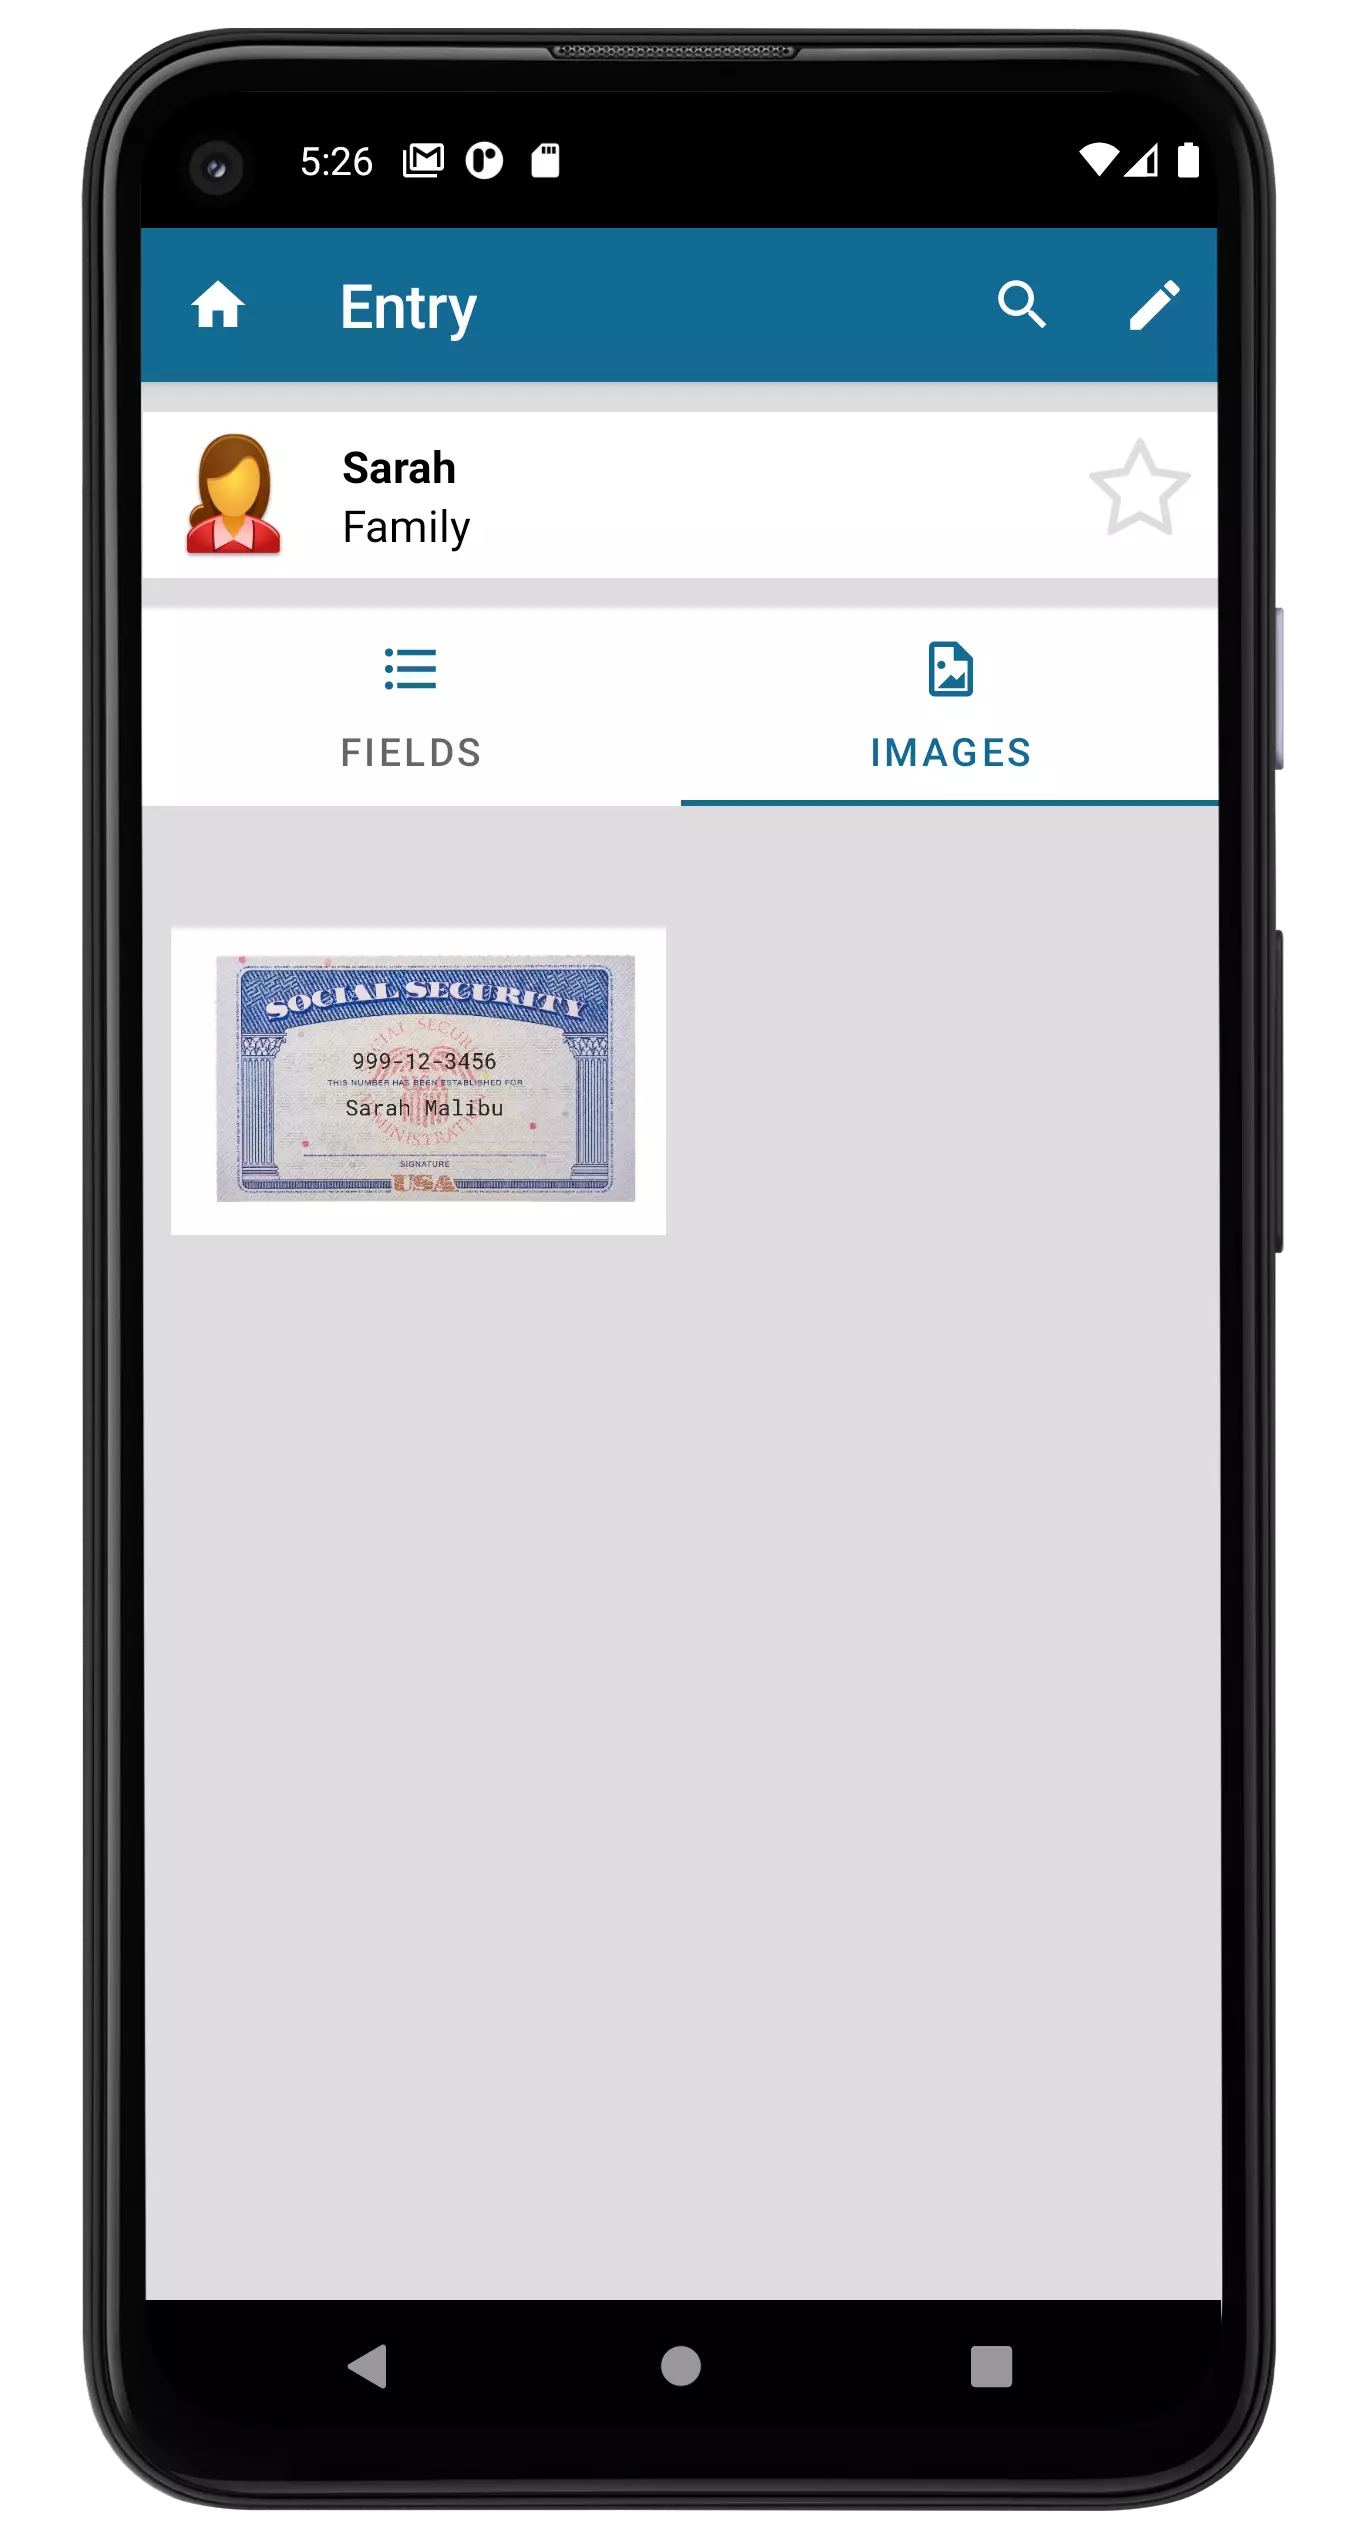
With From photo library selected, tap OK and an image file chooser will appear, allowing you to choose images on your Android for import. Select the desired images and tap Done to add them to your Entry.
Back on the Entry's Images view, tap the Add Image + button again, and this time, select Capture from camera.
At this point, in particular if it's your first time using this feature, Codebook may prompt you for permission to access the device's Camera. When prompted Allow Codebook to take pictures & record video? Select either While using the app OR Only one time to proceed.
Now, take your photo, and tap the ✓ button to attach it to your Entry.
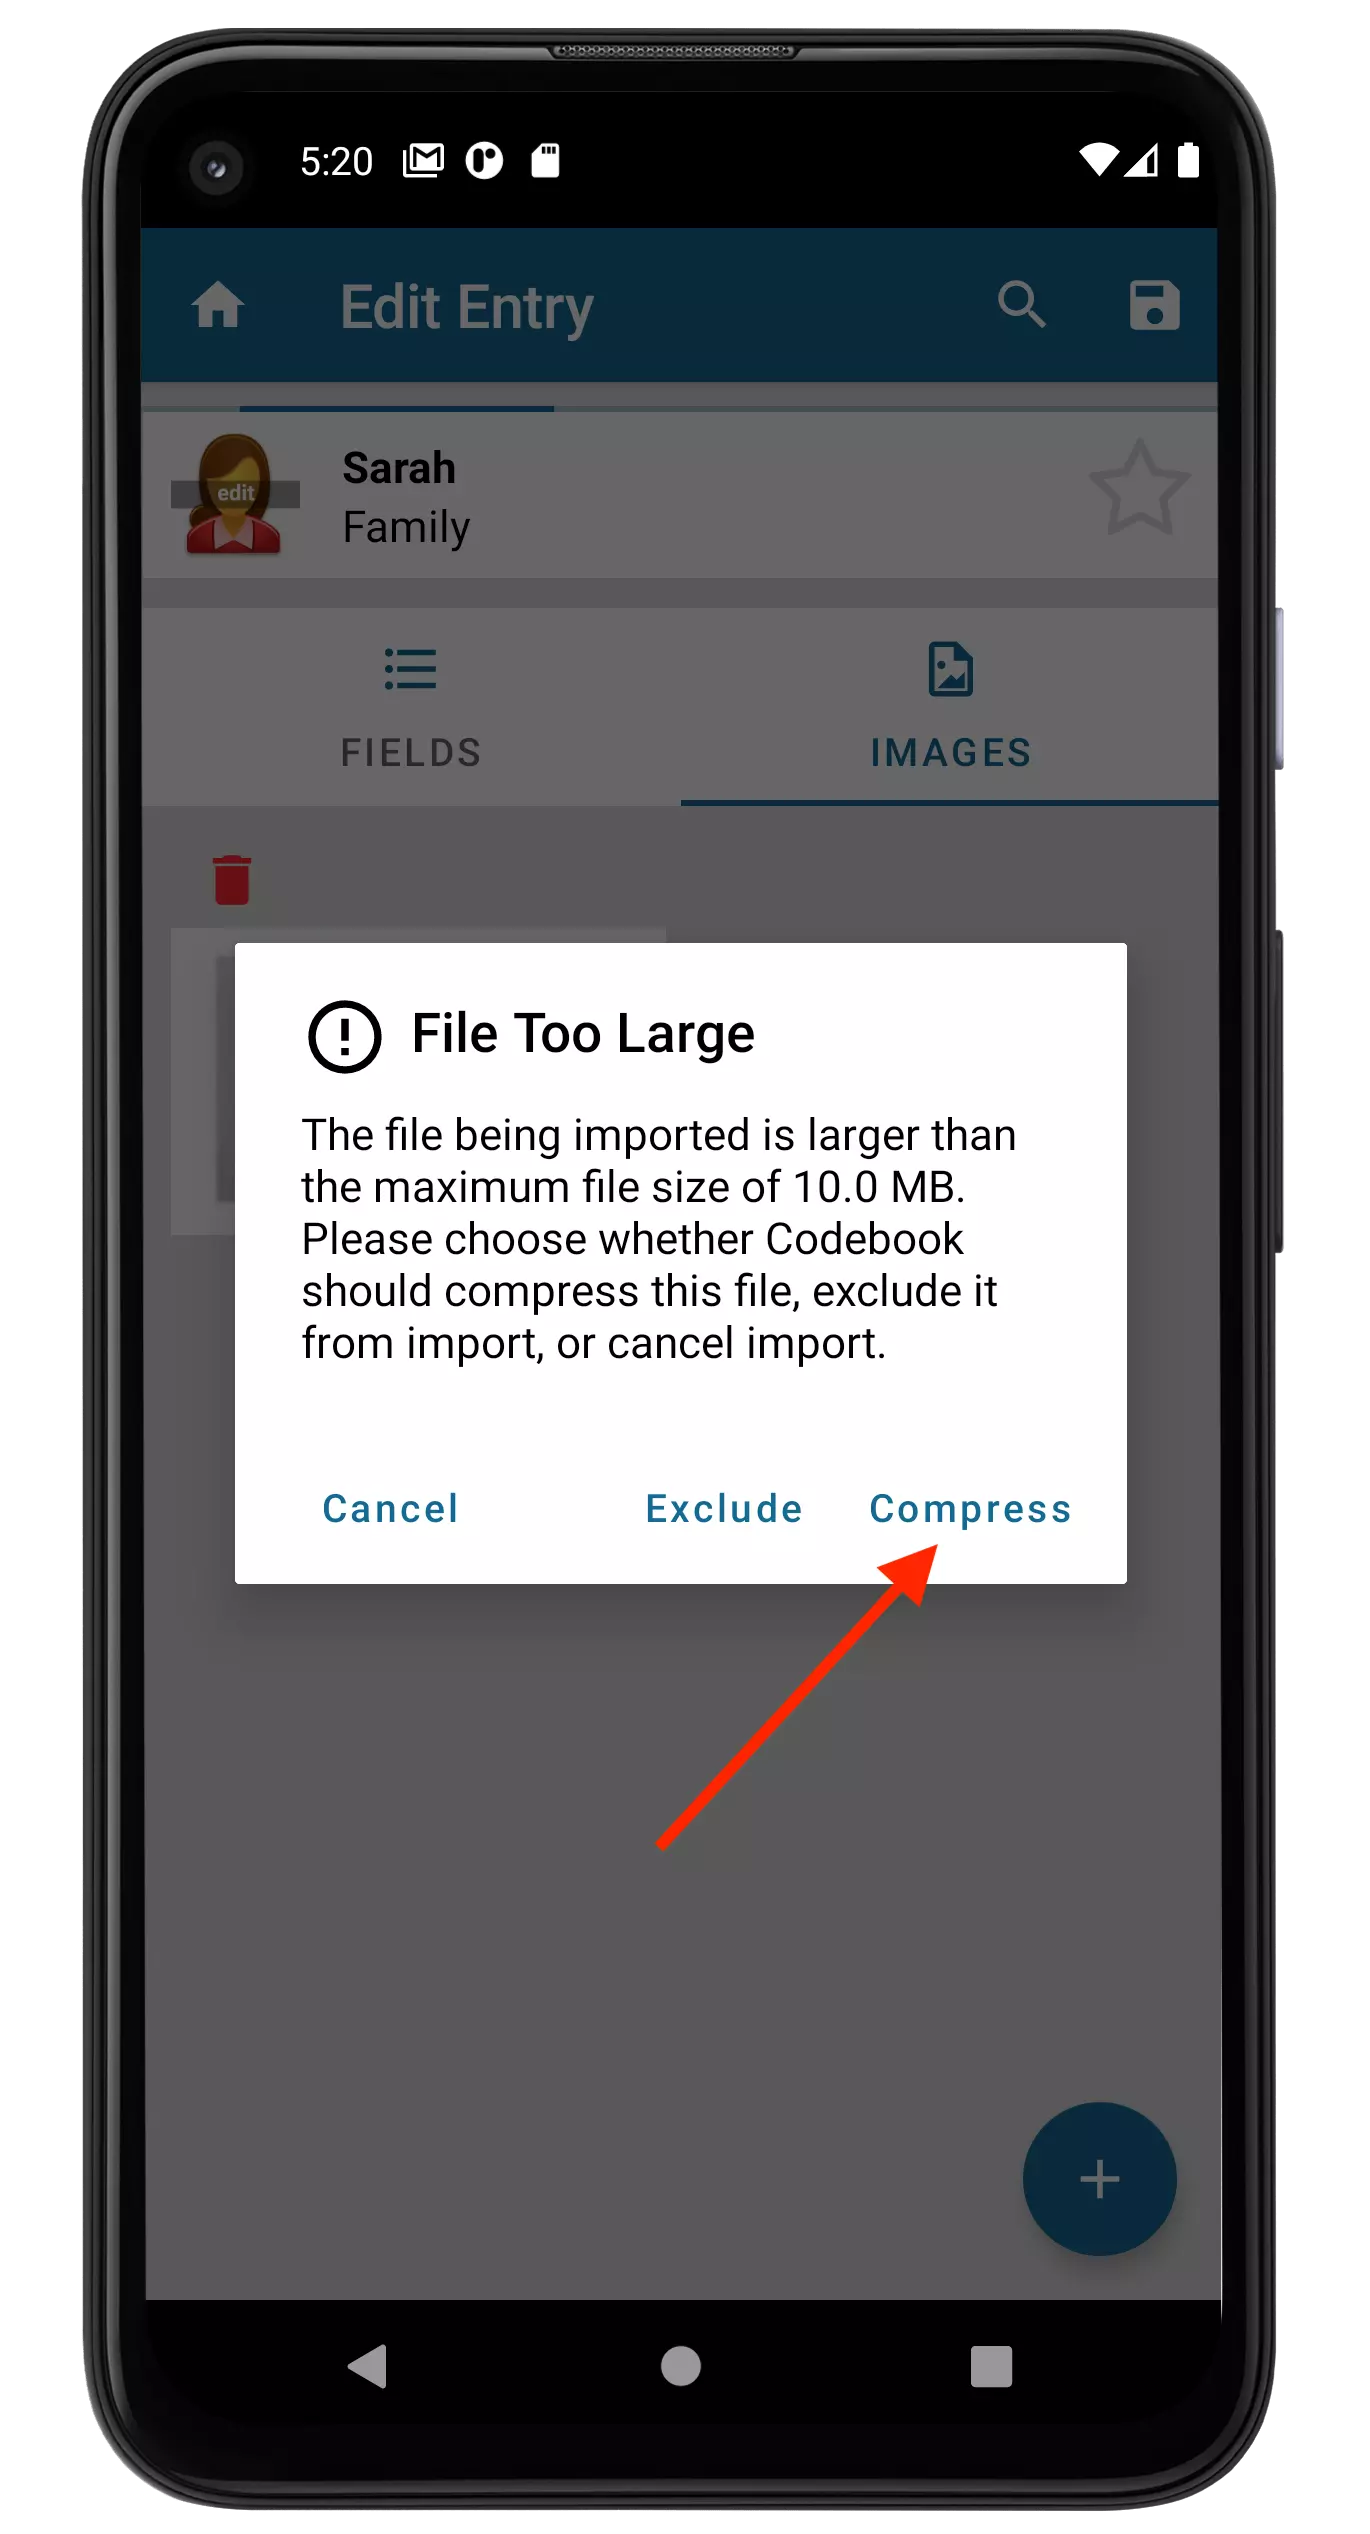
Compression: When Codebook is importing images, if any of them are too large to import, you will be prompted to choose whether to Compress these files or Exclude them from the import. When you choose Compress Codebook will attempt to compress them below the maximum file size.
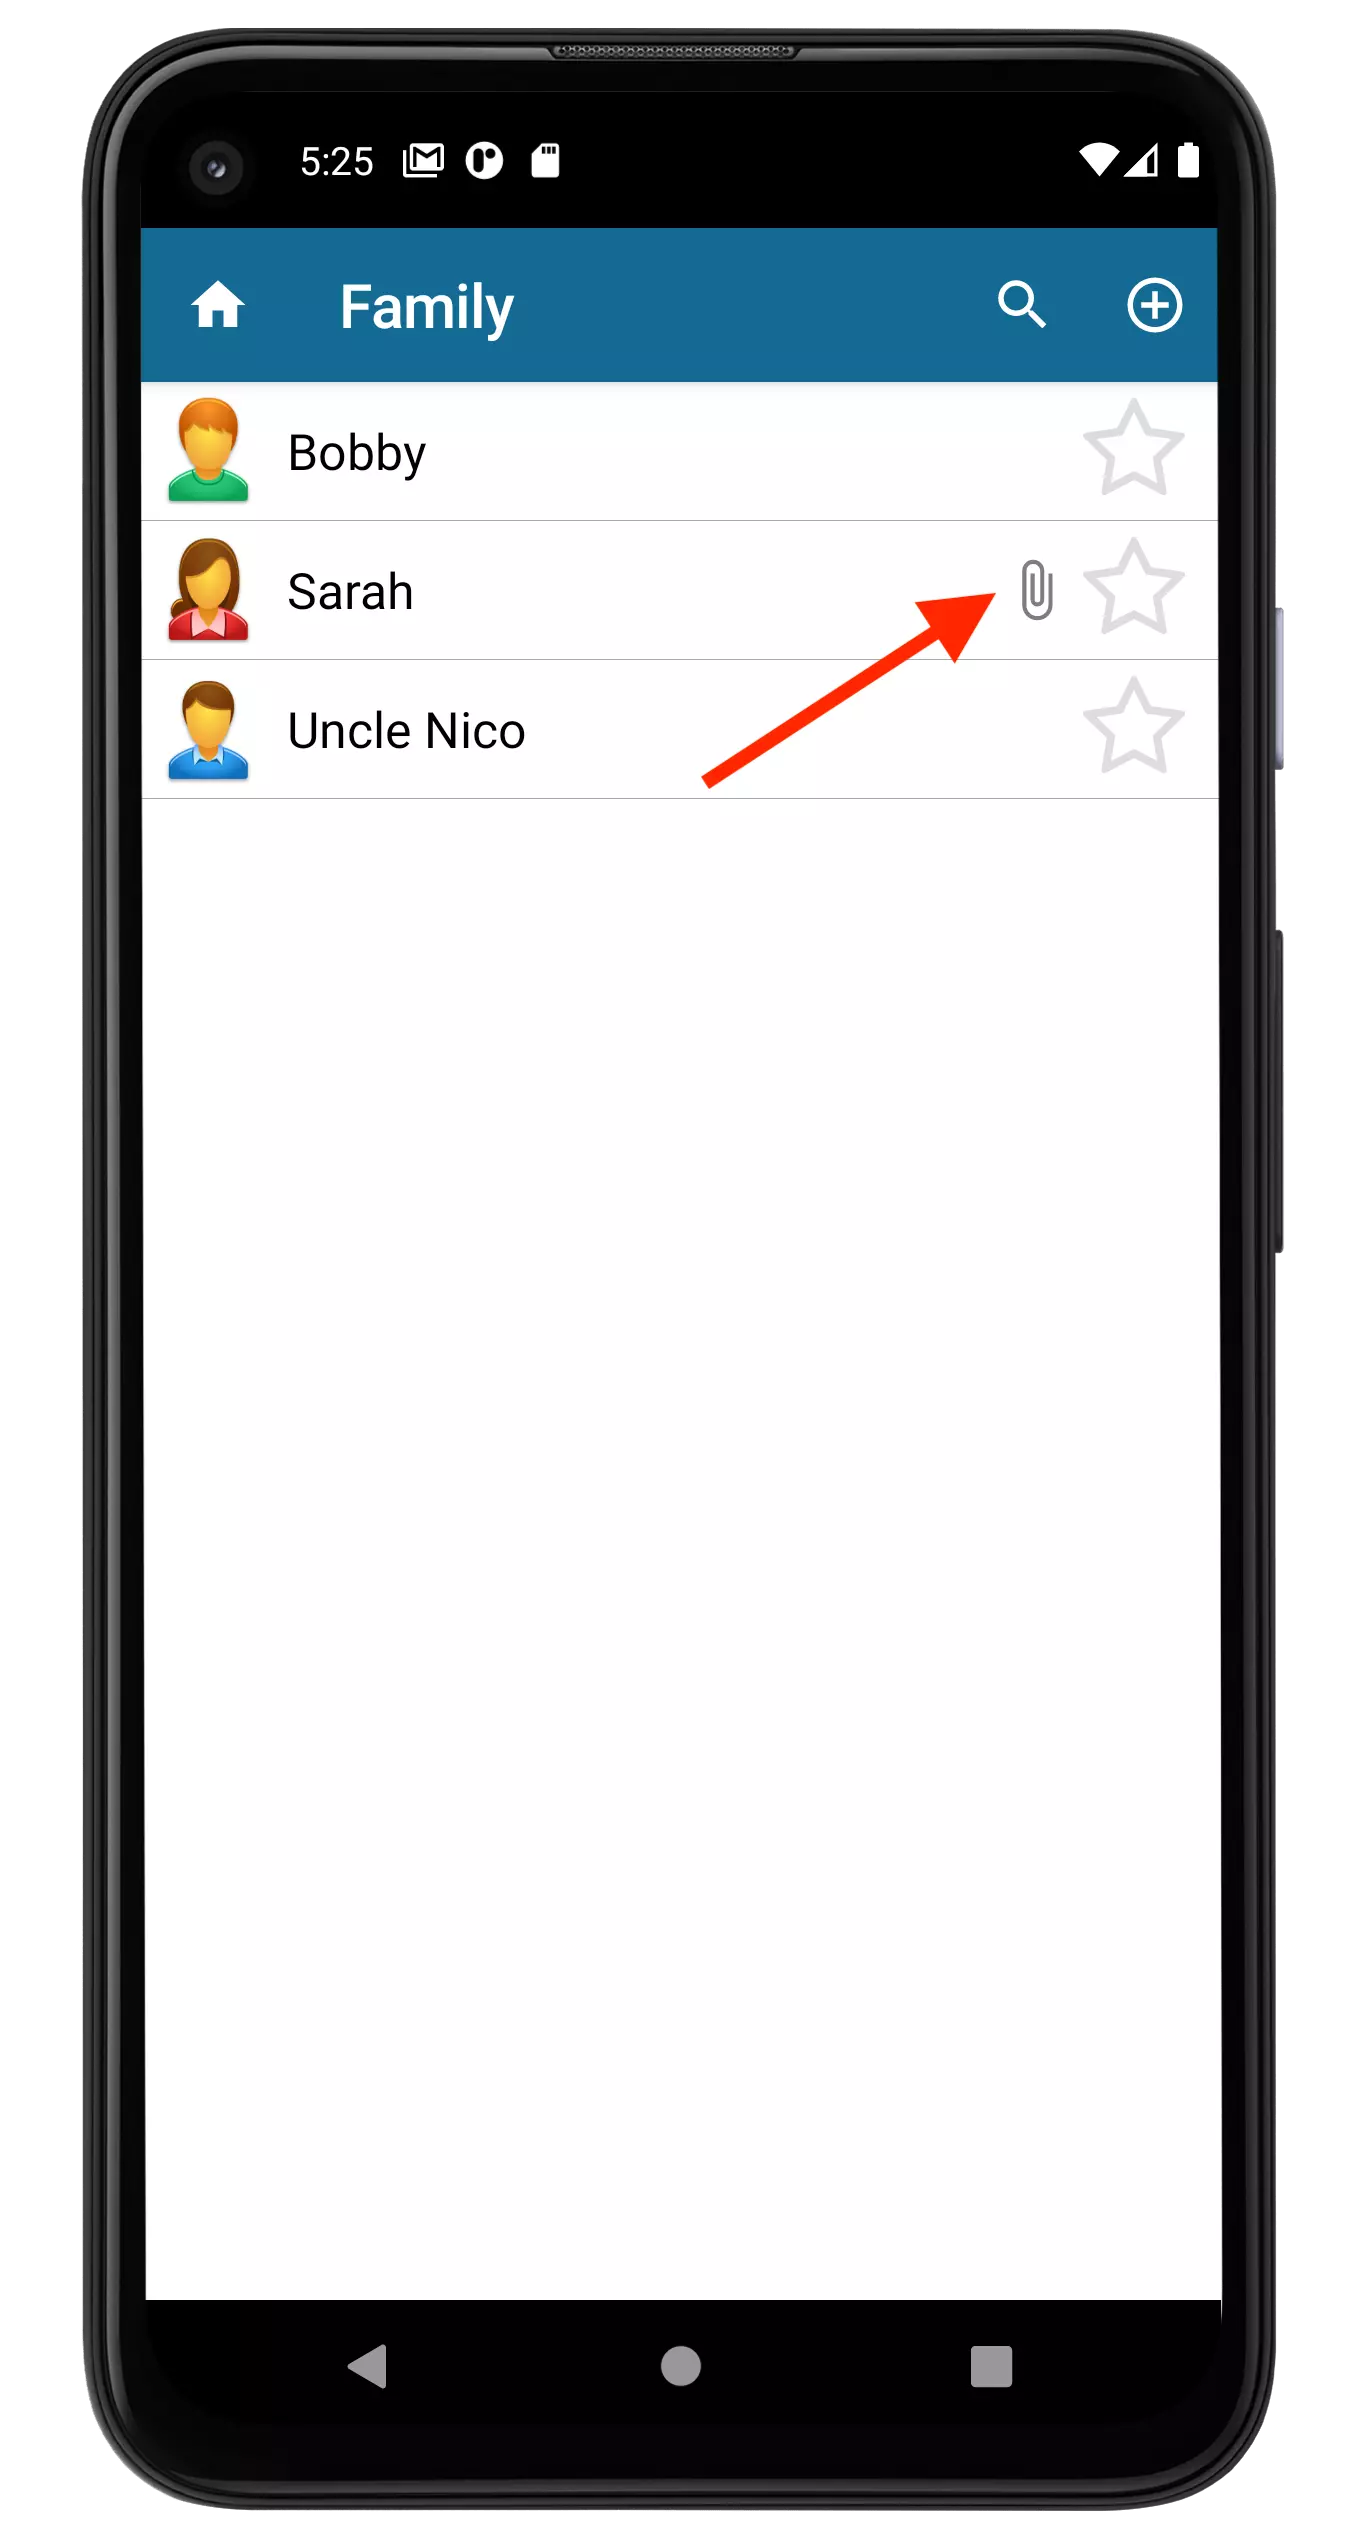
Finally, tap the Save button on the Entry view, to ensure the images you added to this entry are saved to your encrypted database. As you navigate the Categories to view your Entries, you will see those that have Image attachments will display a paperclip icon.
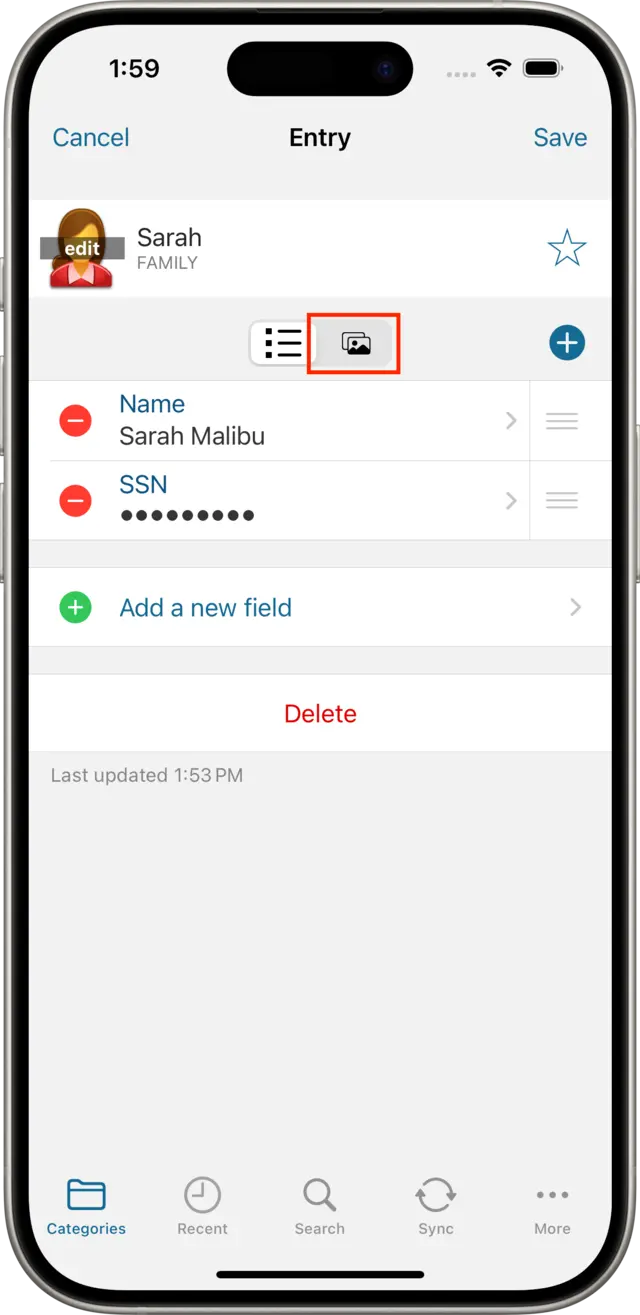
From the Family category, tap the Entry we created for Sarah, and tap the Edit
button. Then, tap the Images button ![]() to display the Images view.
to display the Images view.


Tap the Add Image + button on the top, right-hand side of the Images view to add an image to this Entry:
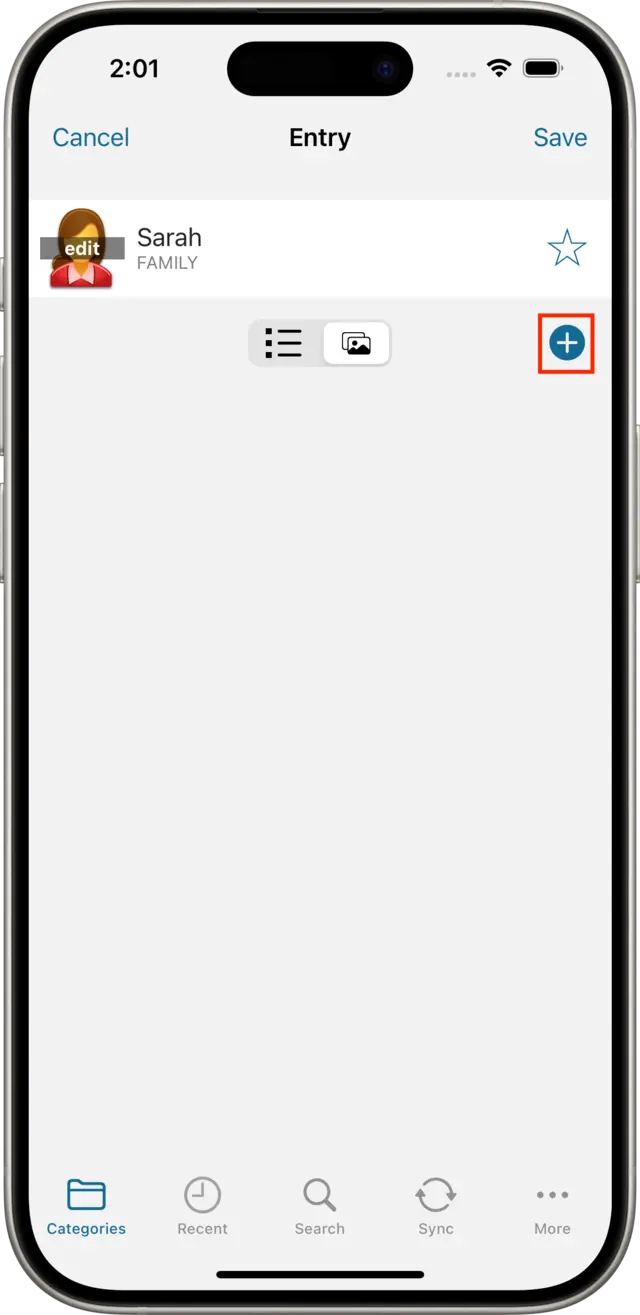
You will be given three options for adding an image:
After tapping the Add Image button, tap the Photo Library option to add photos from your iOS Photos library. Select the desired picture (or group of pictures) and tap Add to add them to your Entry.


After tapping the Add Image button, tap the Camera option to take a photograph using your device's available cameras. Use the camera view that appears to take a picture. When you are satisfied with your photo, tap Use Photo.
After tapping the Add Image button, tap the Browse option to select an image file stored on your iPhone. In the file chooser that appears you may also select files from iCloud Drive, if enabled on your device.
Compression: When Codebook is importing images, if any of them are too large to import, you will be prompted to choose whether to Compress these files or Exclude them from the import. When you choose Compress Codebook will attempt to compress them below the maximum file size.

Finally, tap the Save button on the Entry view, to ensure the images you added to this entry are saved to your encrypted database. As you navigate the Categories to view your Entries, you will see those that have Image attachments will display a paperclip icon.


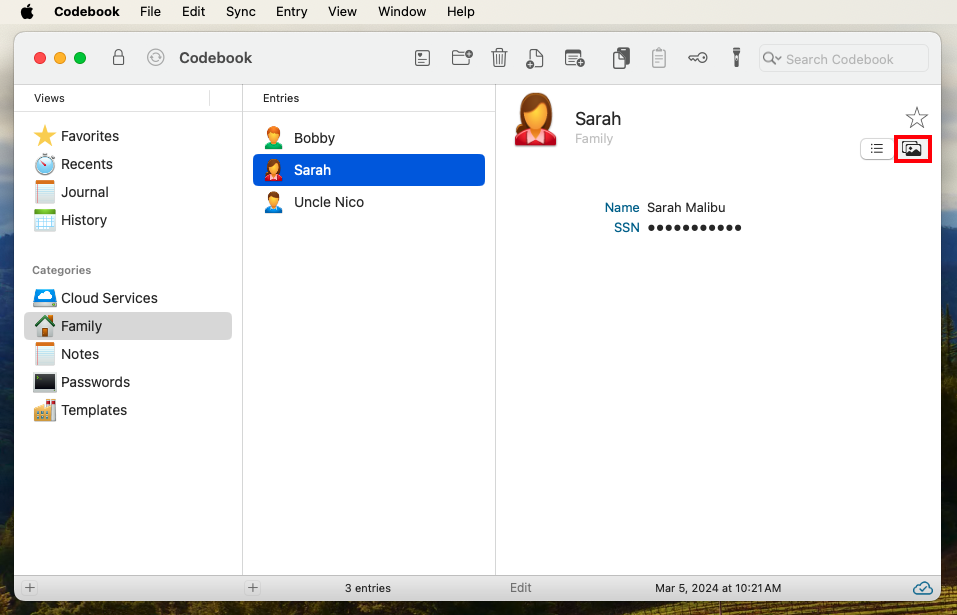
In the Family category, select the Entry we created for Sarah, and click on the Images button ![]() to display the Images view. Then, click the Edit button to enter Edit mode.
to display the Images view. Then, click the Edit button to enter Edit mode.
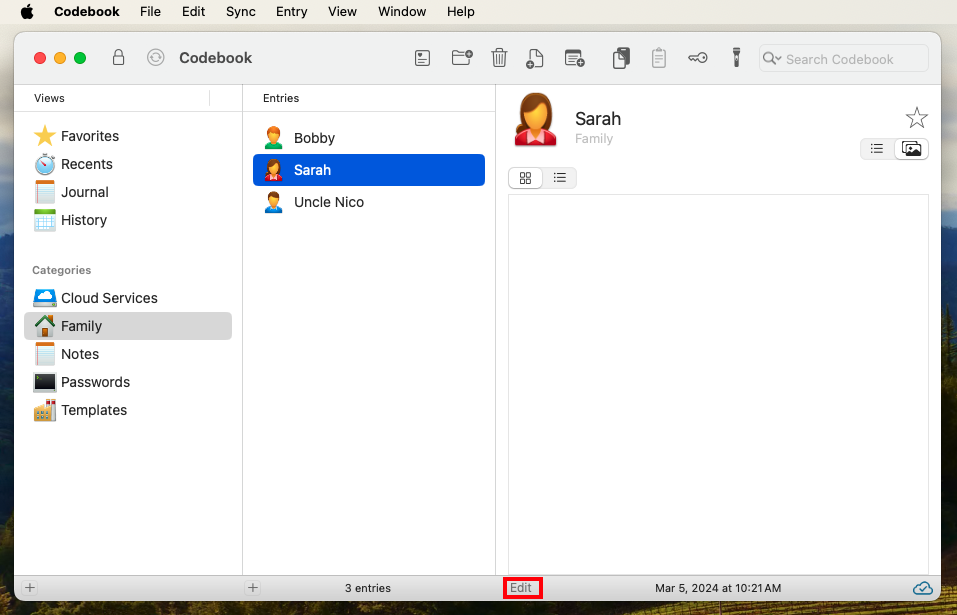
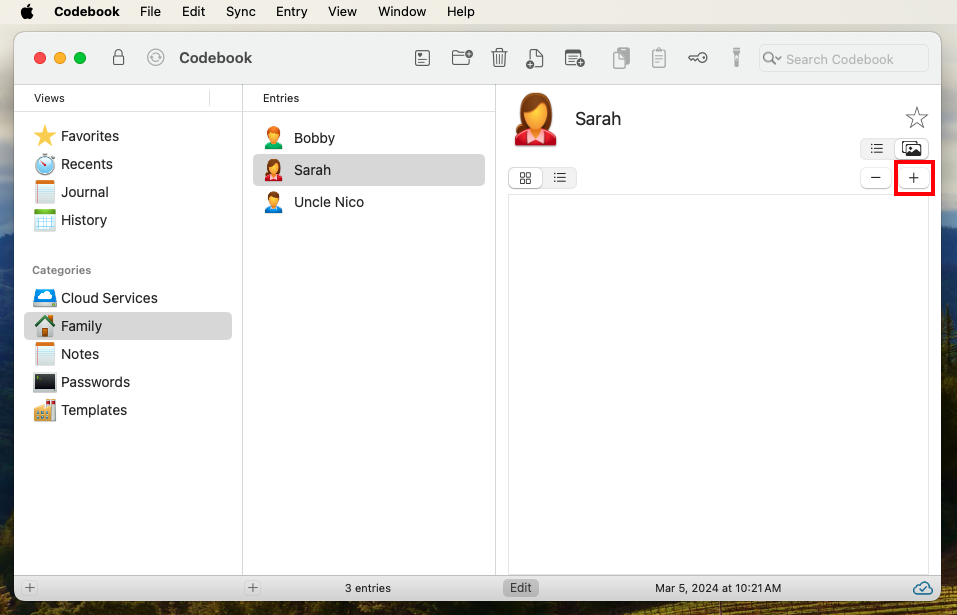
Click the Add Image + button at the top, right-hand side of the Images view to add an image to this Entry:
Use the Open panel that appears to choose the images on your Mac that you wish to add to your Entry:

The images you selected will then appear on the Images view of your entry.
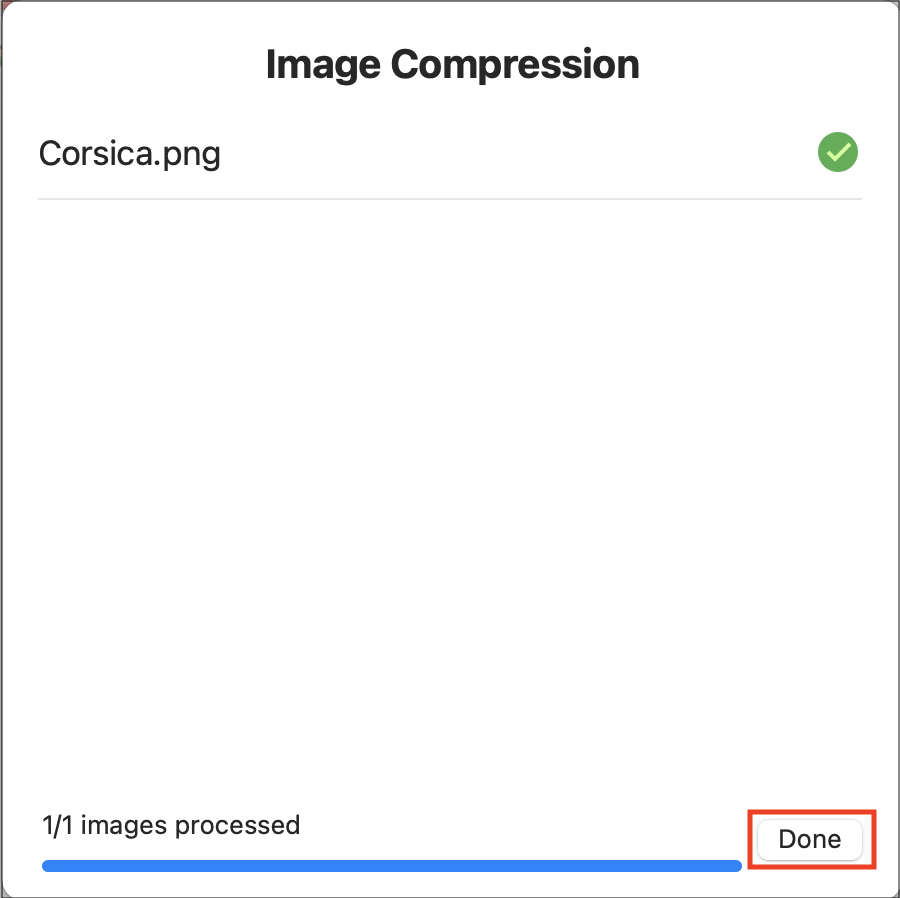
Compression: When Codebook is importing images, if any of them are too large to import, you will be prompted to choose whether to Compress these files or Exclude them from the import. When you choose Compress Codebook will attempt to compress them below the maximum file size.

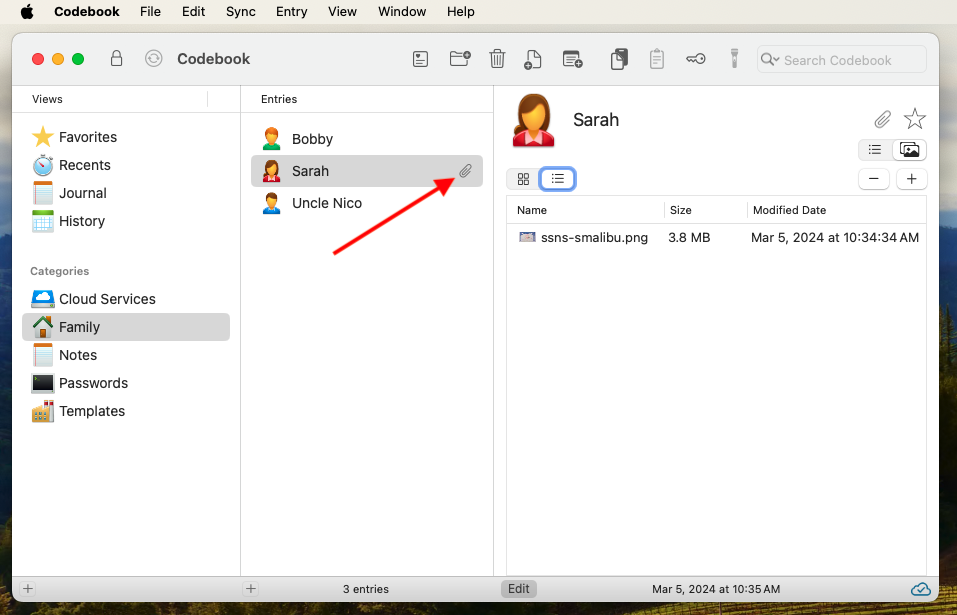
You can view details for your attachments (name, size, modified date) by clicking on the List mode button ![]() . You can also edit the file name (though we encourage you to keep the file extension in place).
. You can also edit the file name (though we encourage you to keep the file extension in place).
As you navigate your Categories and Entries you, you will see that any Entries with attached images will display a paperclip icon.
In the Family category, select the Entry we created for Sarah, and click on the Images button ![]() to display the Images view. Then, click the Edit button to enter Edit mode.
to display the Images view. Then, click the Edit button to enter Edit mode.

Click the Add Image + button at the top, right-hand side of the Images view to add an image to this Entry:

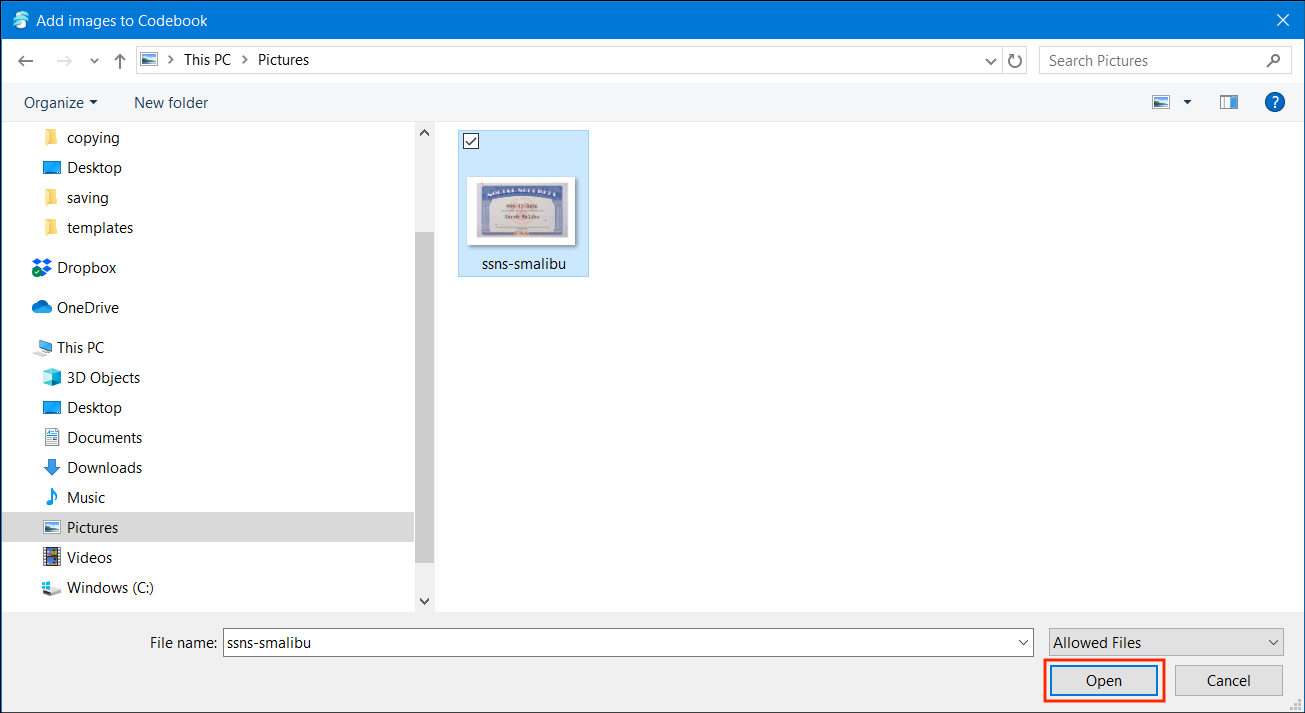
Use the Open panel that appears to choose the images on your computer that you wish to add to your Entry.
Compression: When Codebook is importing images, if any of them are too large to import, you will be prompted to choose whether to Compress these files or Exclude them from the import. When you choose Compress Codebook will attempt to compress them below the maximum file size.

Finally, click the Save button on the Entry view to ensure the images you added to this entry are saved to your encrypted database. You can view details for your attachments (name, size, modified date) by clicking on the List mode button ![]() . You can also edit the file name (though we encourage you to keep the file extension in place).
. You can also edit the file name (though we encourage you to keep the file extension in place).
As you navigate the Categories to view your Entries, you will see those that have Image attachments will display a paperclip icon.
