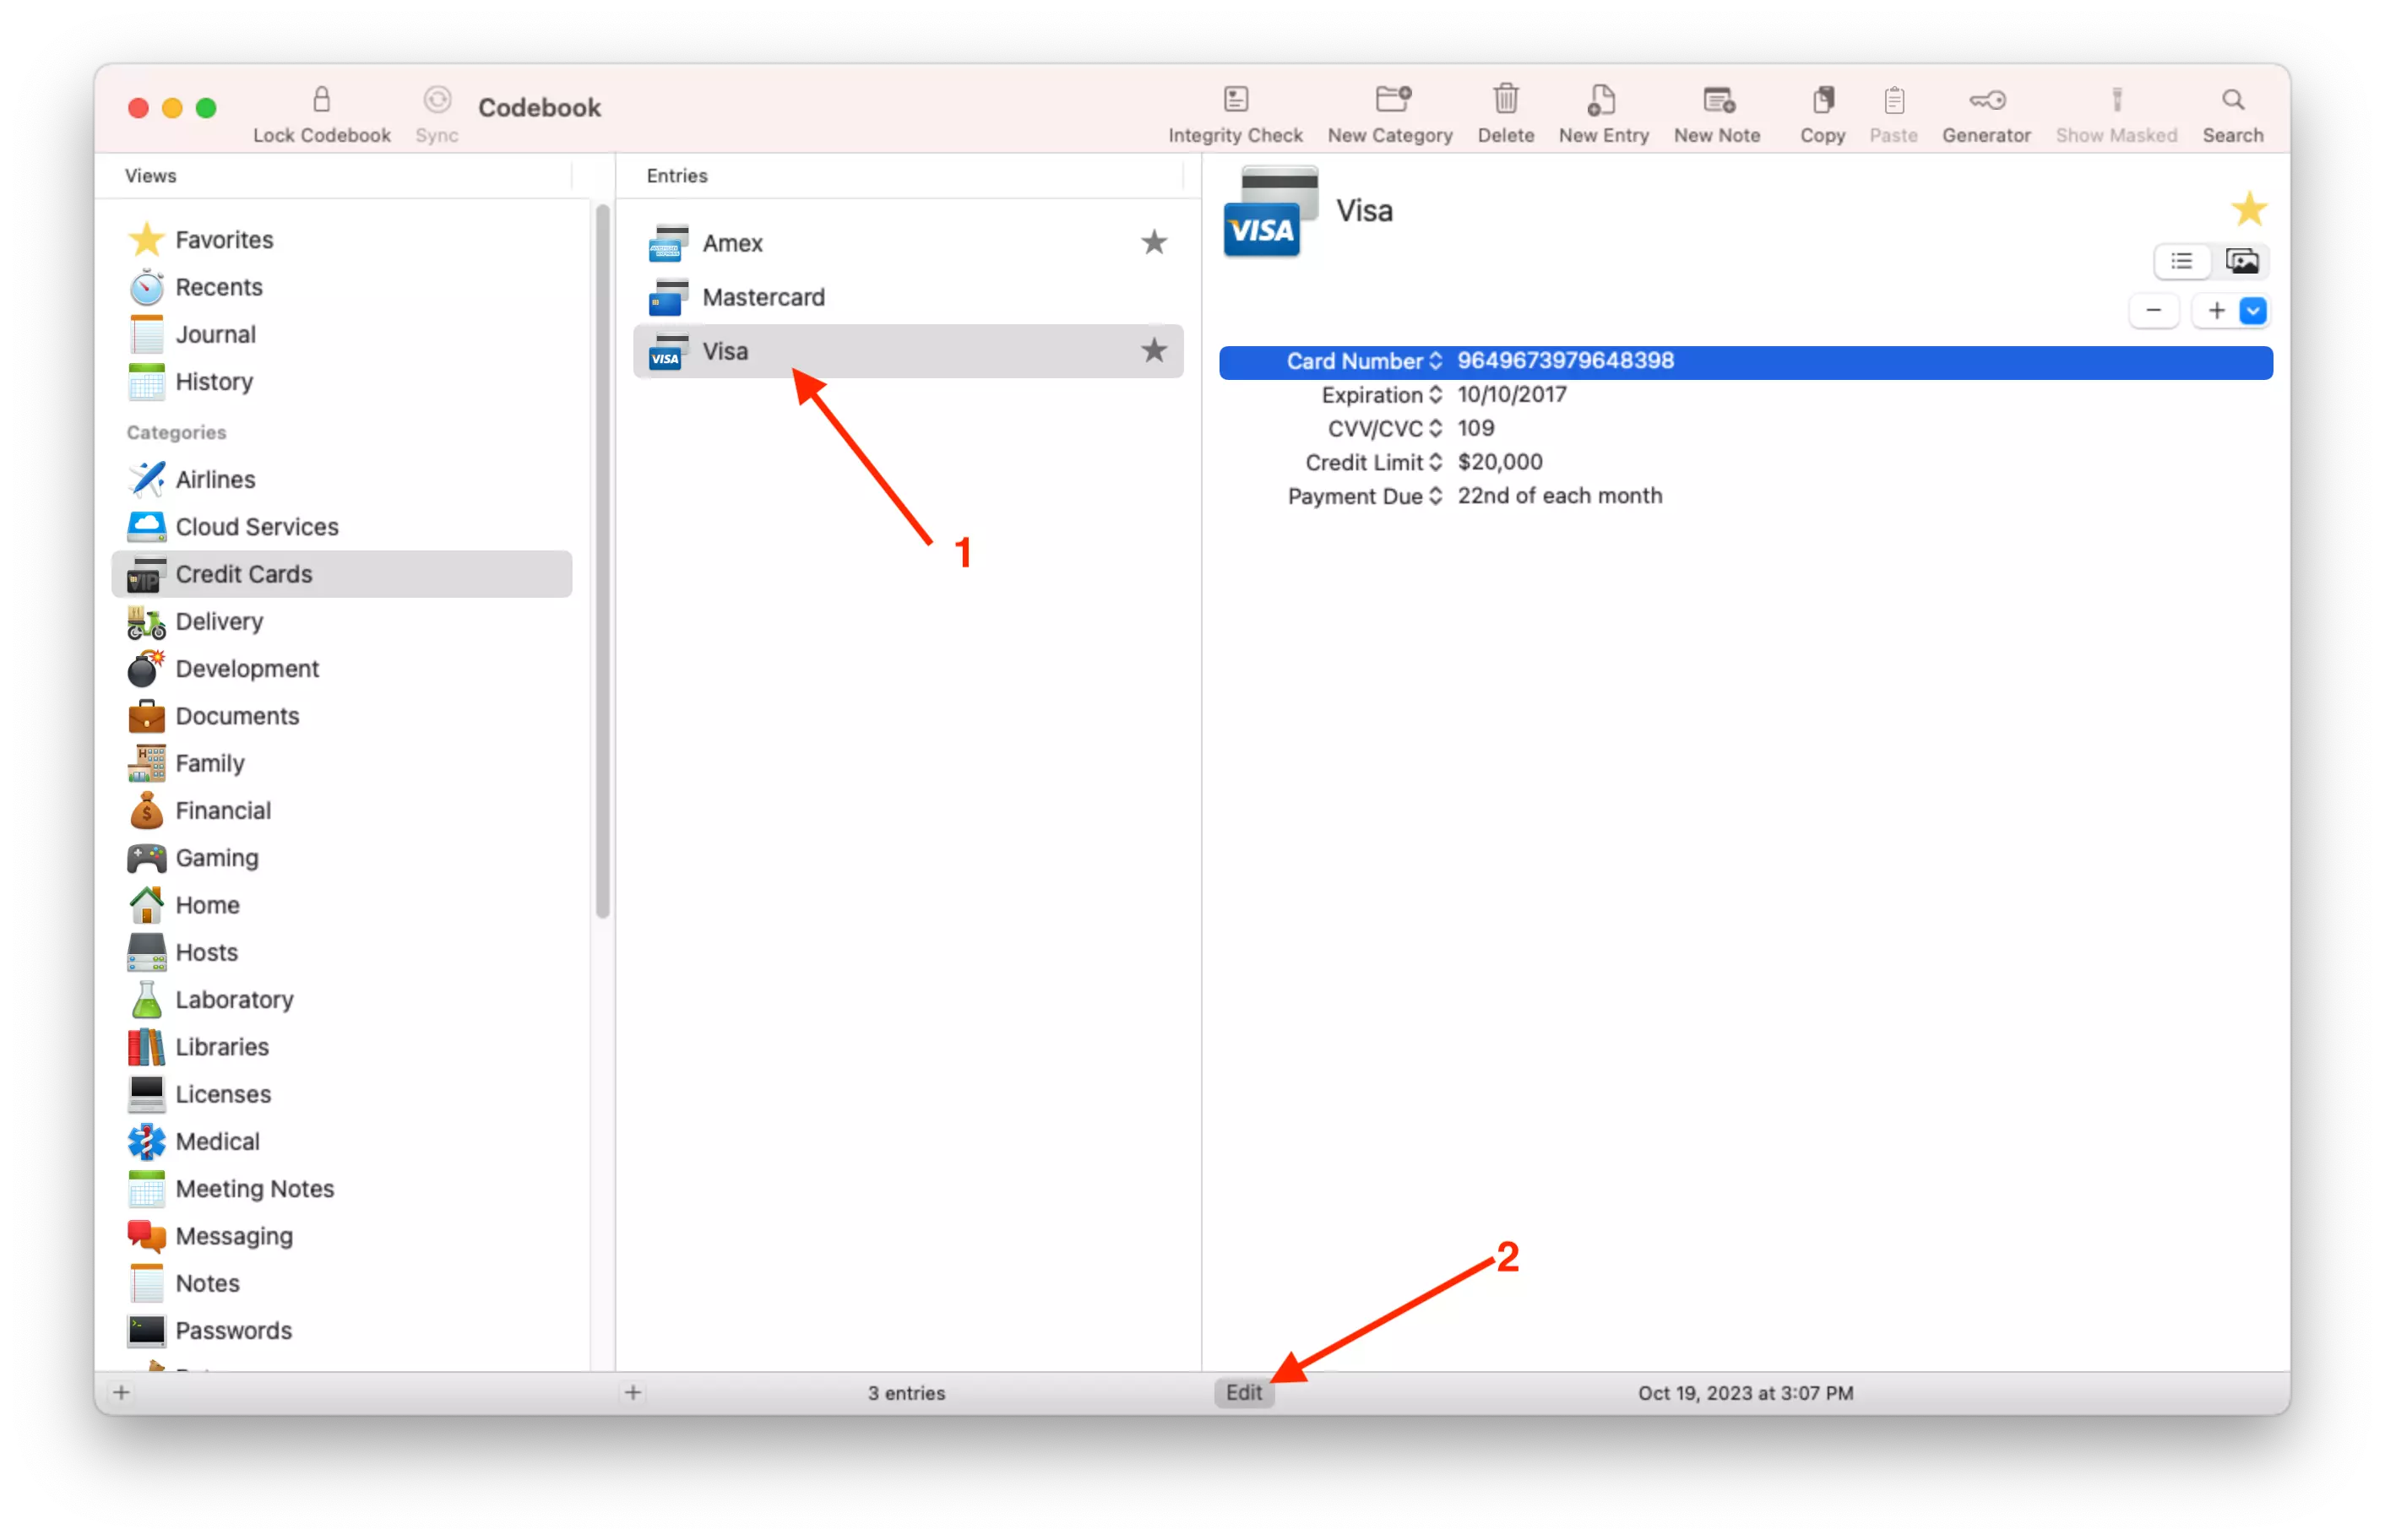
Codebook's flexible data model allows Entries to hold many different types of data (emails, websites, passwords, etc.) in fields. These fields are associated with labels which characterize how they behave.
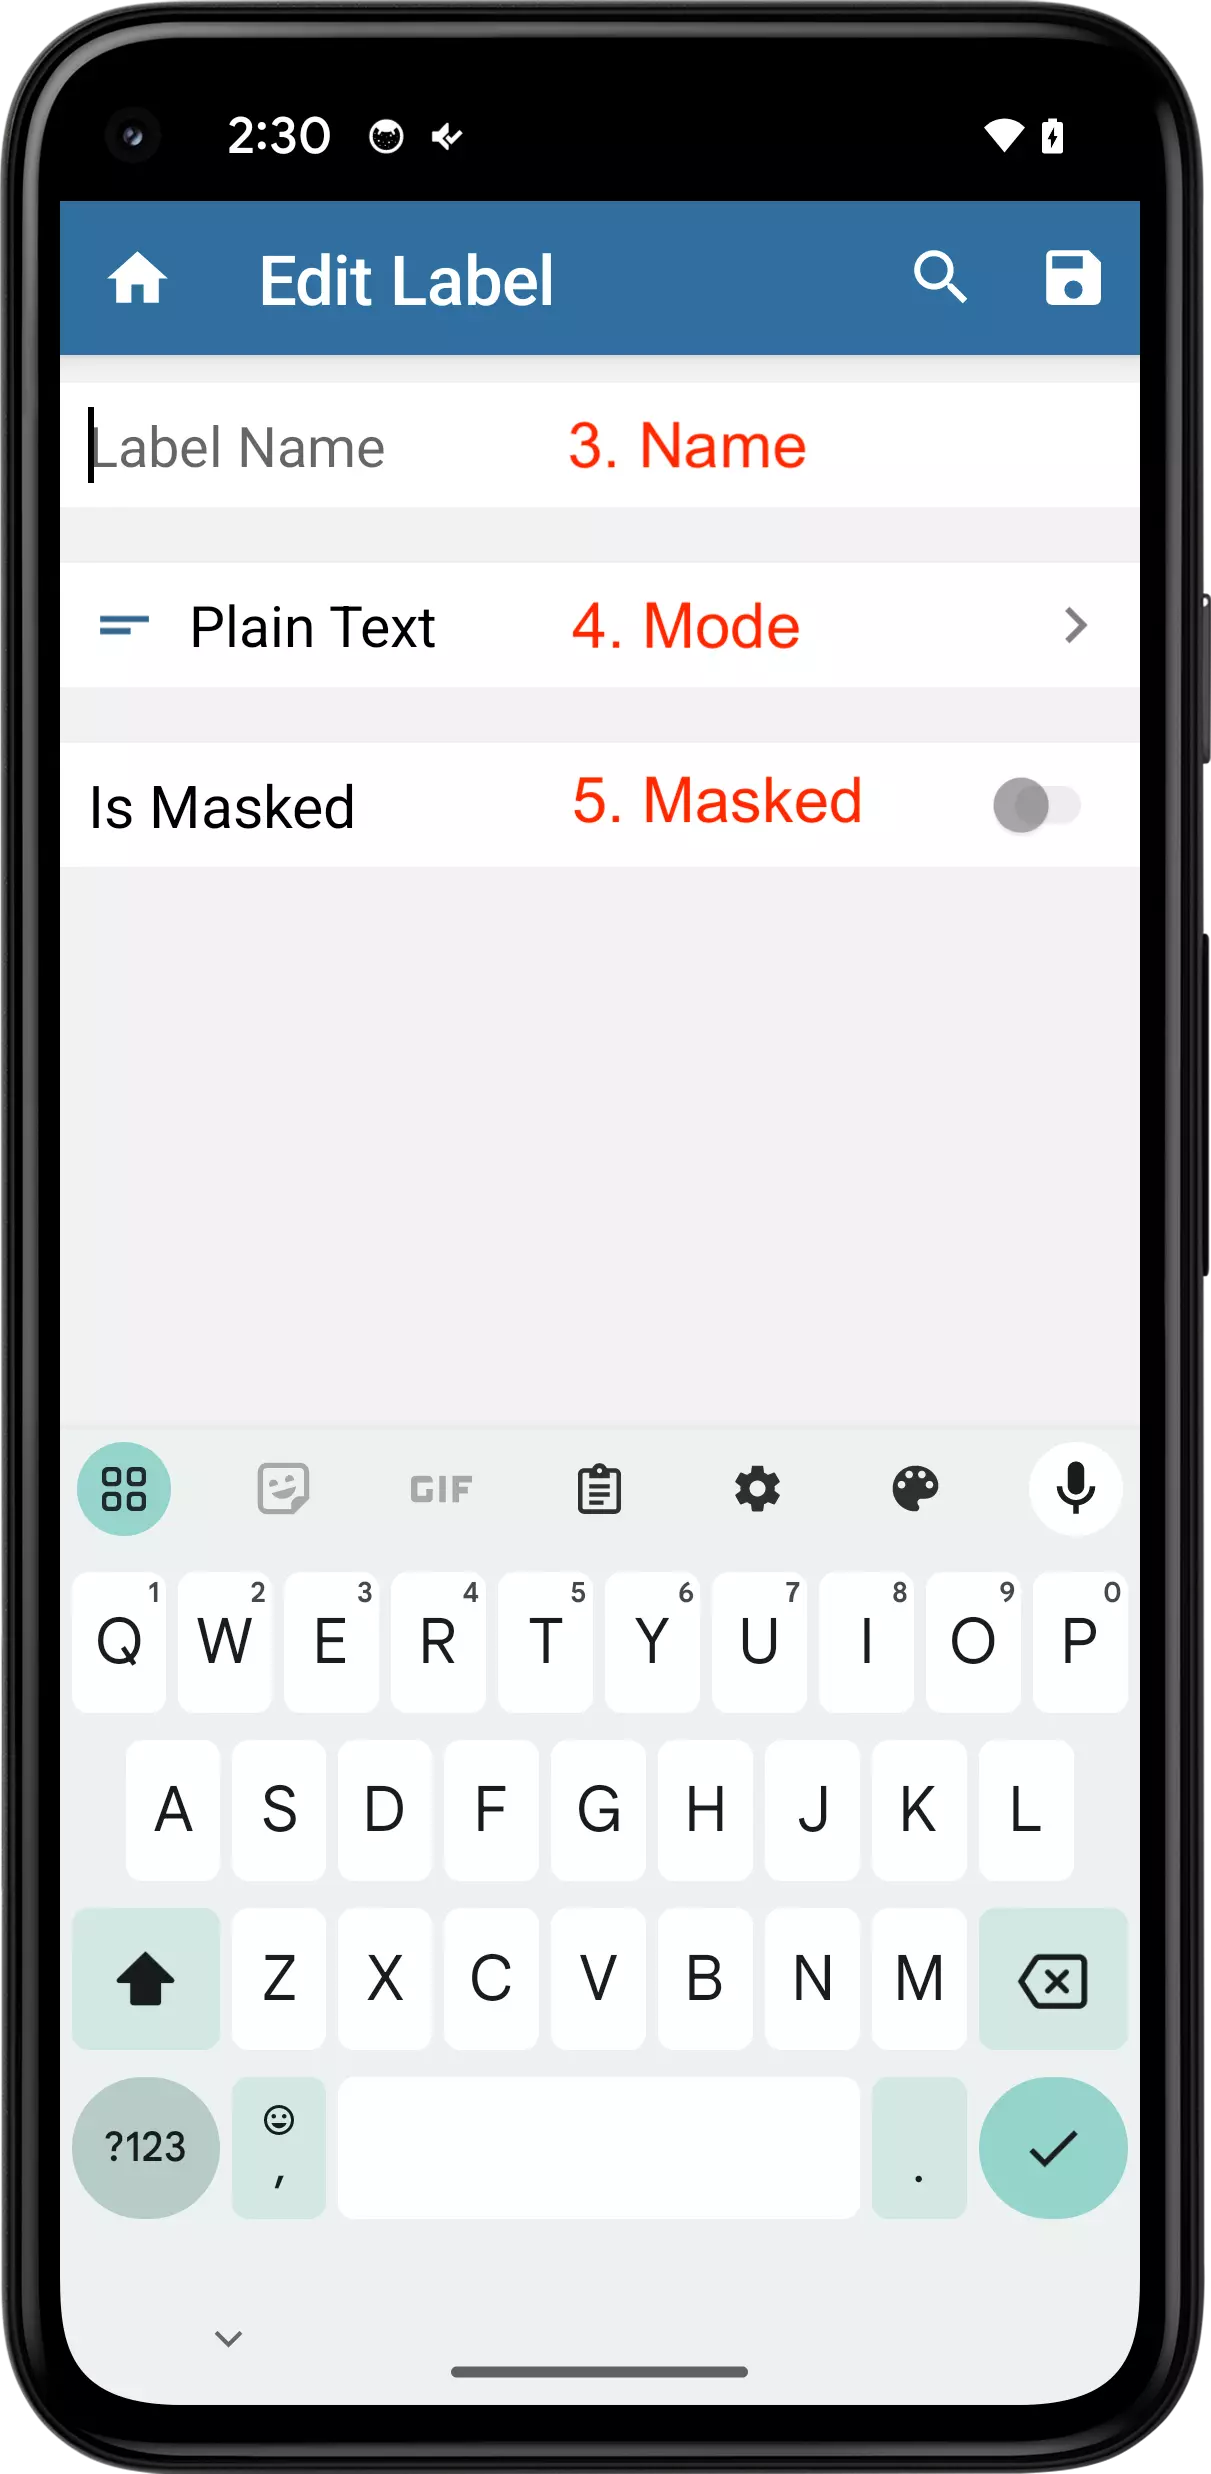
A Label is made up of 3 different parts:
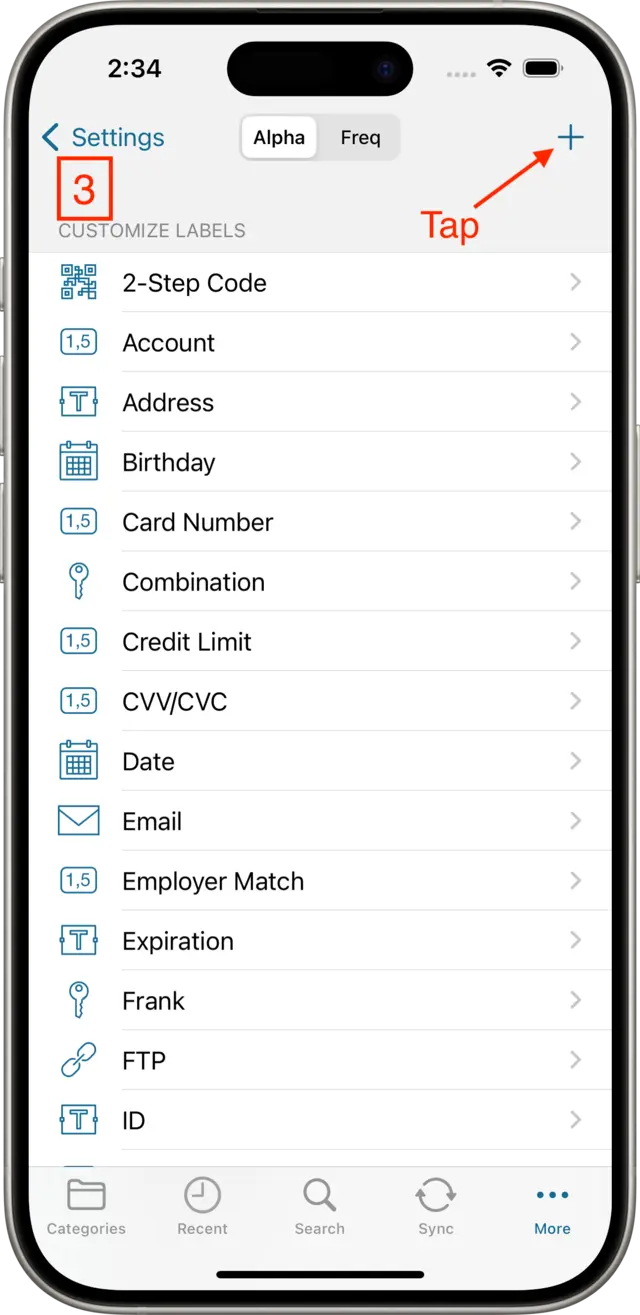
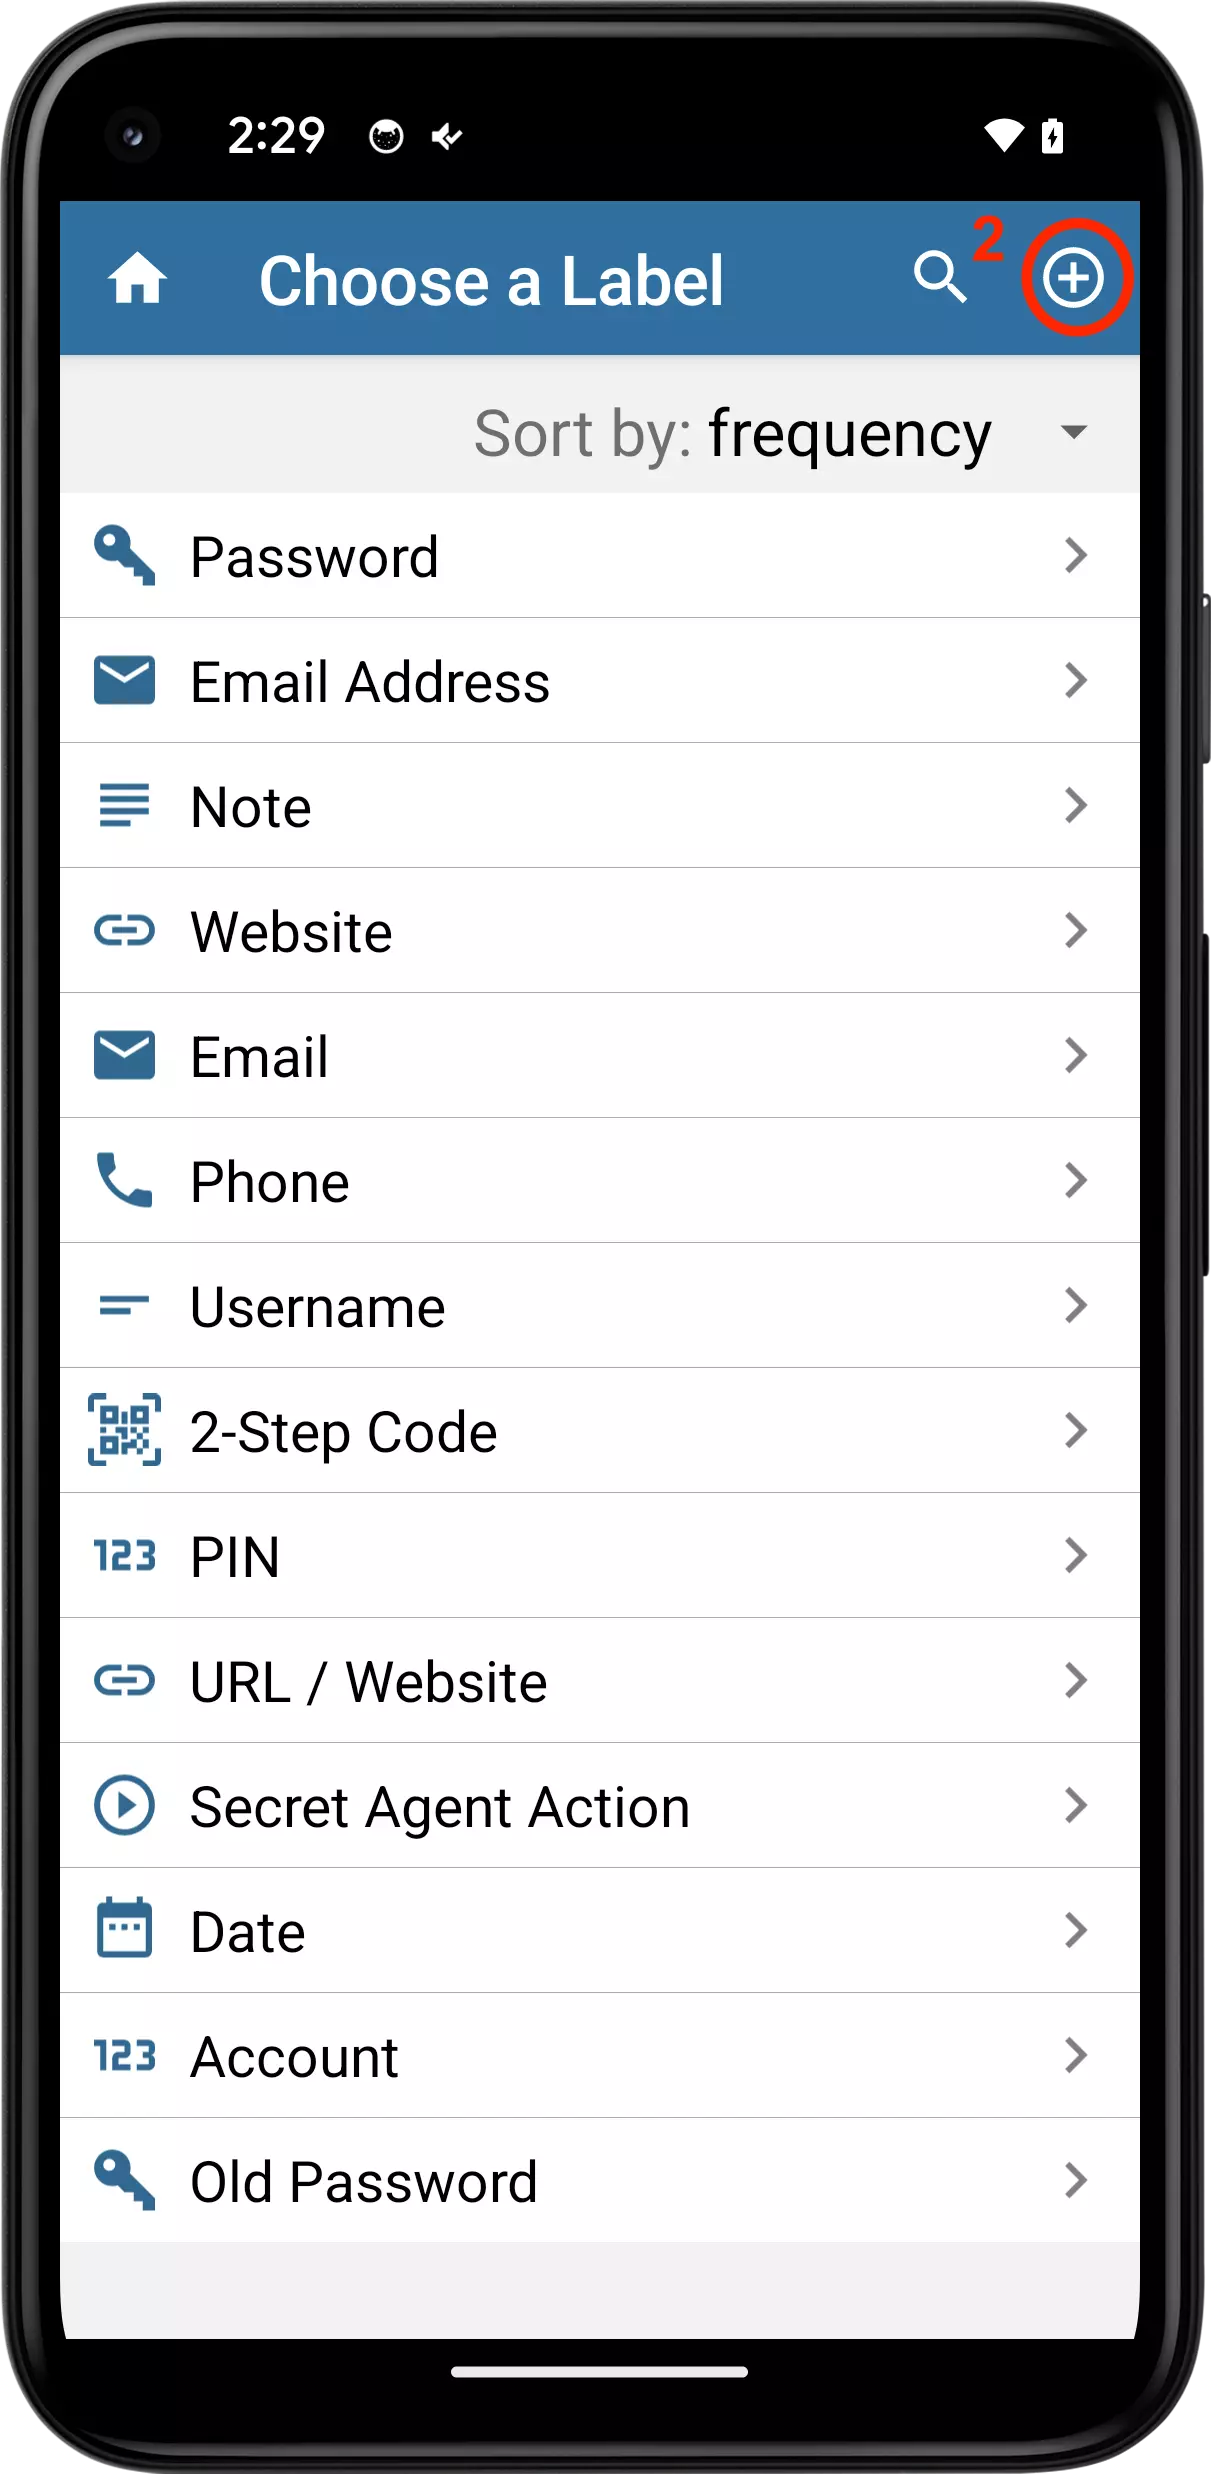
Codebook provides a set of default labels when initially installed. This is just a starting point -- instructions for adding your own custom labels can be found in the Adding Custom Labels section
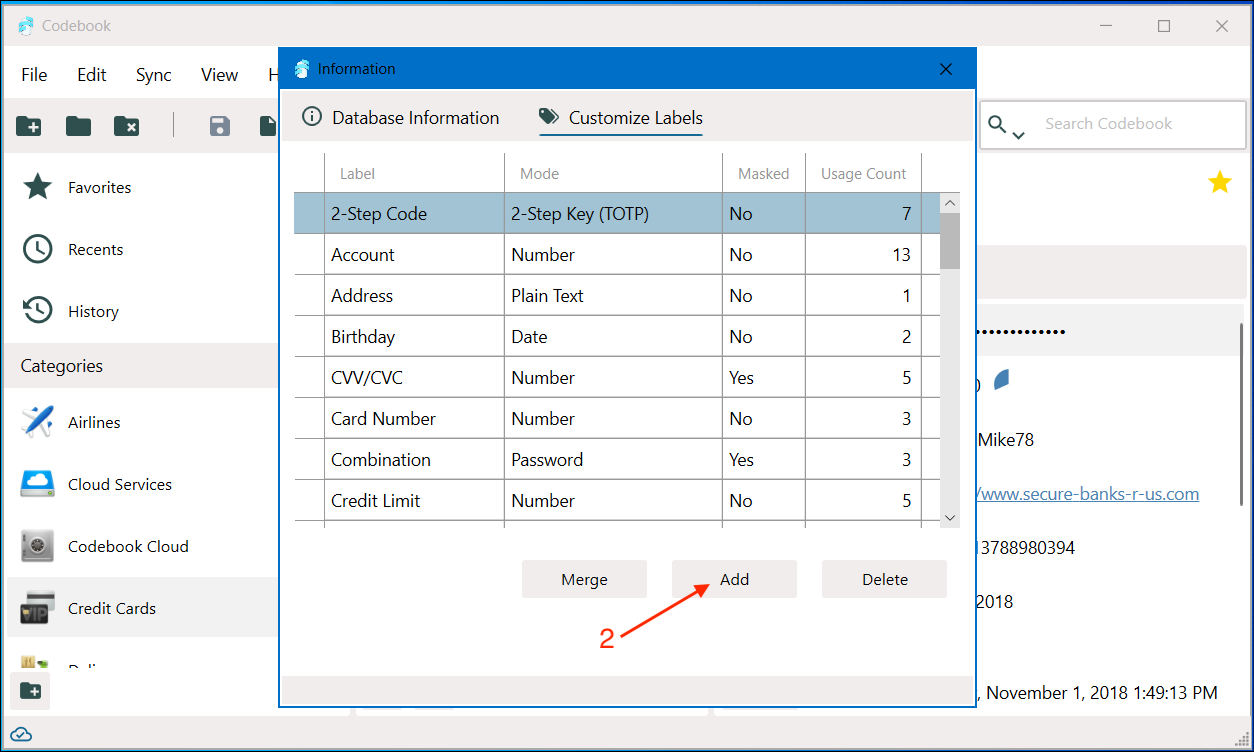
These are the default labels (and their properties) that Codebook installs during setup:
| Name | Mode | Masked |
|---|---|---|
| Account | Number | No |
| Date | Date | No |
| Email Address | No | |
| Note | Note | No |
| Password | Password | Yes |
| Phone | Telephone Number | No |
| PIN | PIN | Yes |
| Secret Agent Action | Secret Agent Action | No |
| 2-Step Code | Two-Factor Key (TOTP) | No |
| Username | Plain Text | No |
| Website | URL / Website | No |
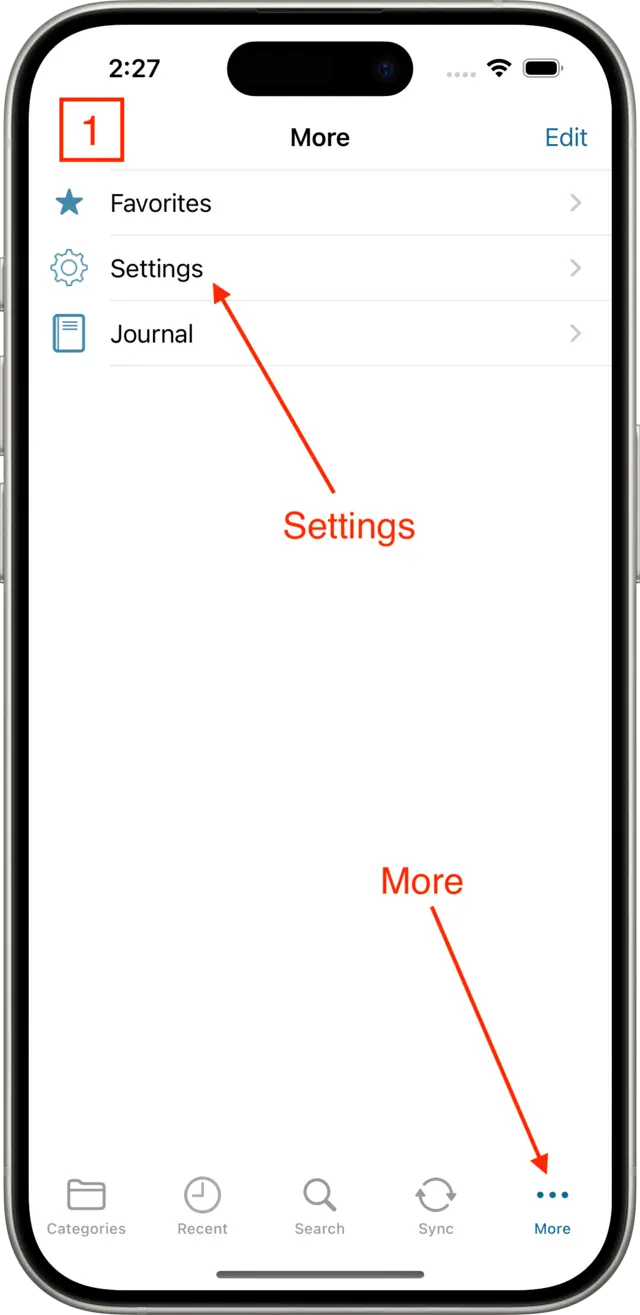
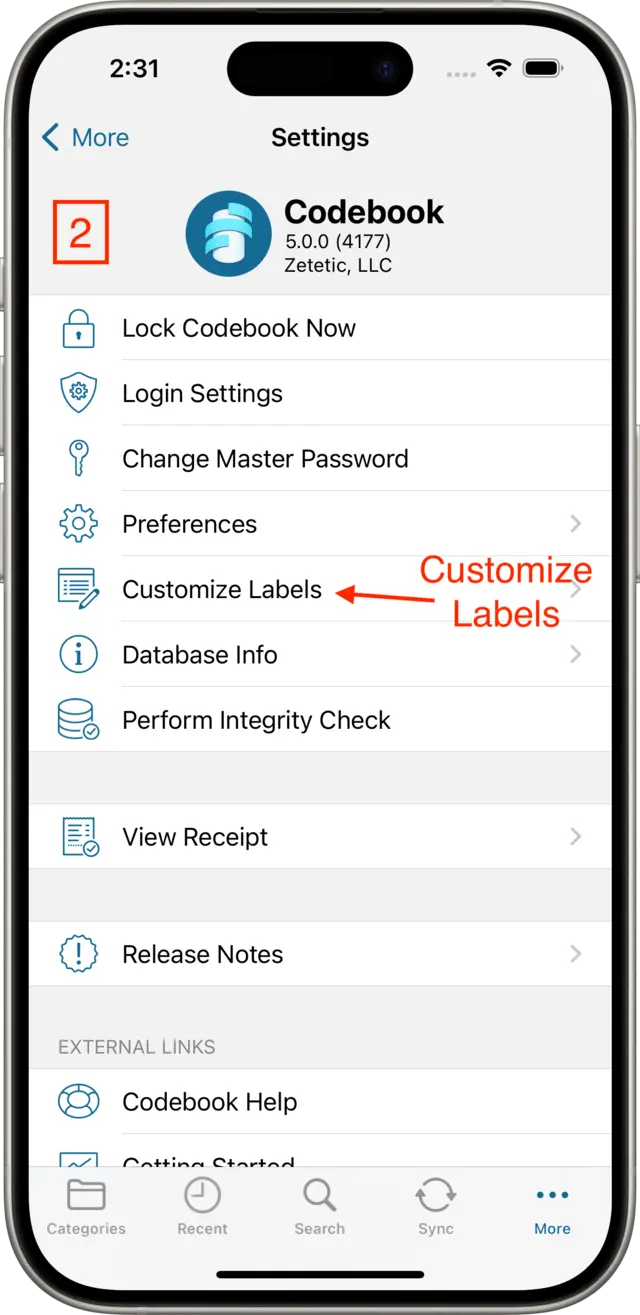
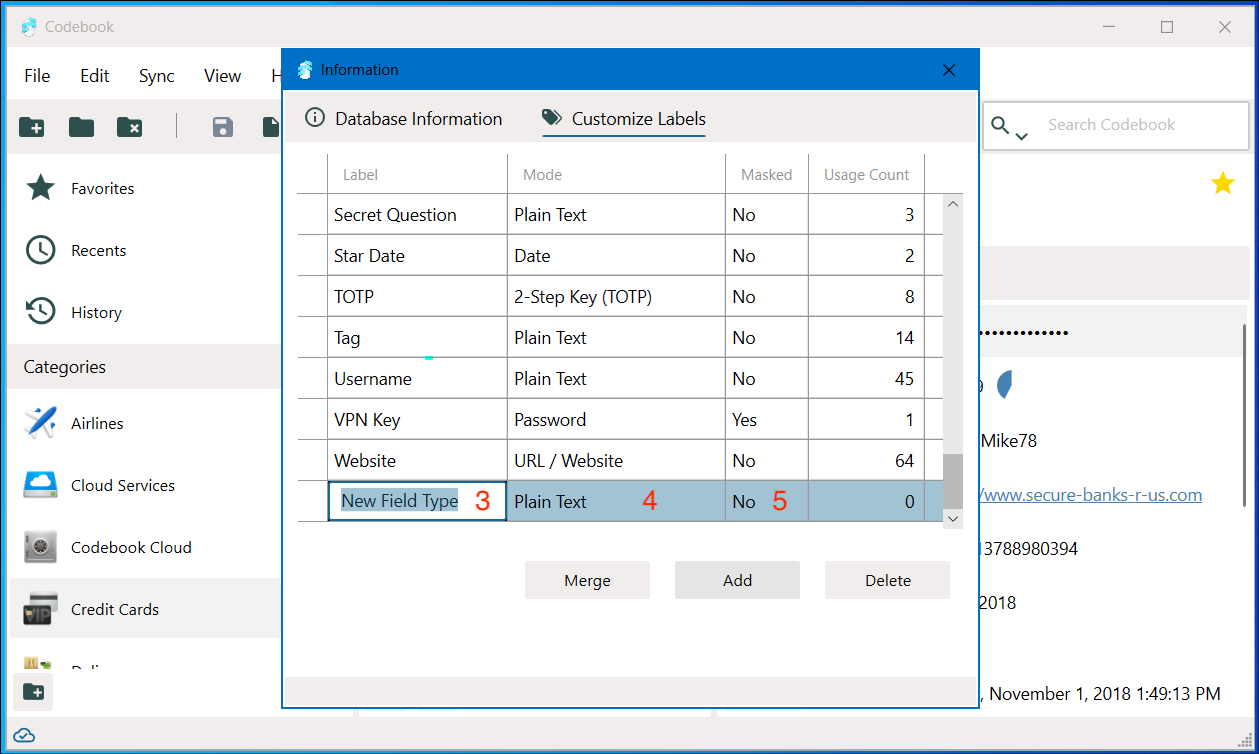
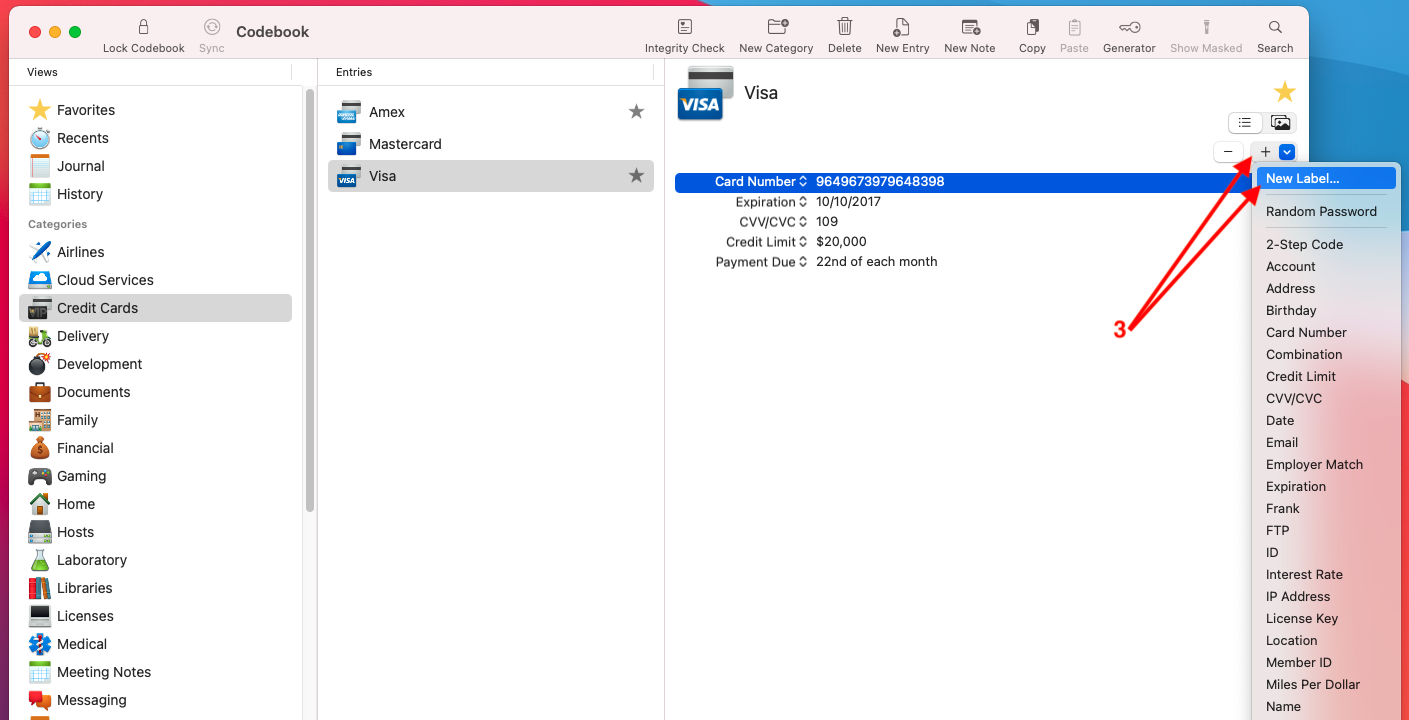
As you add data to Codebook, there are many fields that you find might not fit into the predefined Default Labels. We encourage you to create your own custom labels to match the field values you're storing in Codebook.
How to add a custom label on each Codebook platorm:

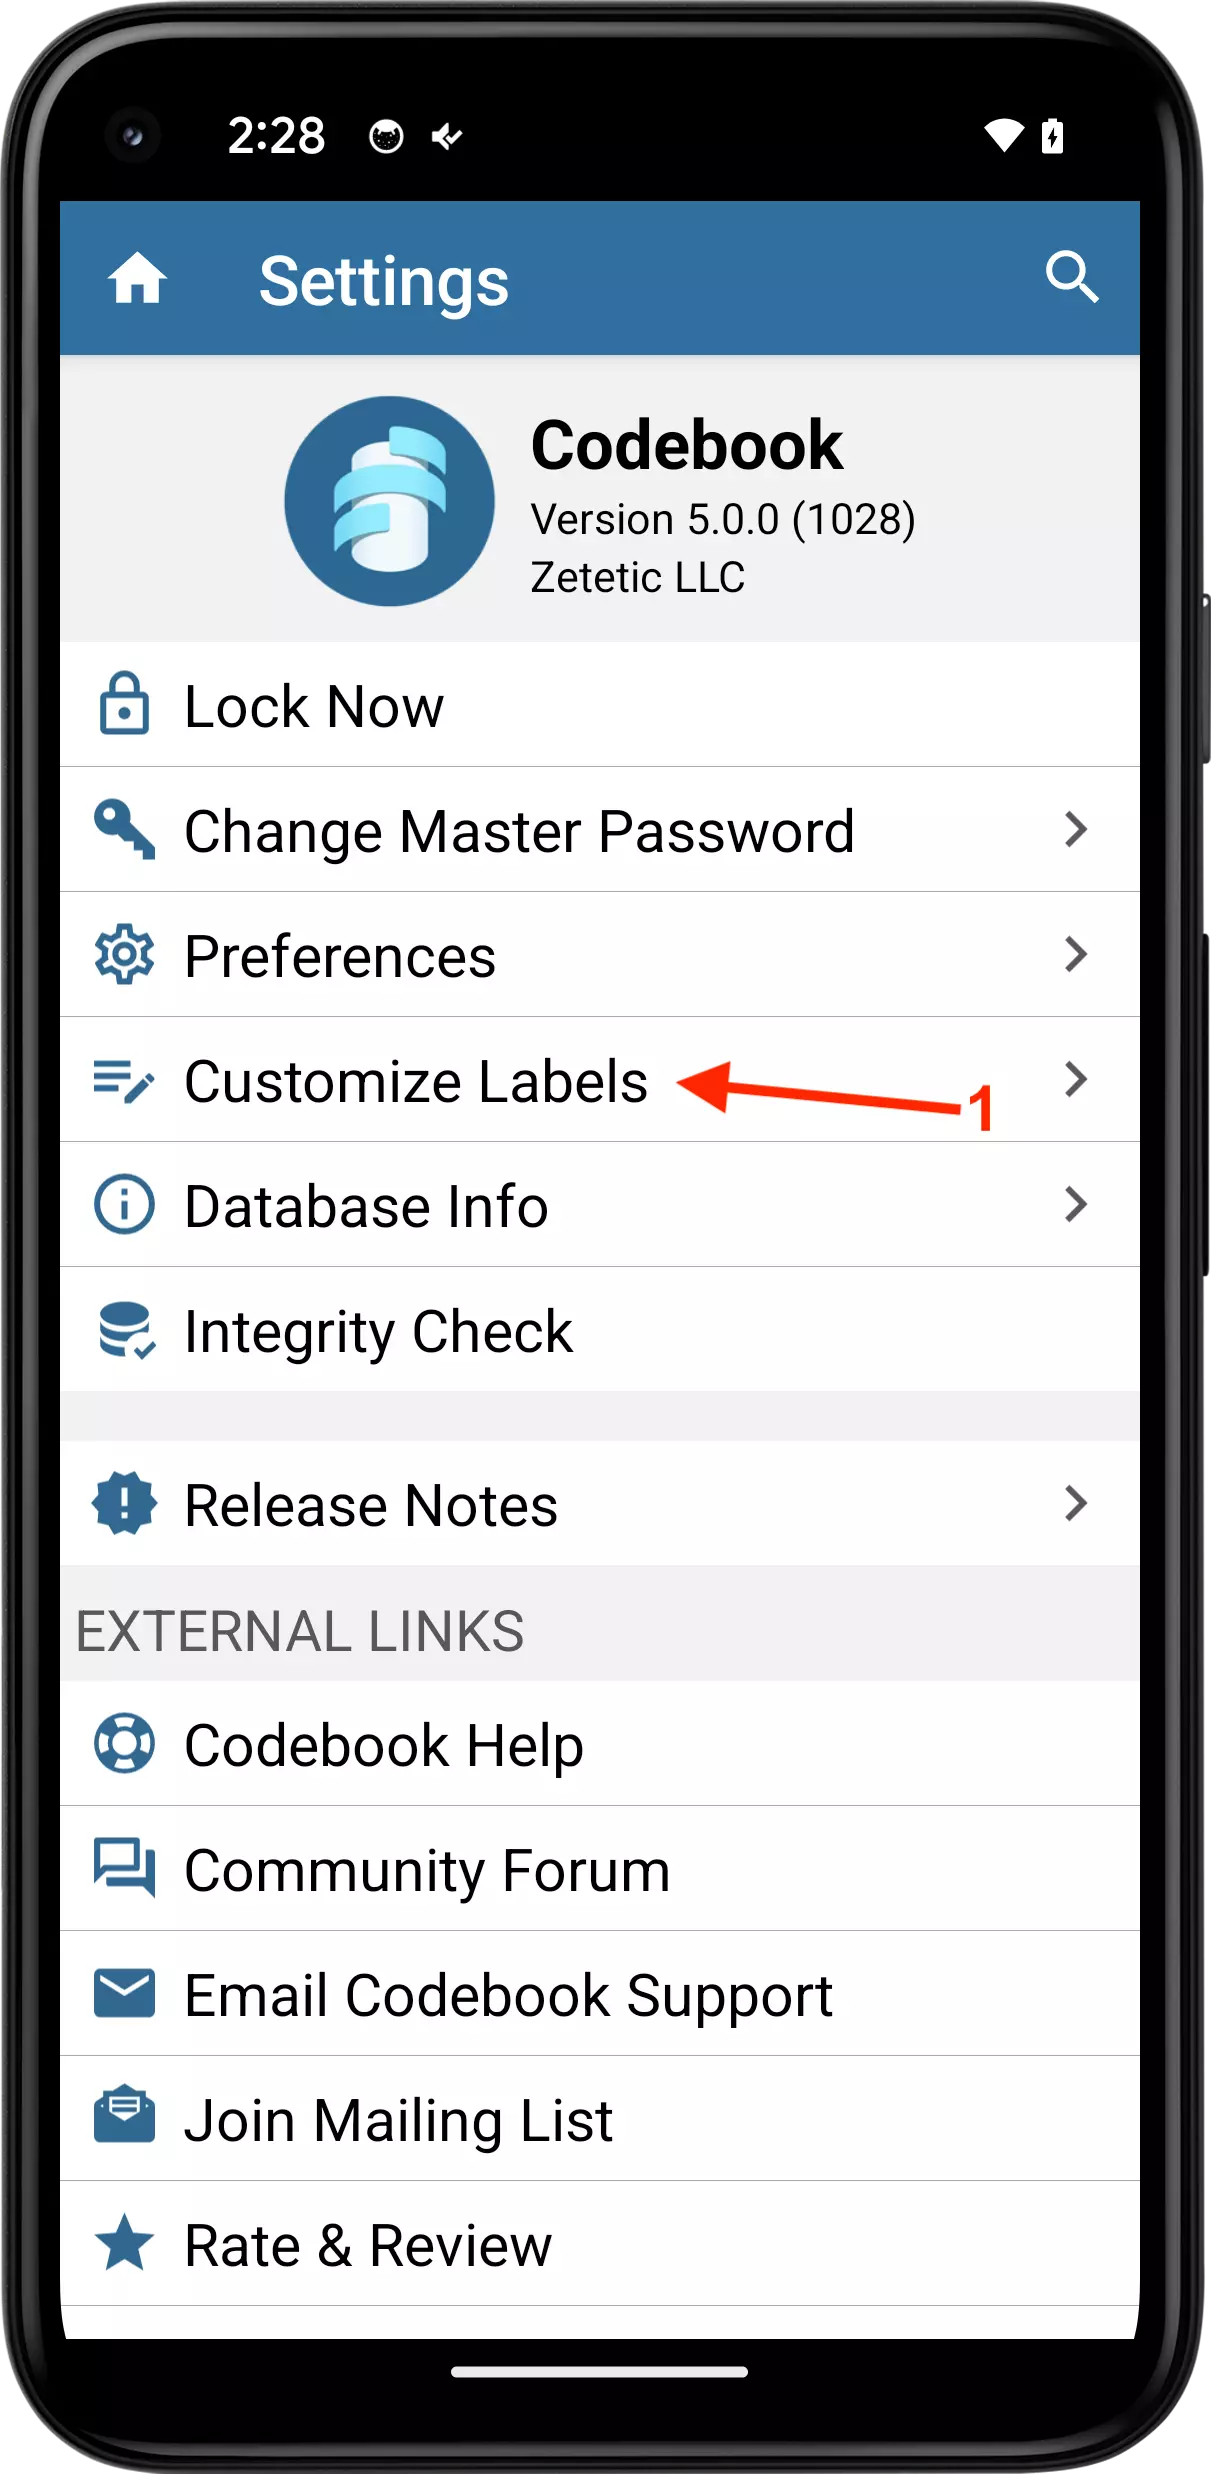
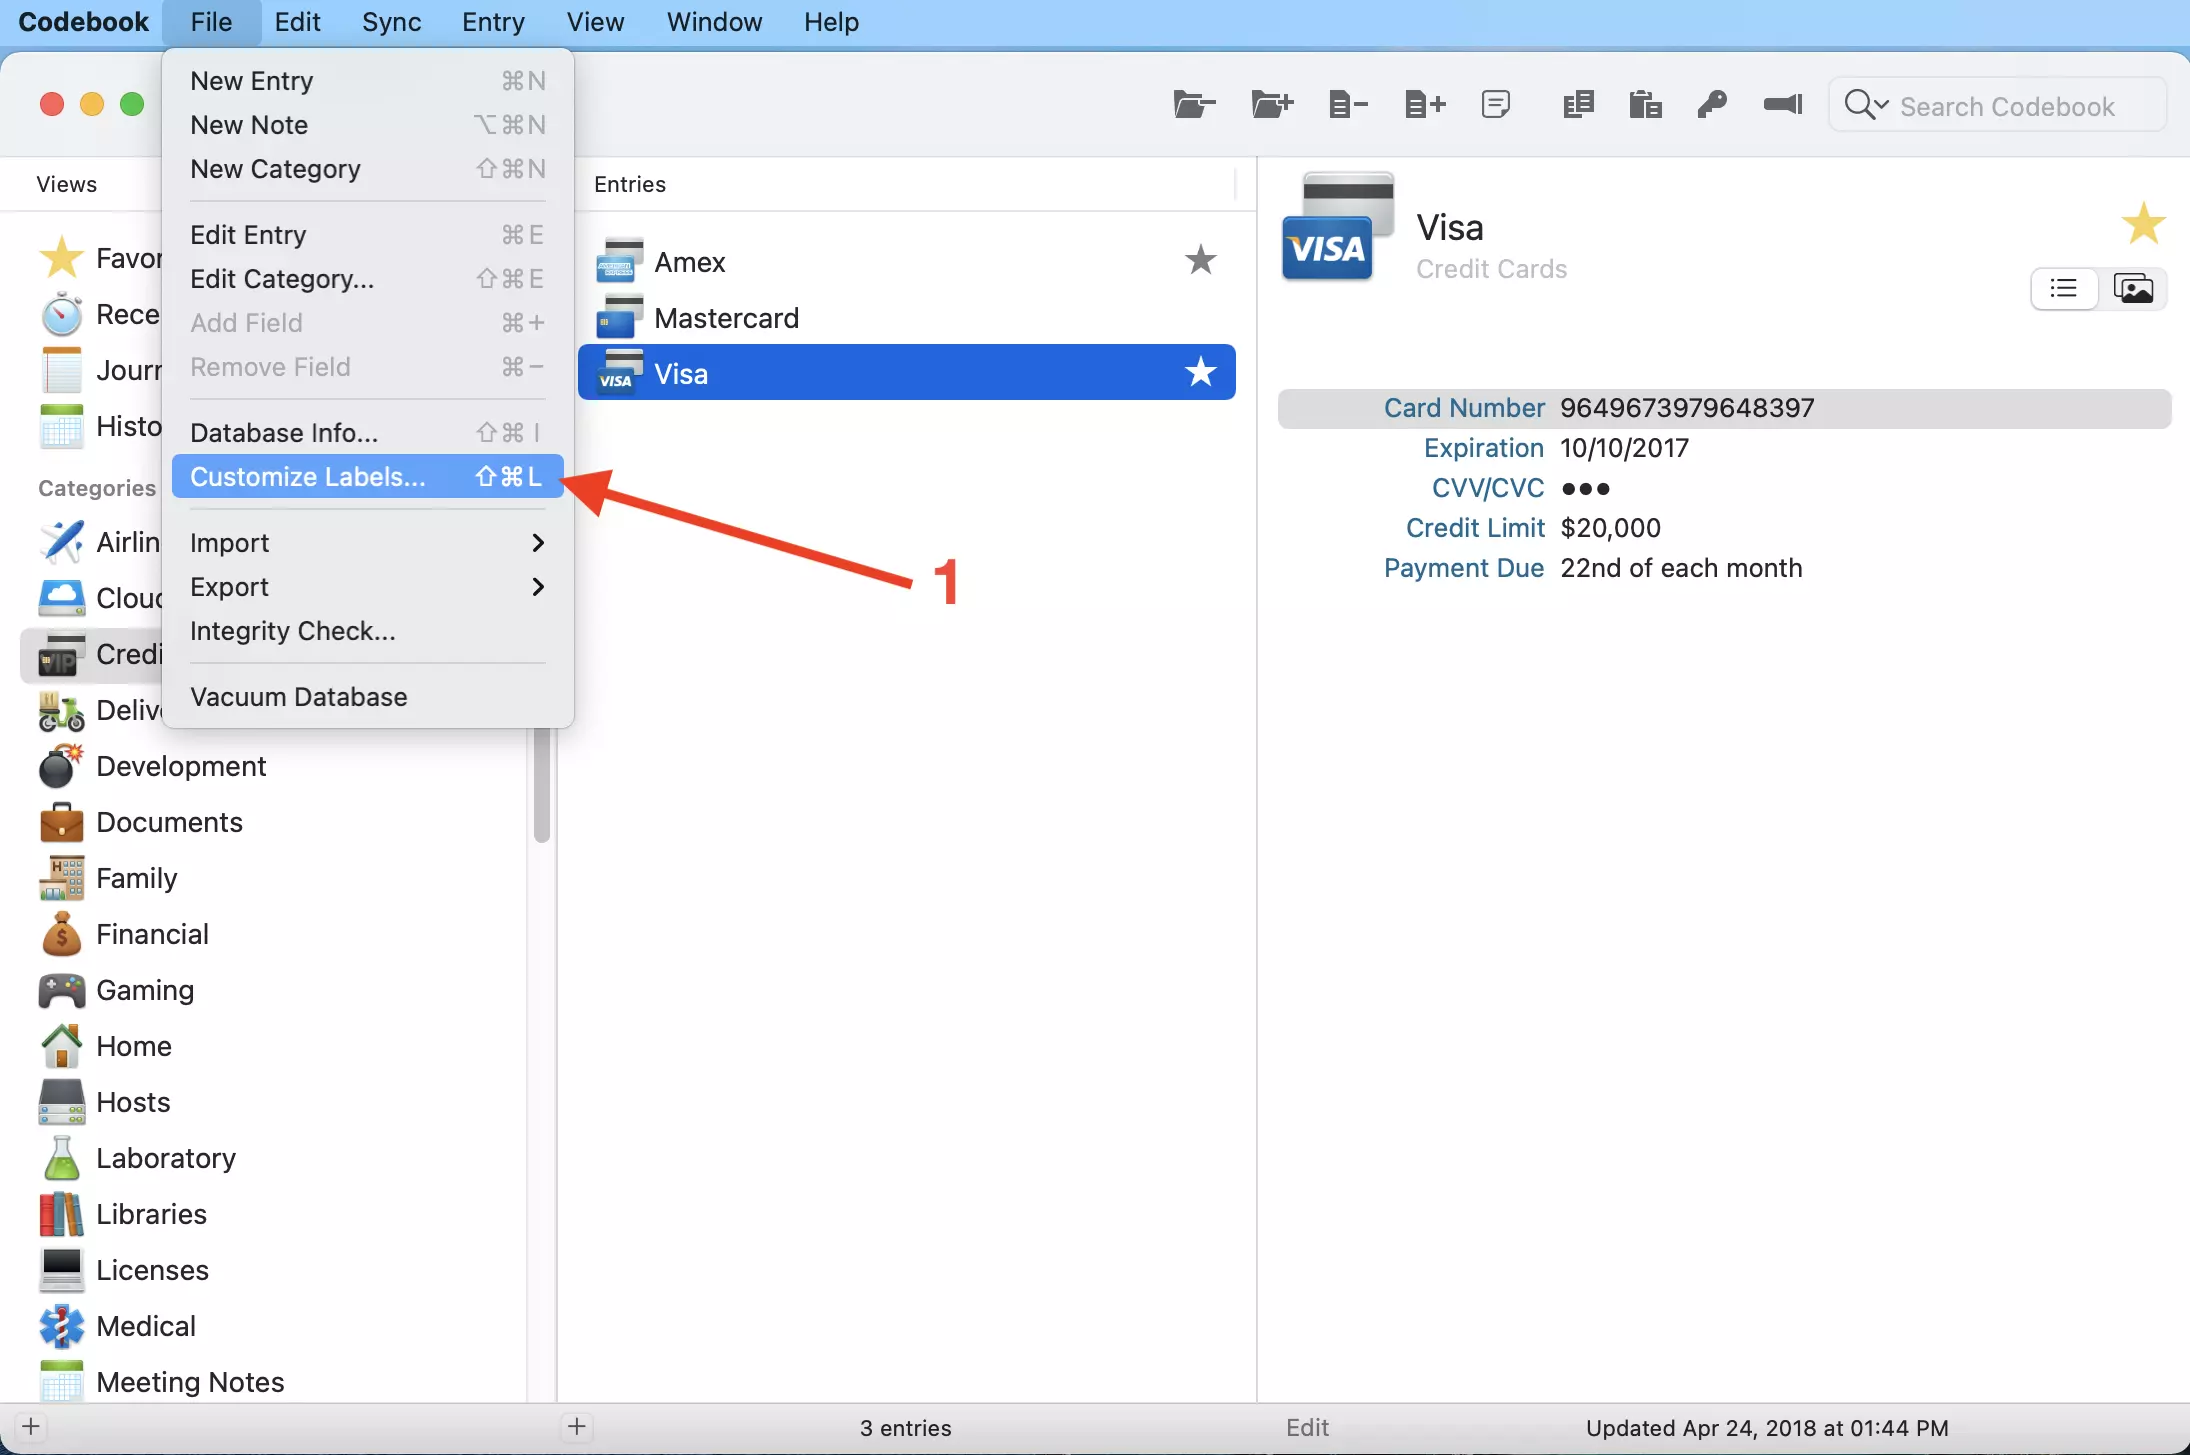
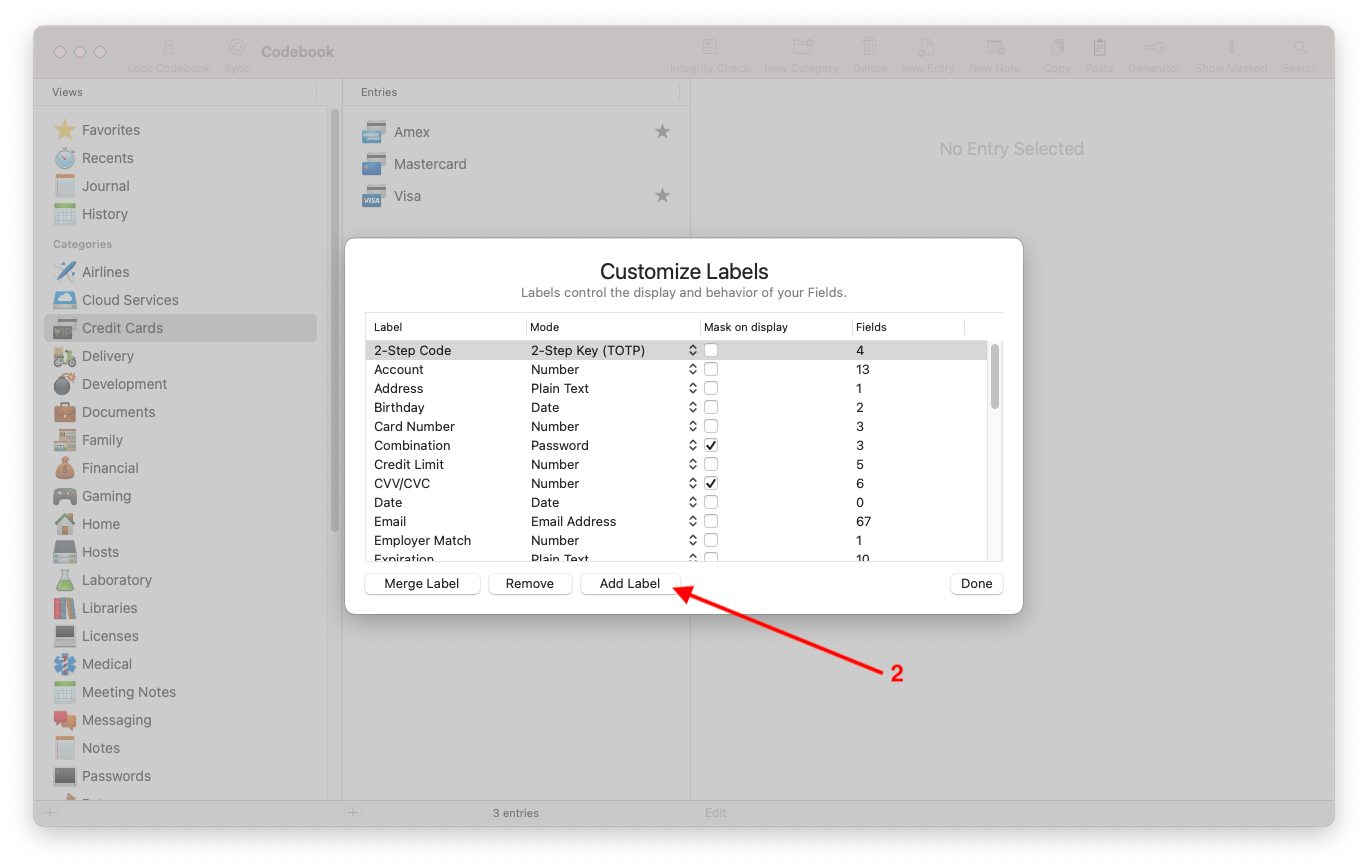
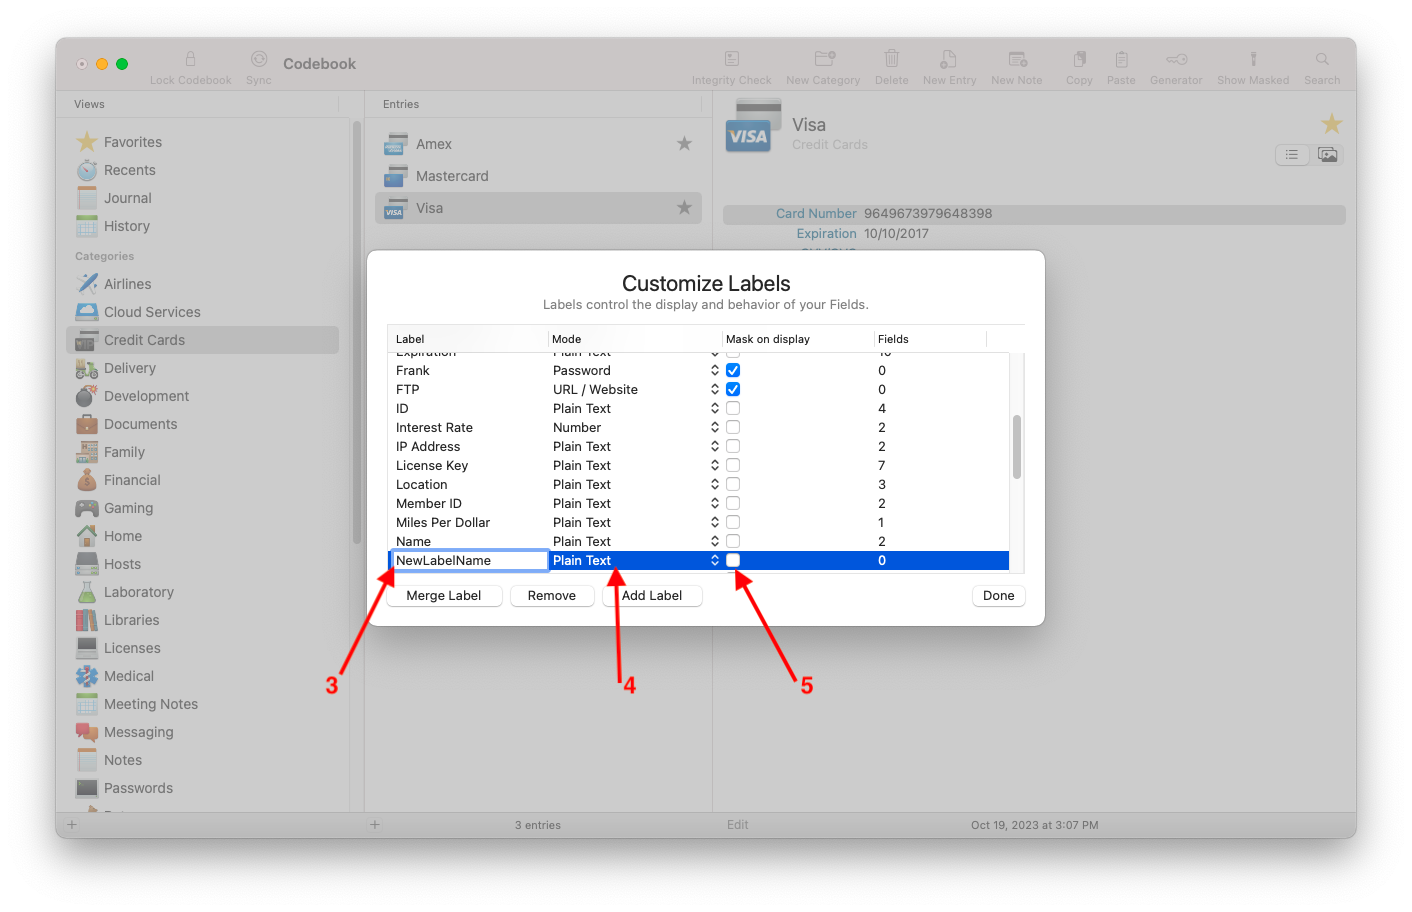
Codebook for macOS (alternate):
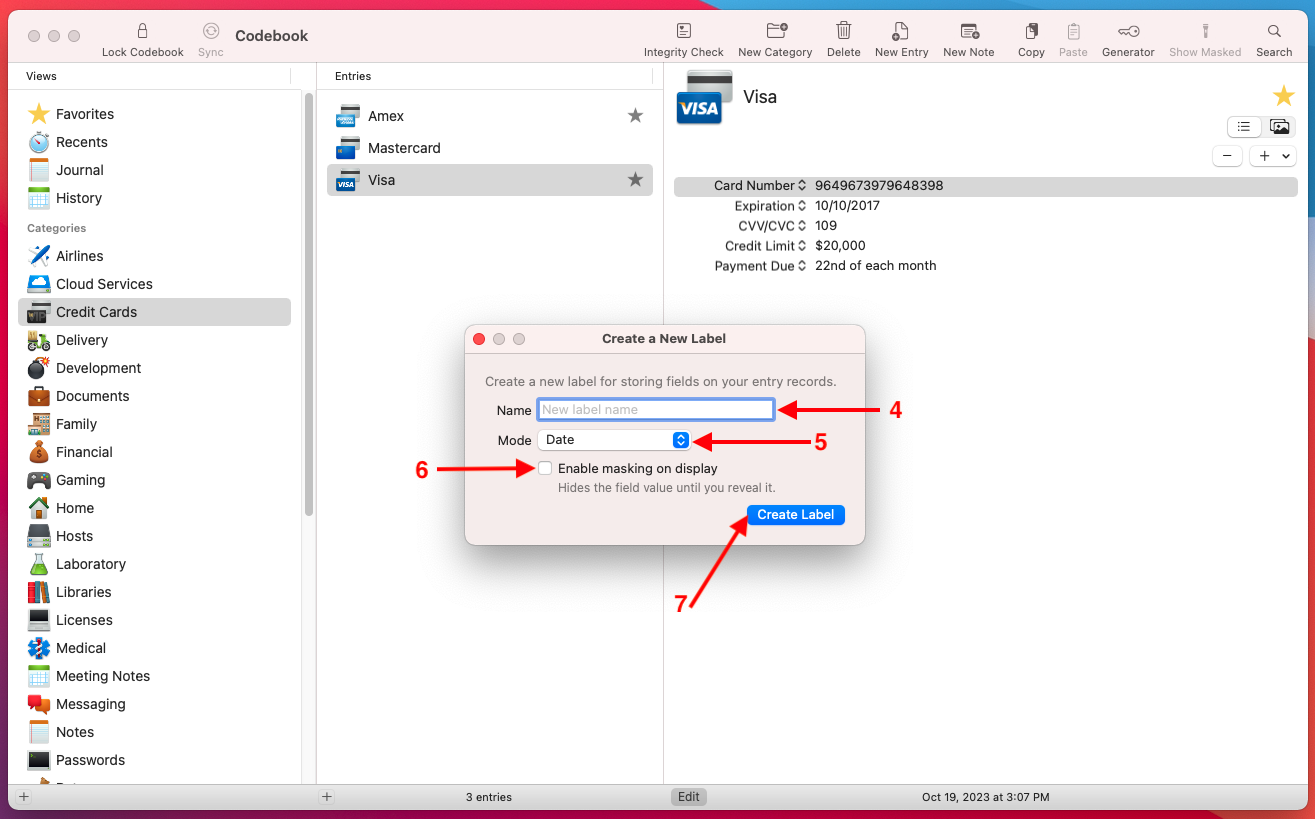
One of the most important characteristics of a label is it's mode. What are you expecting to do with the field value? Launch it? Call it? Use a random Generator to create it?
Codebook's available modes and their extra behaviors - all modes support copy/paste and show/hide (mask/unmask):
| Mode | Behavior | Example |
|---|---|---|
| Date | 02/07/2018 | |
| Send Email | mmalibu@zetetic.net | |
| Note | Multi-line text | Whenever I saw the sun, I reminded myself that I was looking at a star. One of over a hundred billion in our galaxy. A galaxy that was just one of billions of other galaxies in the observable universe. This helped me keep things in perspective. |
| Number | 4141334244523424 | |
| Password | MeQp},)C^>Y2'[']G | |
| PIN | 4693 | |
| Plain Text | mmalibu | |
| Secret Agent Action | QuickFill/Run Default Action | #[username]<tab>#[passowrd]<enter> |
| Telephone Number | Call Phone Number | 704-970-1836 |
| Two-Factor Key (TOTP) | Converts to TOTP | ofmq jnnw nfso h3z5 bpfh b7jz 6e |
| URL / Website | Open/Launch (http(s)/ssh/afp etc.) | https://www.zetetic.net |
Available in Codebook for macOS and Windows.
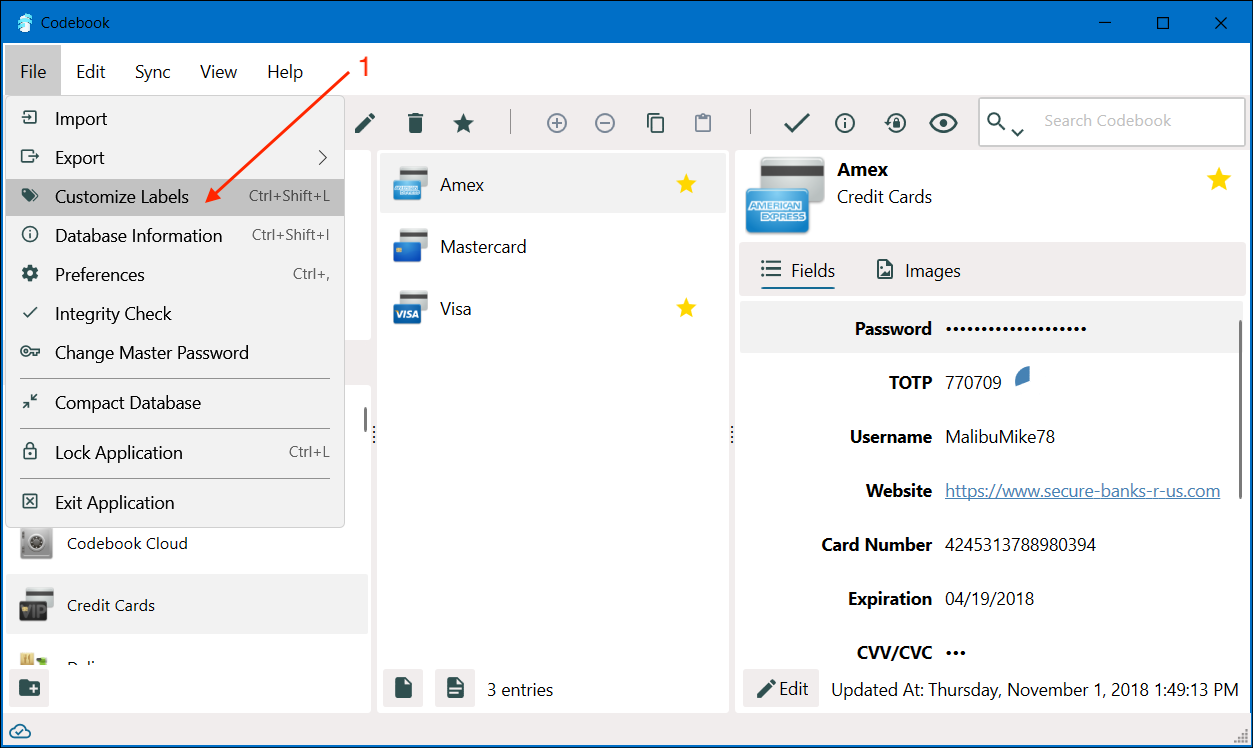
Situations arise where you have multiple labels with different names but a similar type of content and it's beneficial to consolidate them, For example: a label named "Email" and another named "Email Address".
Rather than having to go through and adjust the label names manually, Codebook for Desktop provides a facility to Merge Labels in a batch. In our previous example, if you decide use "Email Address" as your source label and merge it into a destination label of "Email" this will cause all fields that were previously labeled "Email Address" to now be labeled "Email" (and the "Email address" label will be deleted).
Here are the steps to Merge Labels on Codebook for Desktop:
